Basic Usage
To access the importers that are installed on your machine, open the Application Menu from the Toolbar and expand the Import menu.

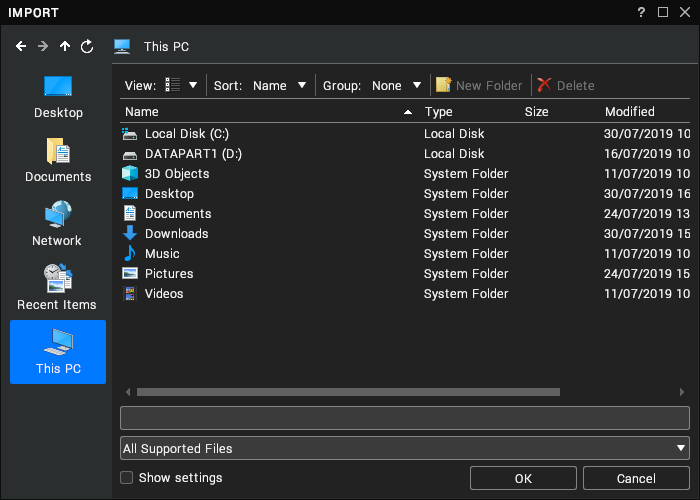
Now click on an importer to open a file dialog and browse for a supported file to import into your scene. Alternatively, press Ctrl + I to open a file dialog and browse for all the file extensions supported by the importers (if you don't have any importers installed on your machine, the dialog will give the option to merge a Visionary Render scene instead).
To import multiple files of the same type at once, select them in the file browser with Shift or Ctrl.

Press the OK button to start the import with the current importer settings. Alternatively, click on the Show settings checkbox to configure the importer first.
Sub-menu
In the Application Menu, each importer has a sub-menu with the following options:
| Option | Description |
|---|---|
| Import | Import data directly into Visionary Render. If there are previous imports, the importer will attempt to reuse library resources. This will occur if two imports have the same filename, modified time and import settings. |
| Import and Merge | Import data directly into Visionary Render and merge it into a new Assembly in the scene. The name of the Assembly consists of the “Merged” keyword, the filename of the import, and the date it was merged into the scene. The merge can be configured from the Merging category in the Settings window. |
| Settings | Open the importer settings dialog. |
| Help | Show the compiled HTML version of this importer’s user manual. |
Import and Merge is not supported during a network session.