Projects
This page shows a list of projects, which configure how data is processed to create scenes. You can search for and update existing projects available to you or create a new project.
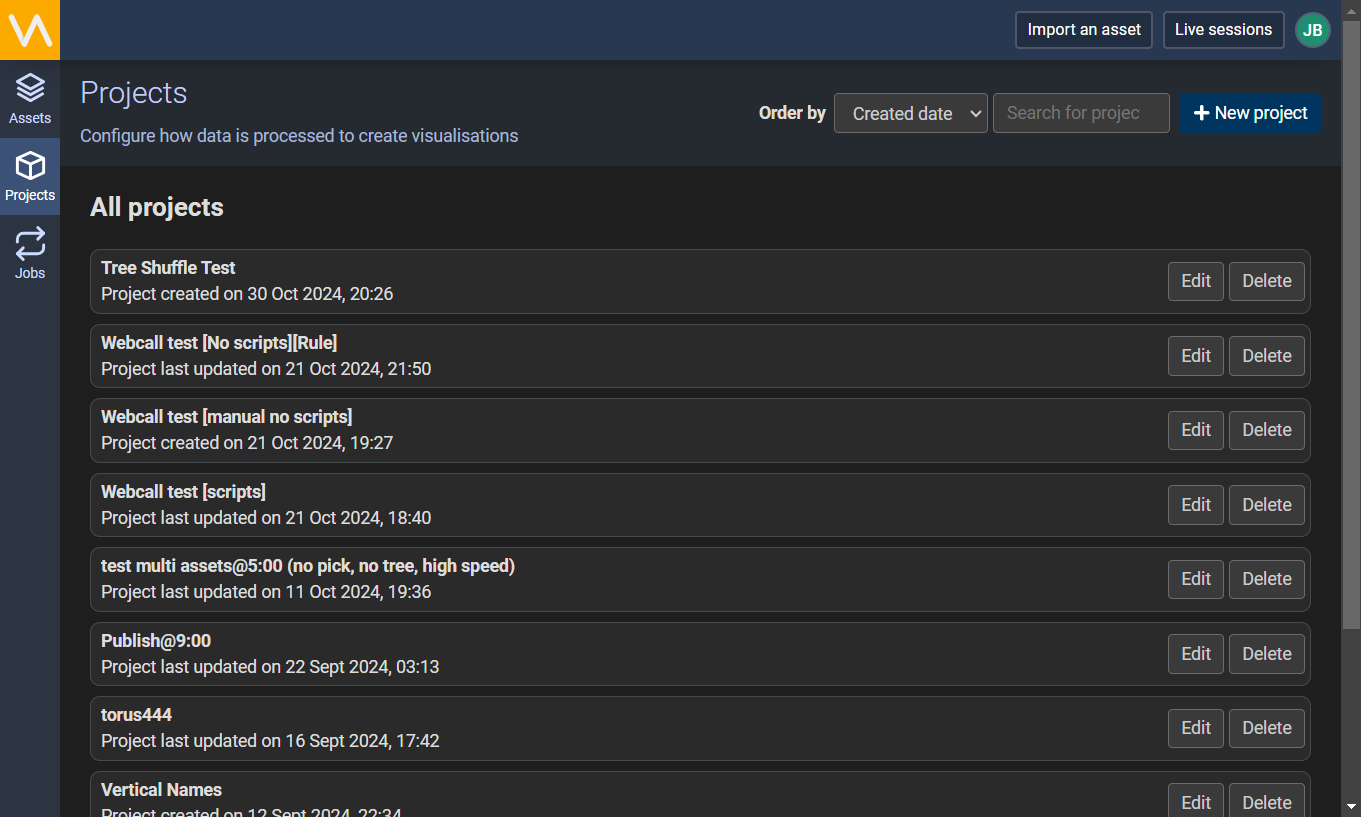
Order By
You can sort the projects by created date, name (alphabetical) or name (reverse alphabetical) using the combo box at the top-right of the page.
Search
You can filter the projects by name using the search bar at the top right of the page. Click on it and start typing to perform a query. The search results list will update each time you press a key.
The search is case-insensitive and does not support autocomplete or wildcards.
New
Click the New project button to create a new project. You will be taken to the Create Project pages to configure the new project.
Settings
Choose a project name (required), who else can edit the project, and whether or not to allow scripts.
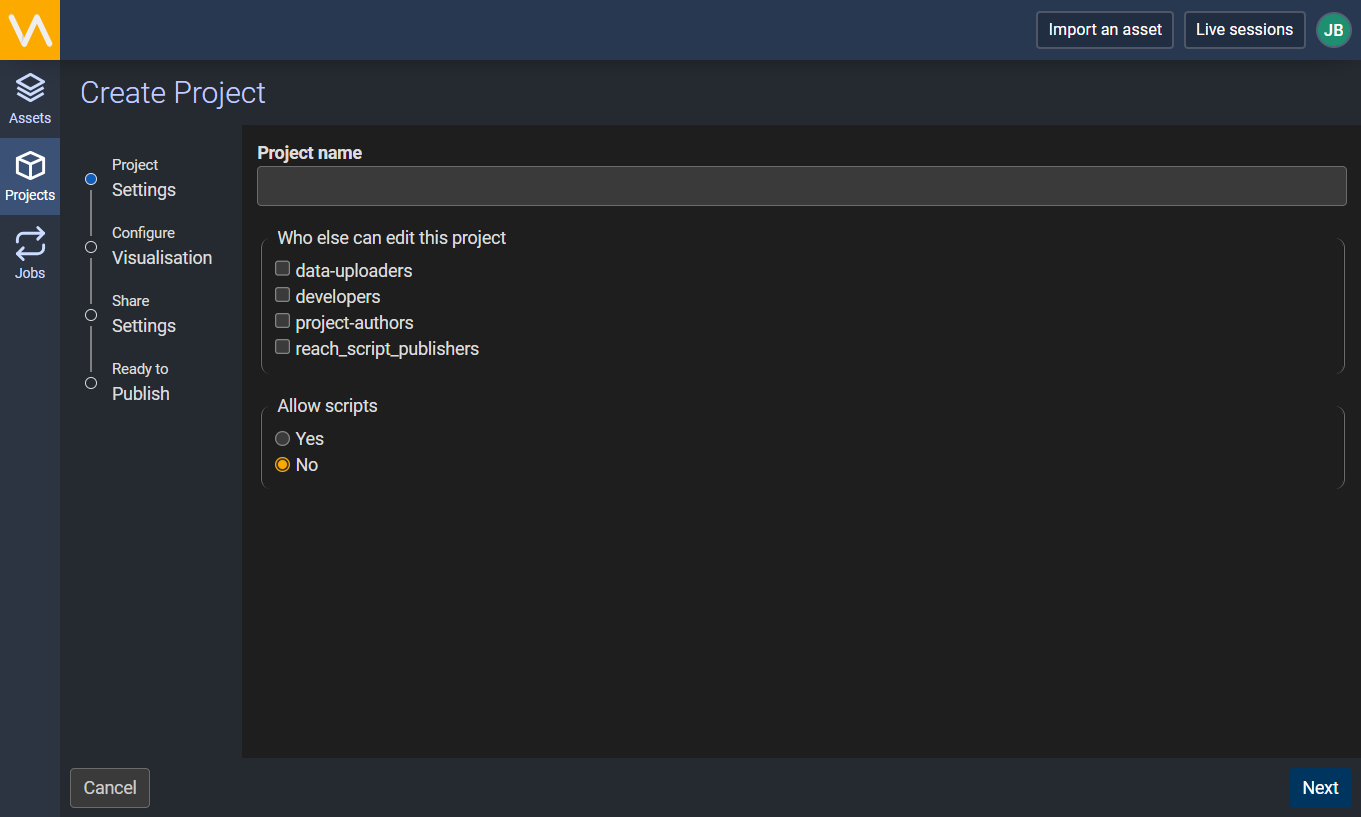
When done, click the Next button at the bottom right of the page.
Visualisation
Choose assets from the library to add to the new project. You can also add custom rules if required.
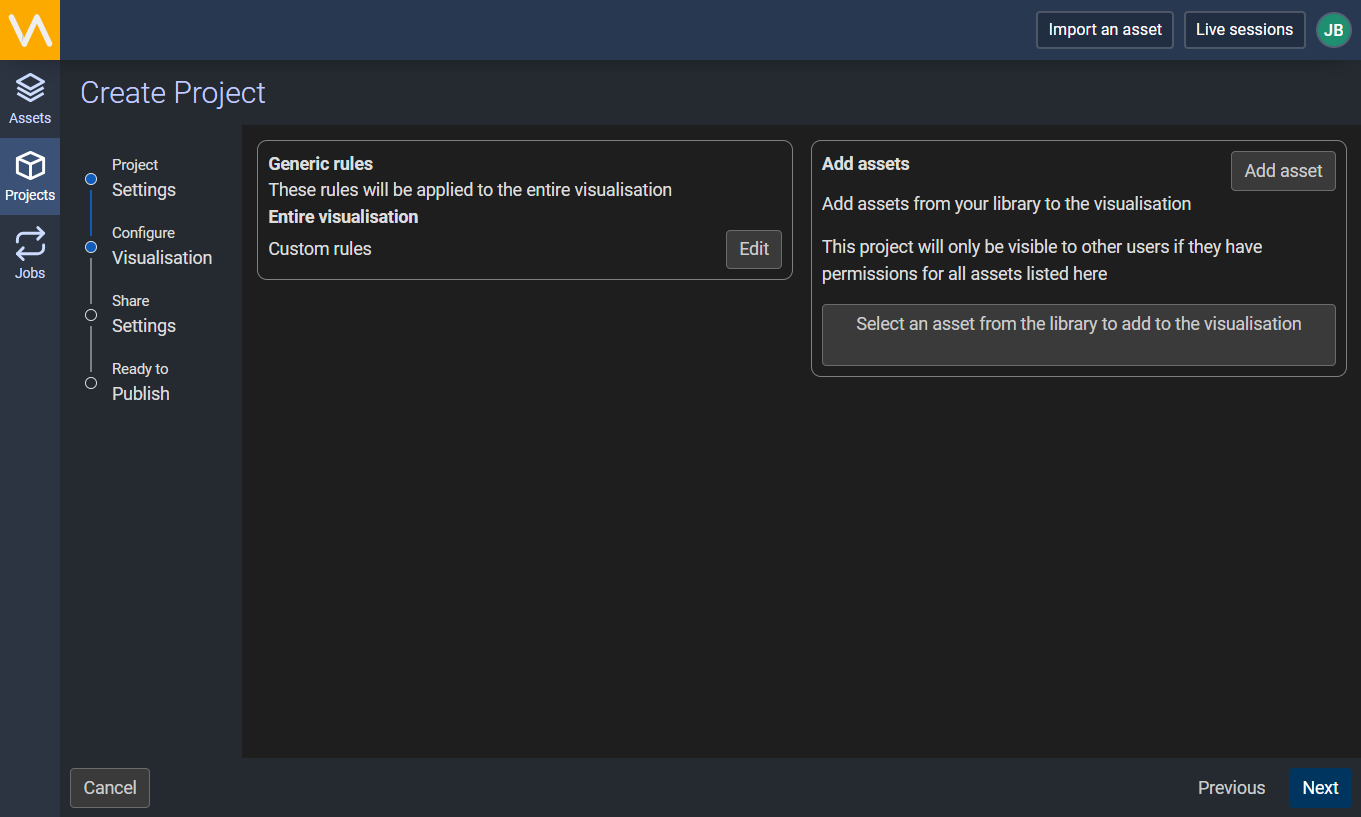
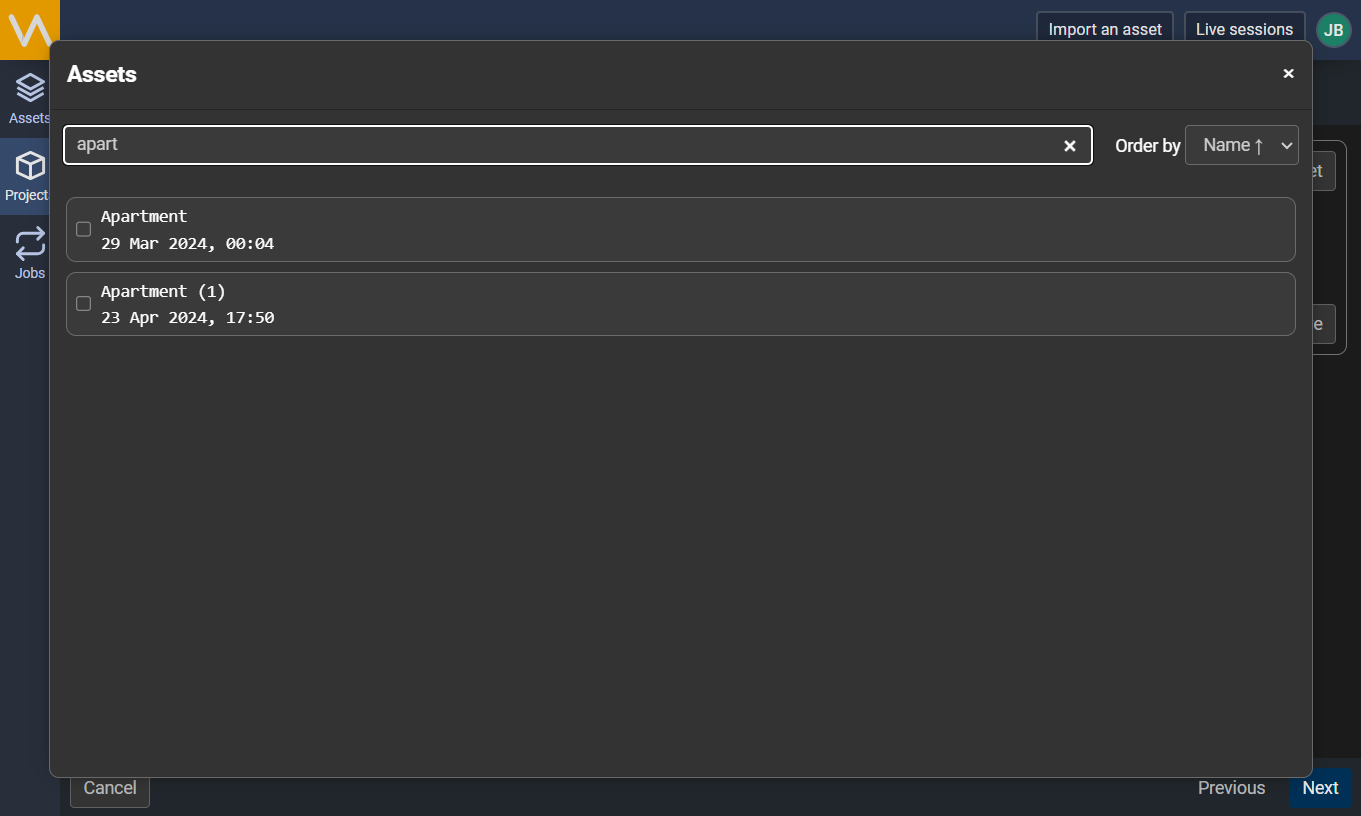
Click Add asset to open a list of assets in your library. Select the assets that you want to add to your project then click the close button to close the dialog.
You can also add custom rules that will be applied to the entire project. The rules are specified as JSON and can be used to change the property of any node in the project, for example changing the diffuse value of a specific material or removing nodes from an asset for security reasons. See Appendix A - JSON Template Processor Rules for more information.
When done, click the Next button.
Share
Choose the groups that can access the published scene (these are defined by your server administrator).
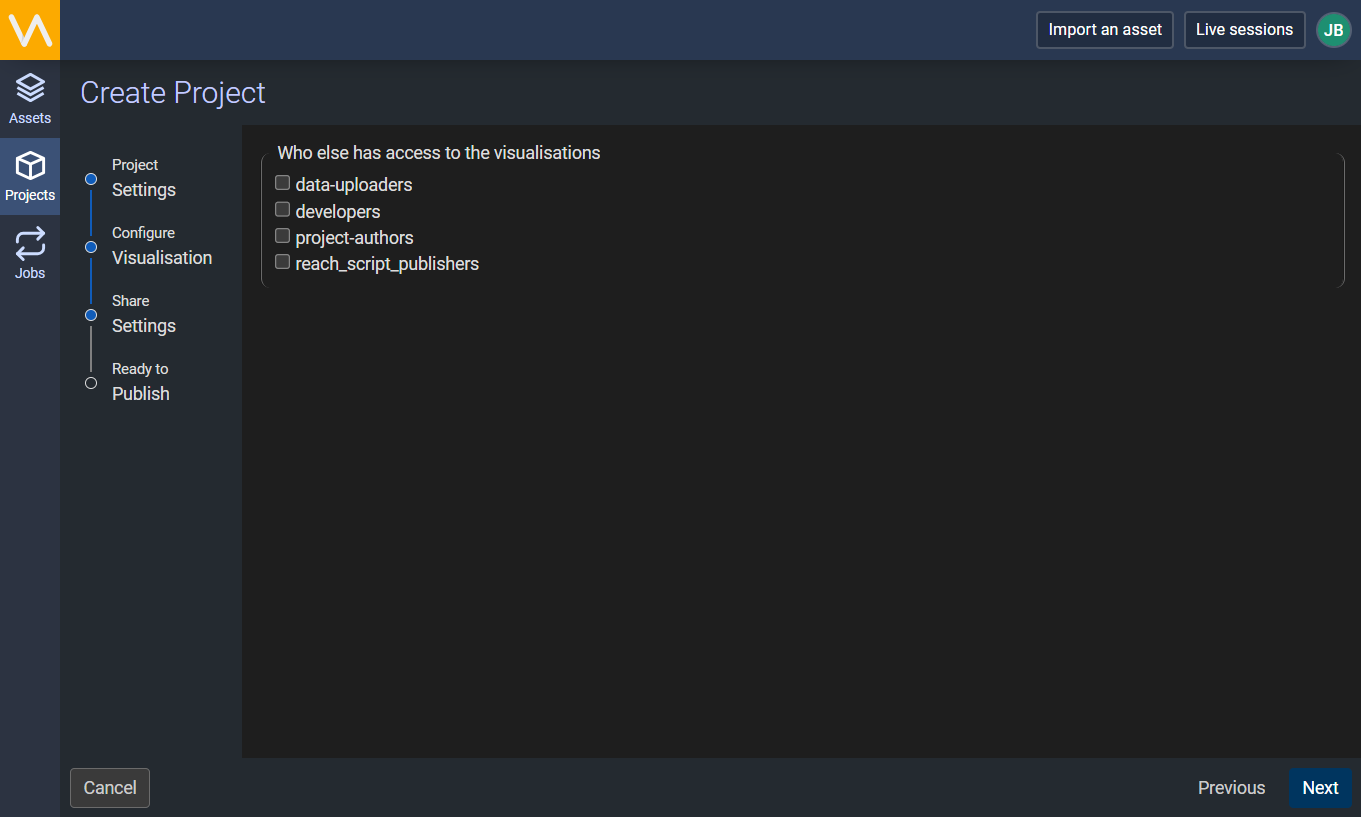
When done, click the Next button.
Publish
Choose a name for the scene (defaults to the project name) and a publication schedule.
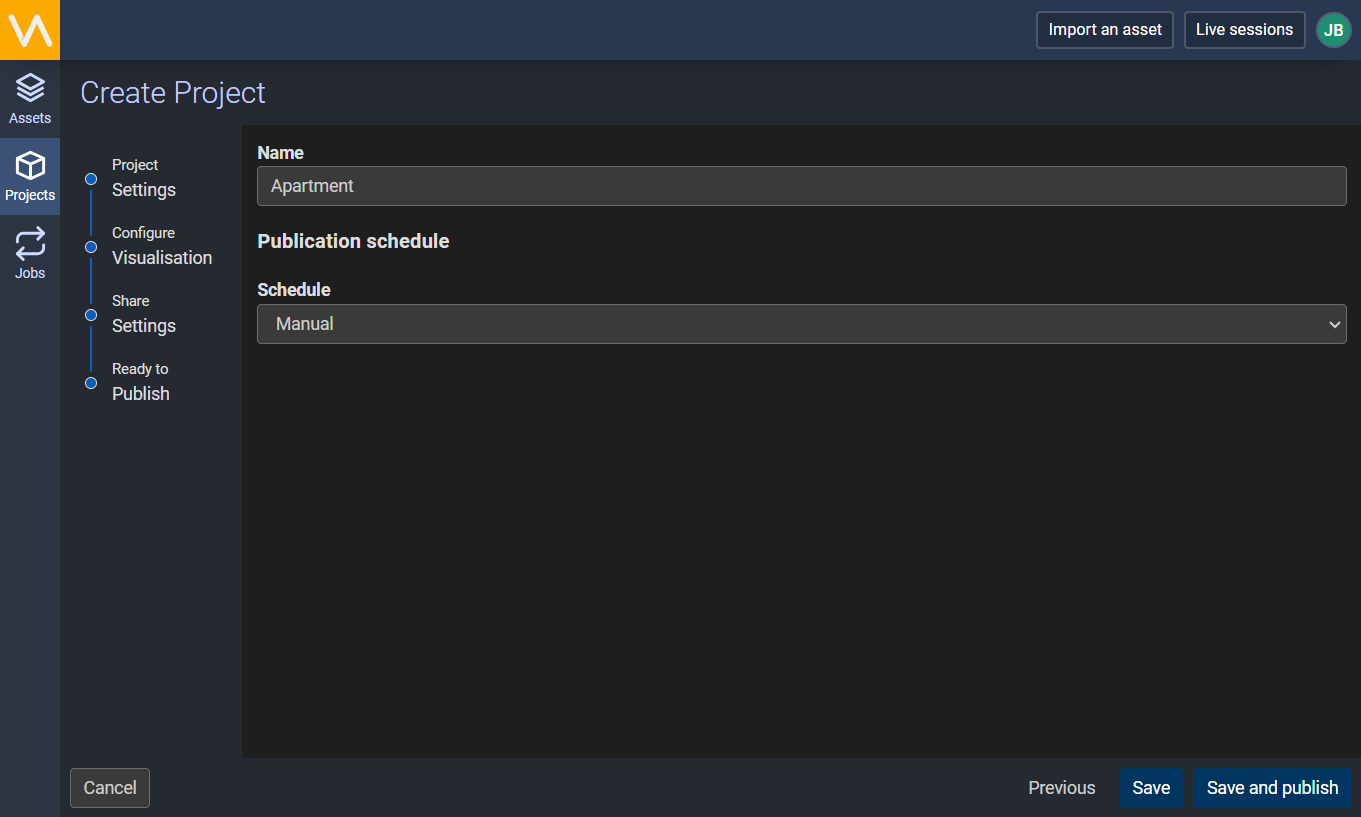
There are 3 options for the publication schedule:
- Manual (default)
- Daily at specific hour
- When the source data changes
Choose an option and click Save to save the project and publish it later, or Save and publish to save and publish the project now. If you chose the latter, open the Jobs page to view the status of the project publication.
Open
Once the project has been published into a scene, there are 2 ways to open it:
- Click the View button to the right of the scene on the Jobs page
- Click the Virtalis logo at the top left of the page to open the Scenes page then click on the scene
Edit
Click the Edit button to the right of a project to edit its properties.
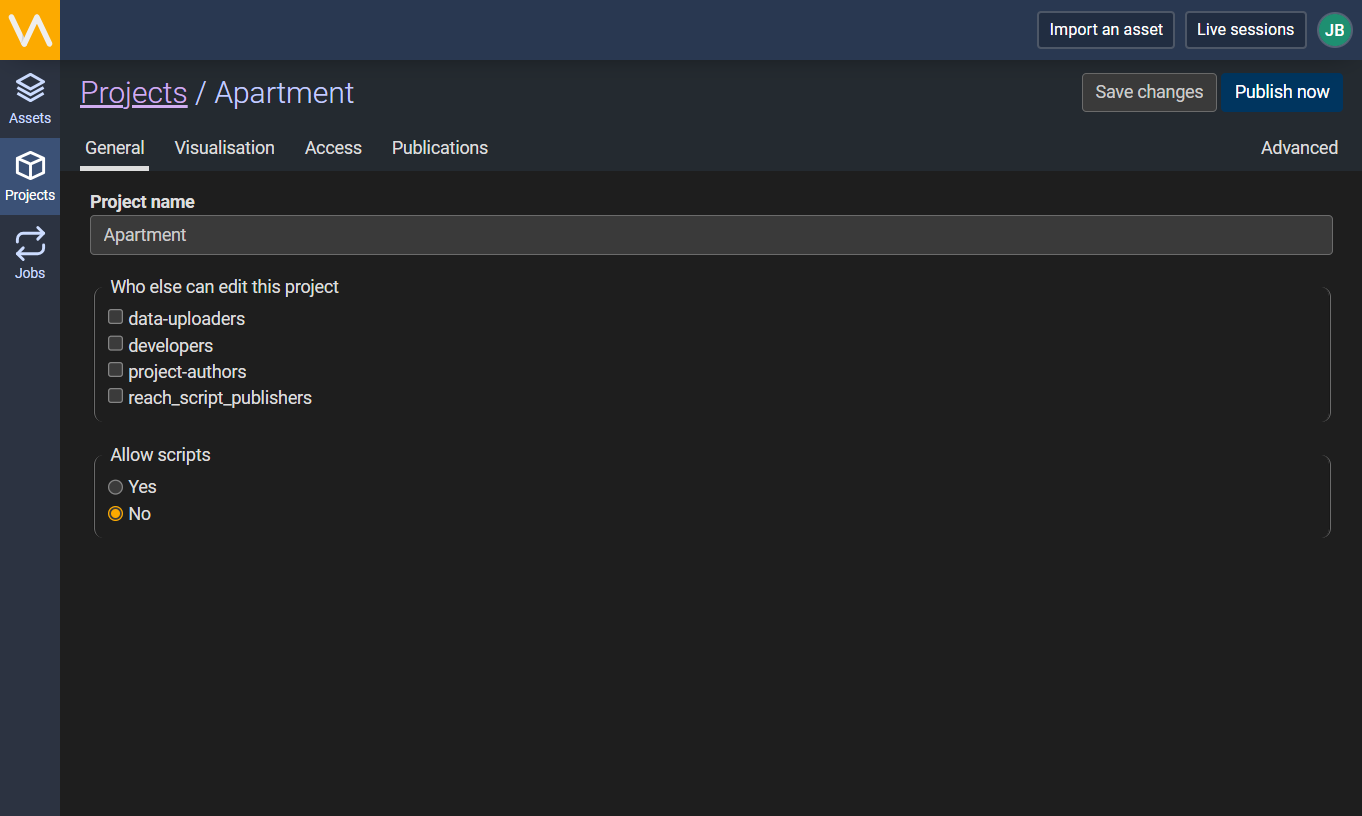
General
Edit the project name (required), who else can edit the project, and whether or not to allow scripts.
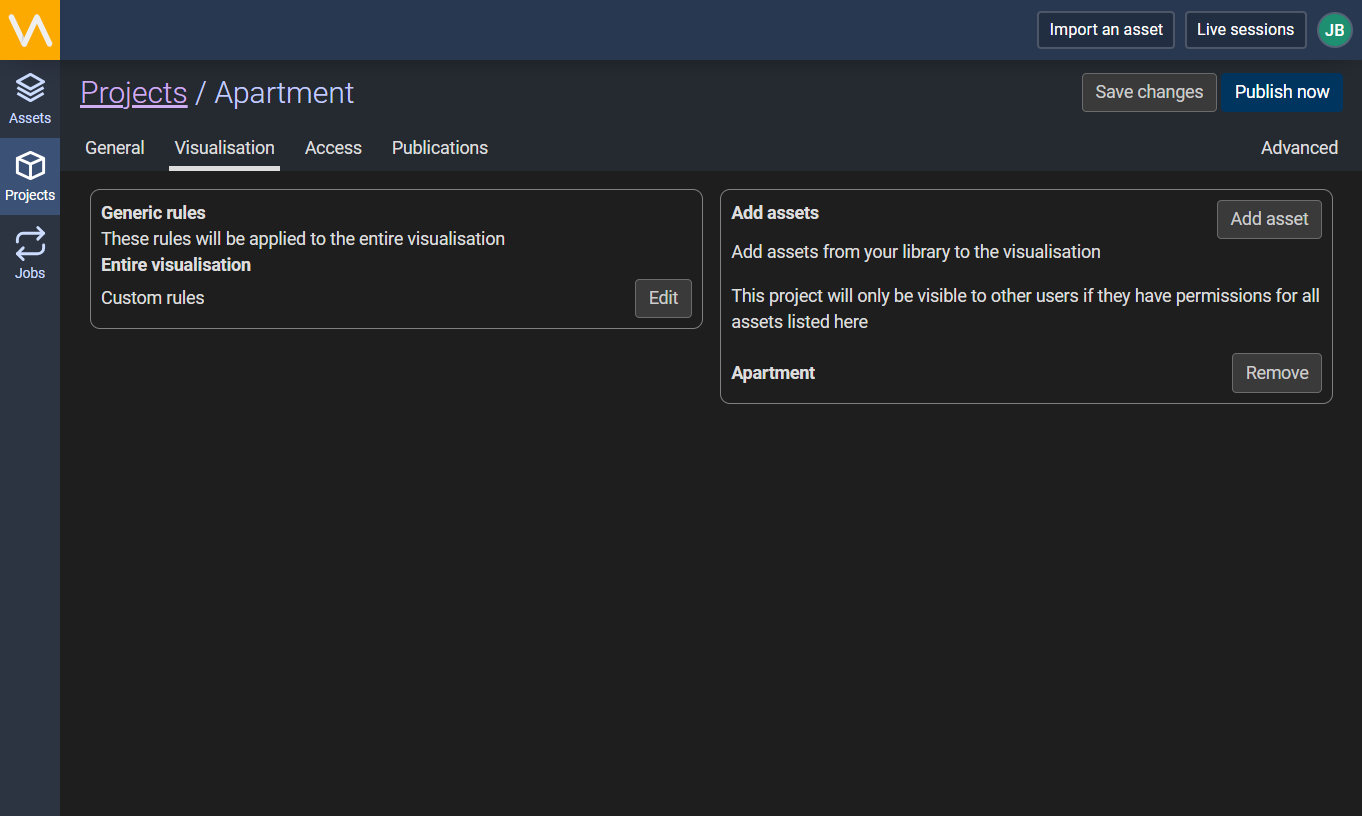
Visualisation
Edit the custom rules and assets that are included in the project.
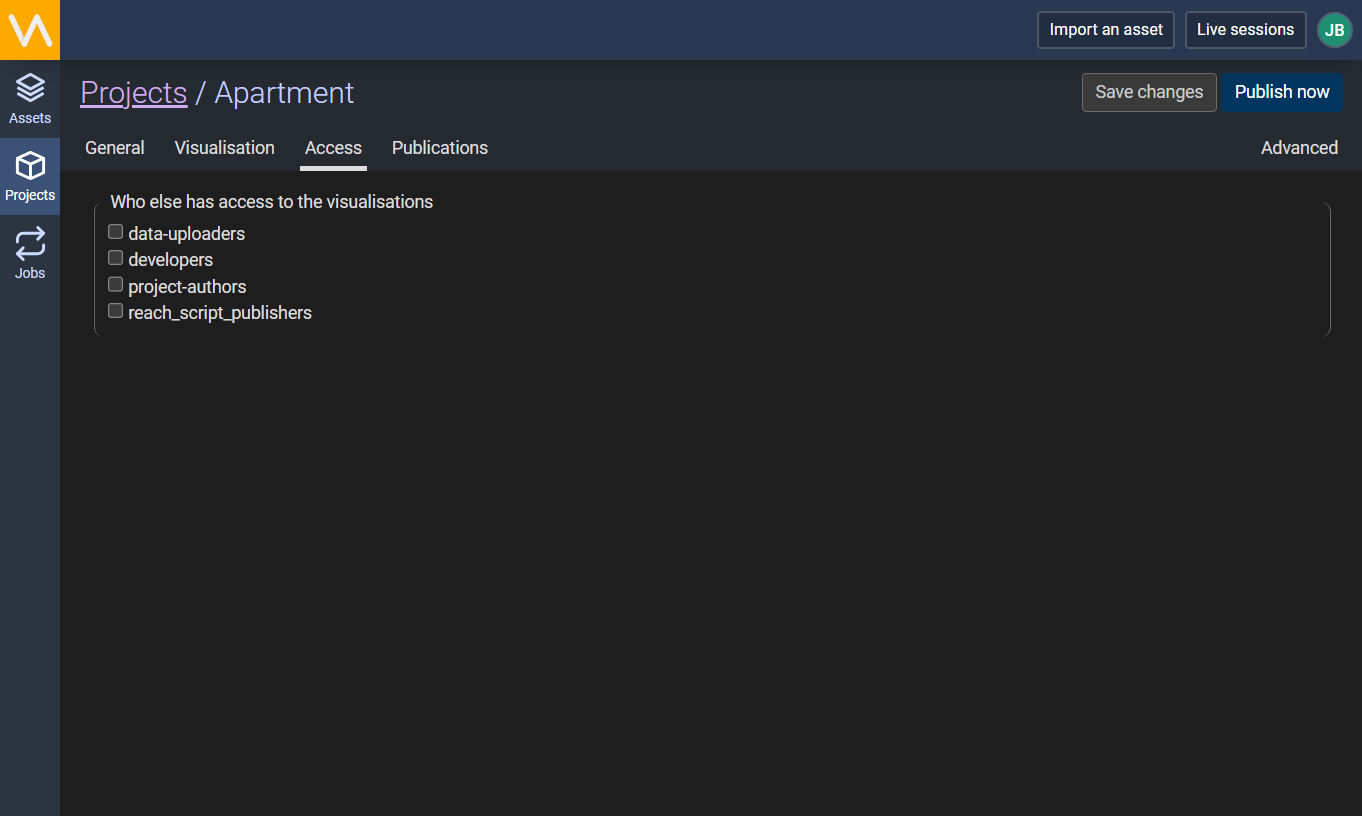
Access
Edit the groups that can access the published scene.
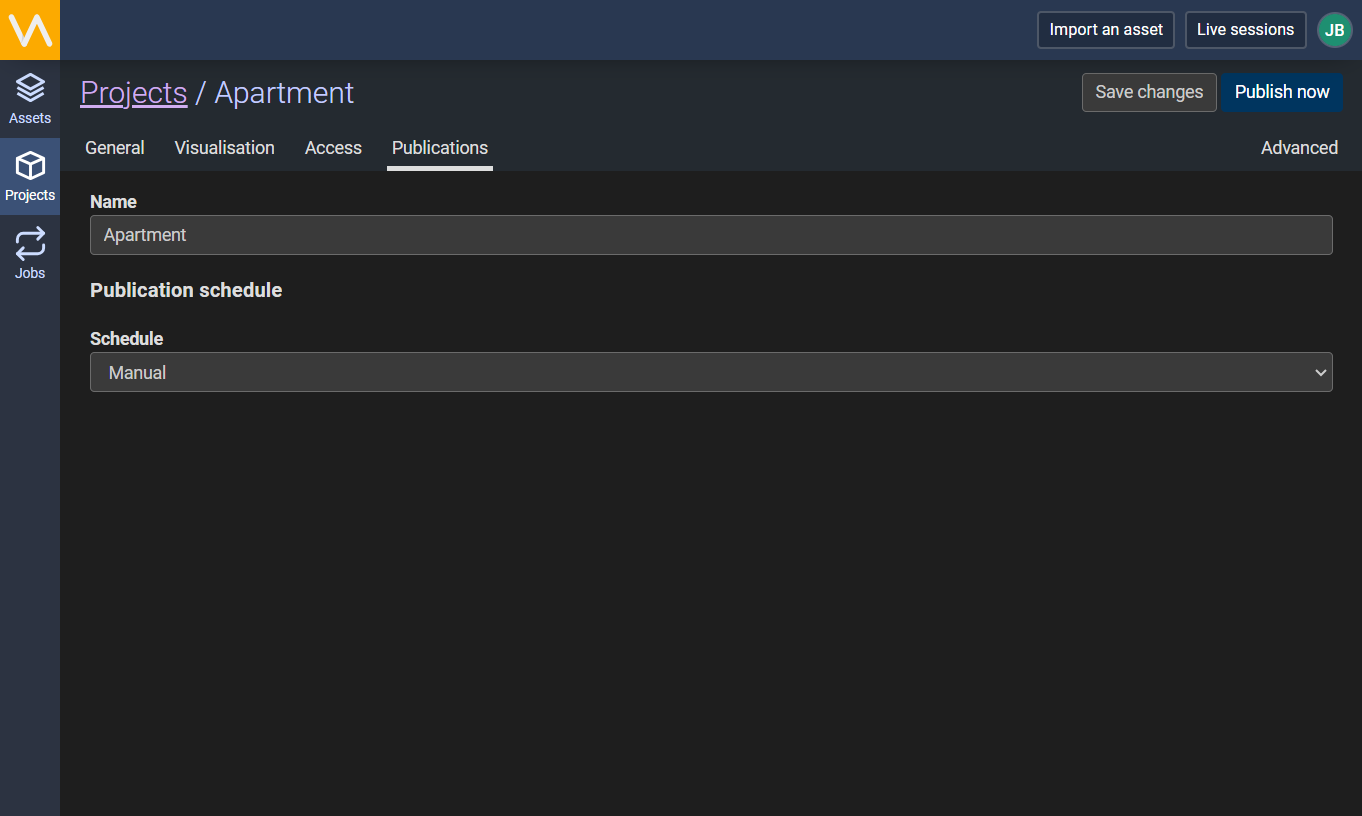
Publications
Edit the scene name and publication schedule.
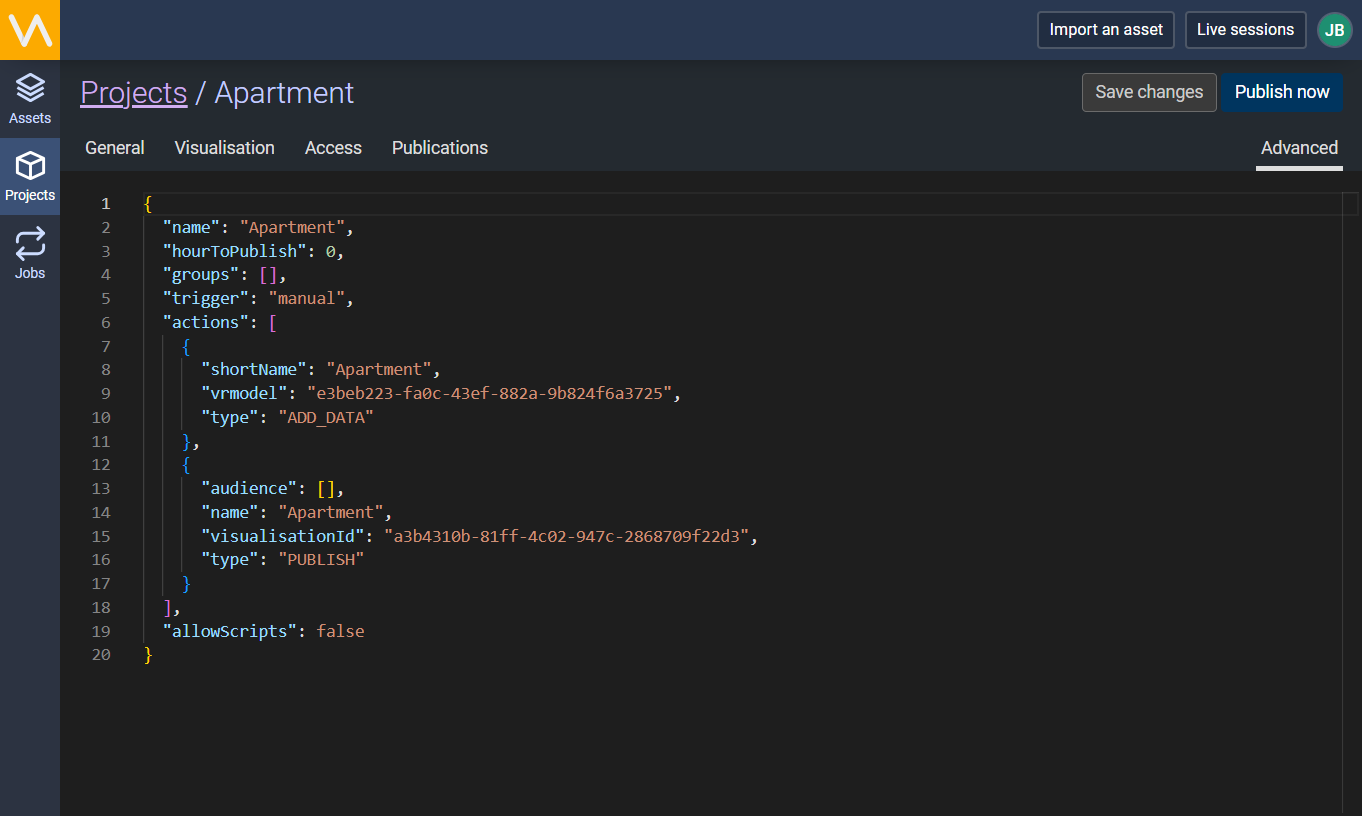
Advanced
Edit advanced configuration options for the project using JSON. See Appendix A - JSON Template Processor Rules for more information.
Save and Publish
When done, click Save changes to save your changes and publish at a later time, or Publish now to save and publish your changes straight away. If you chose the latter, open the Jobs page to view the status of the project publication.
Delete
Click the Delete button at the right of a project to remove it from your Virtalis Hub server.