Virtalis Hub
Visionary Render permits you to upload your scenes to Virtalis Hub so that you can collaborate with others. To view scenes stored on Virtalis Hub, you can either download them directly to Visionary Render or open them in the Web Viewer in your browser.
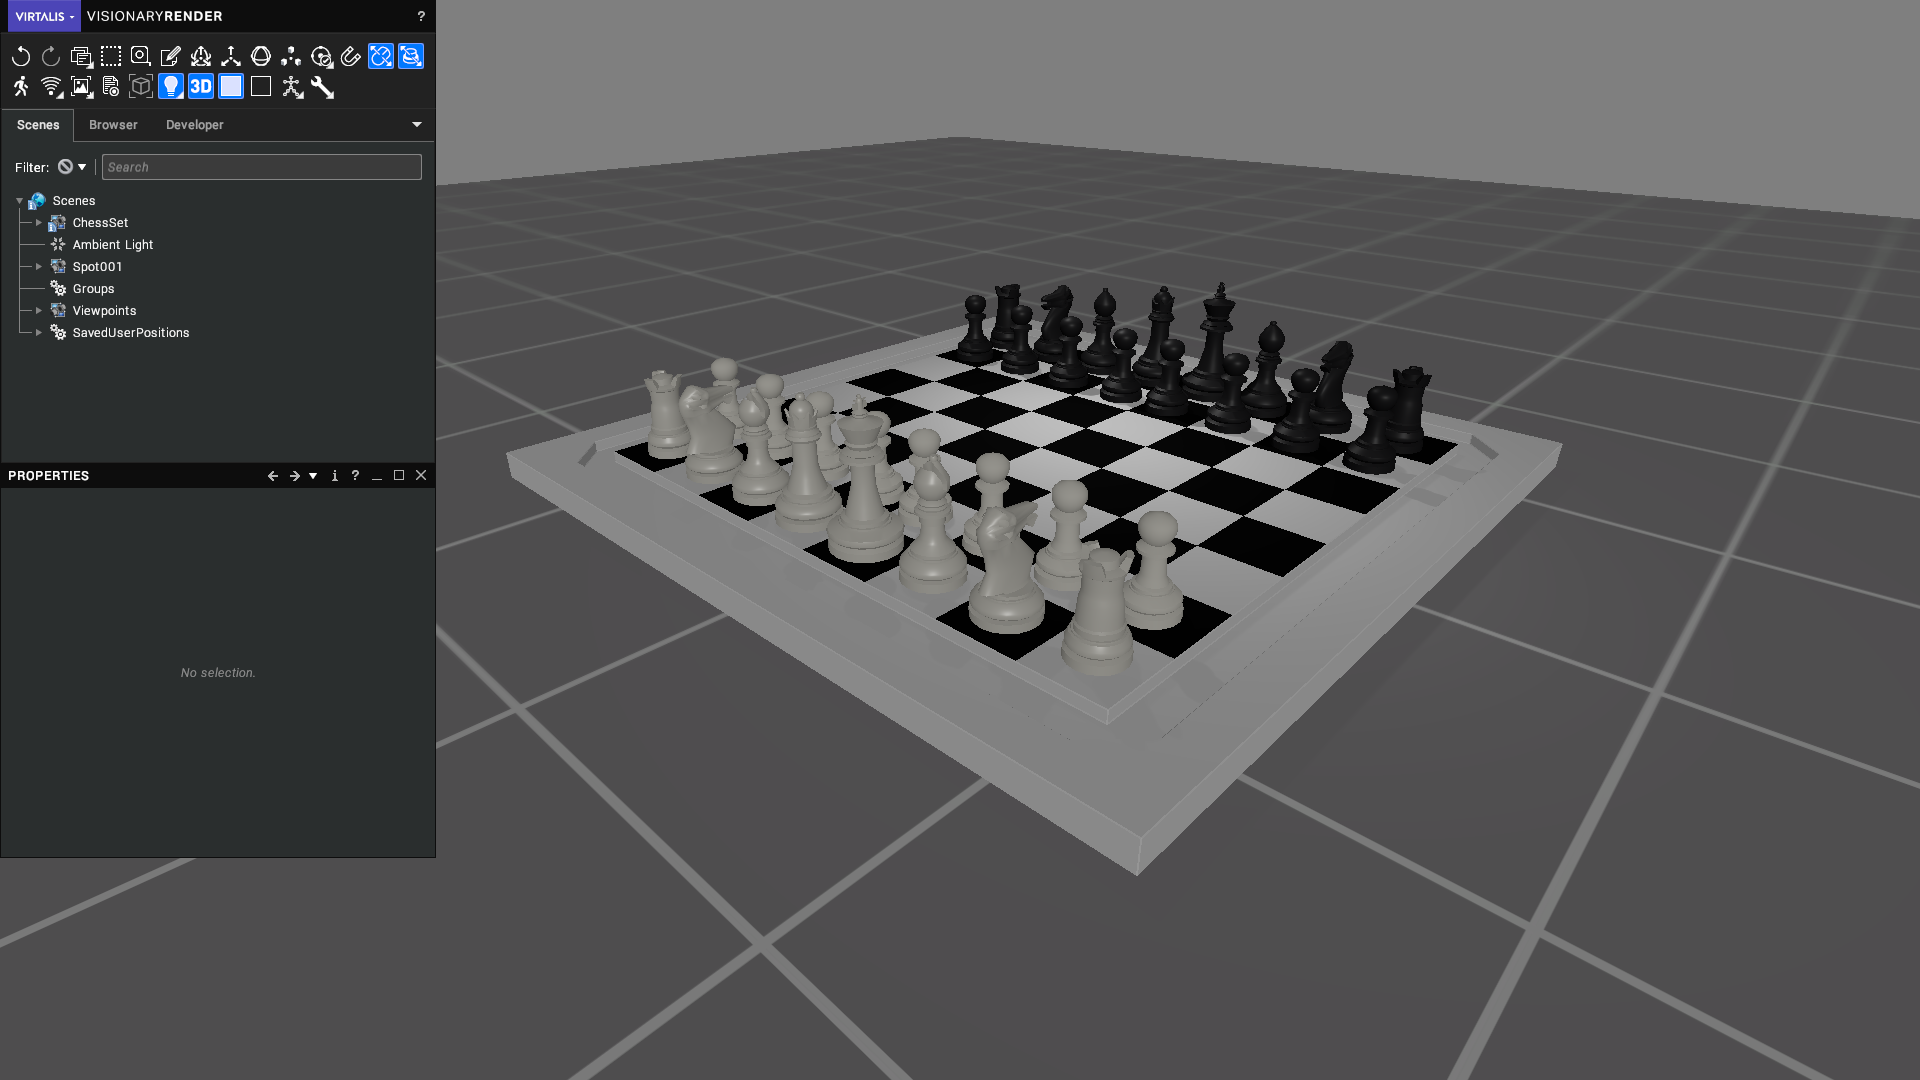 | 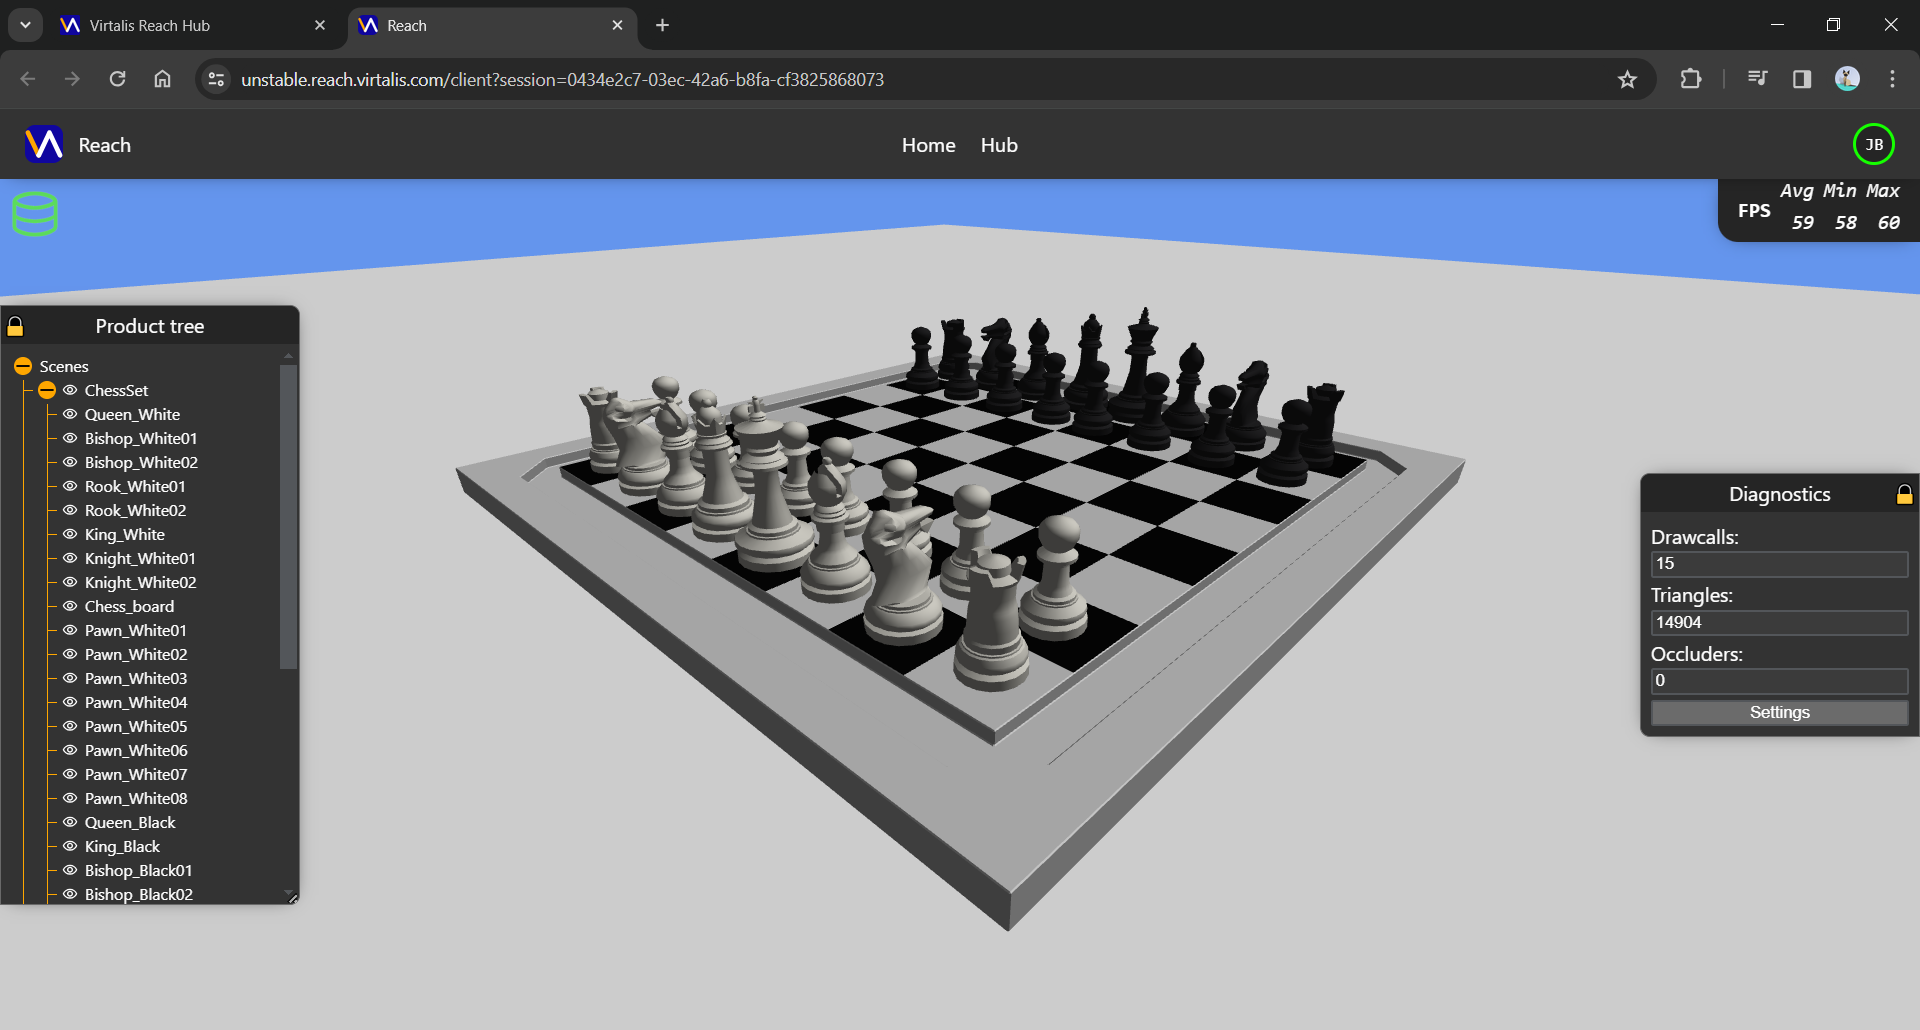 |
|---|---|
| Chess scene in Visionary Render | Chess scene in the Web Viewer |
The Web Viewer has a simplified renderer suitable for browsers, so your scenes may look quite different and be missing more advanced functionality.
Upload
To Virtalis Hub
This section describes how to upload your scenes to Virtalis Hub.
Start Visionary Render and open the scene you want to upload. Open the Settings window (
F6) and setVirtalis Hub/Server/Addressto your Virtalis Hub server address, such asvirtalishub.example.com.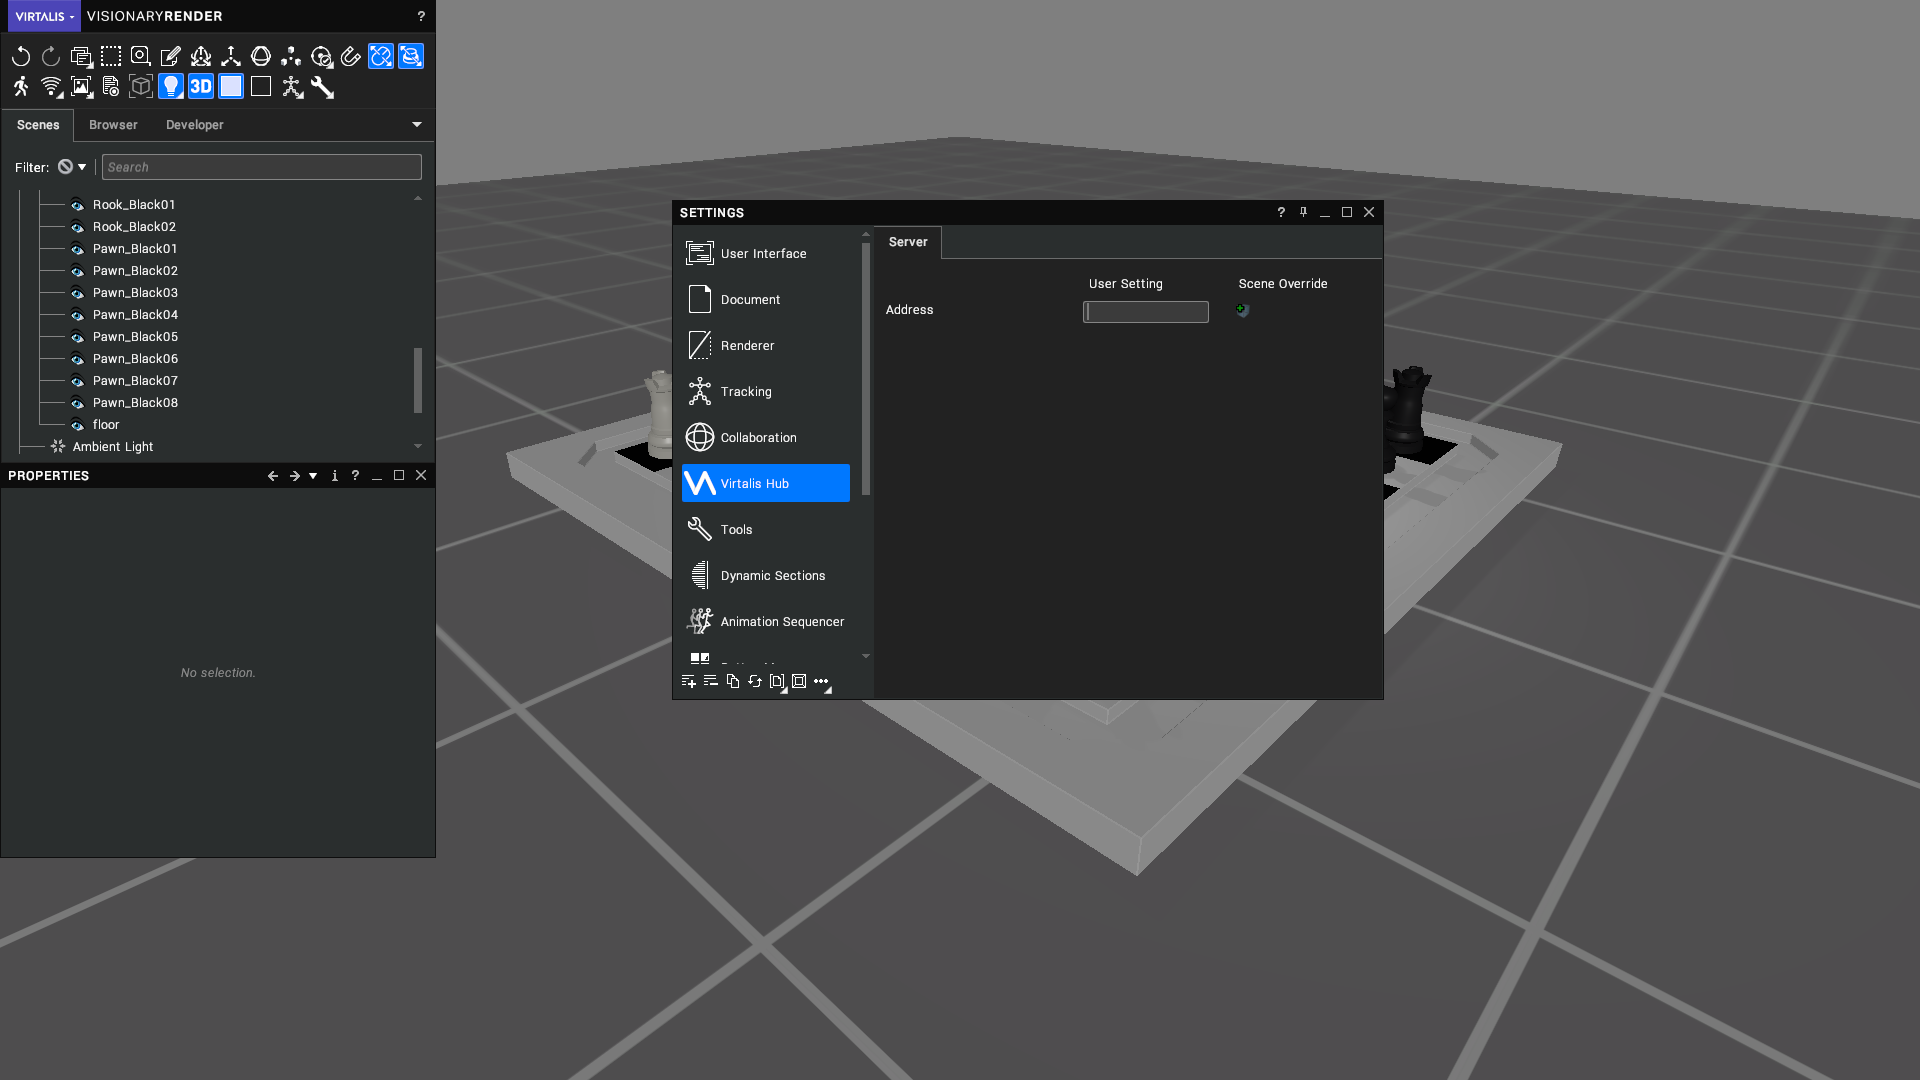
Click on the App Menu and select Upload to Virtalis Hub...
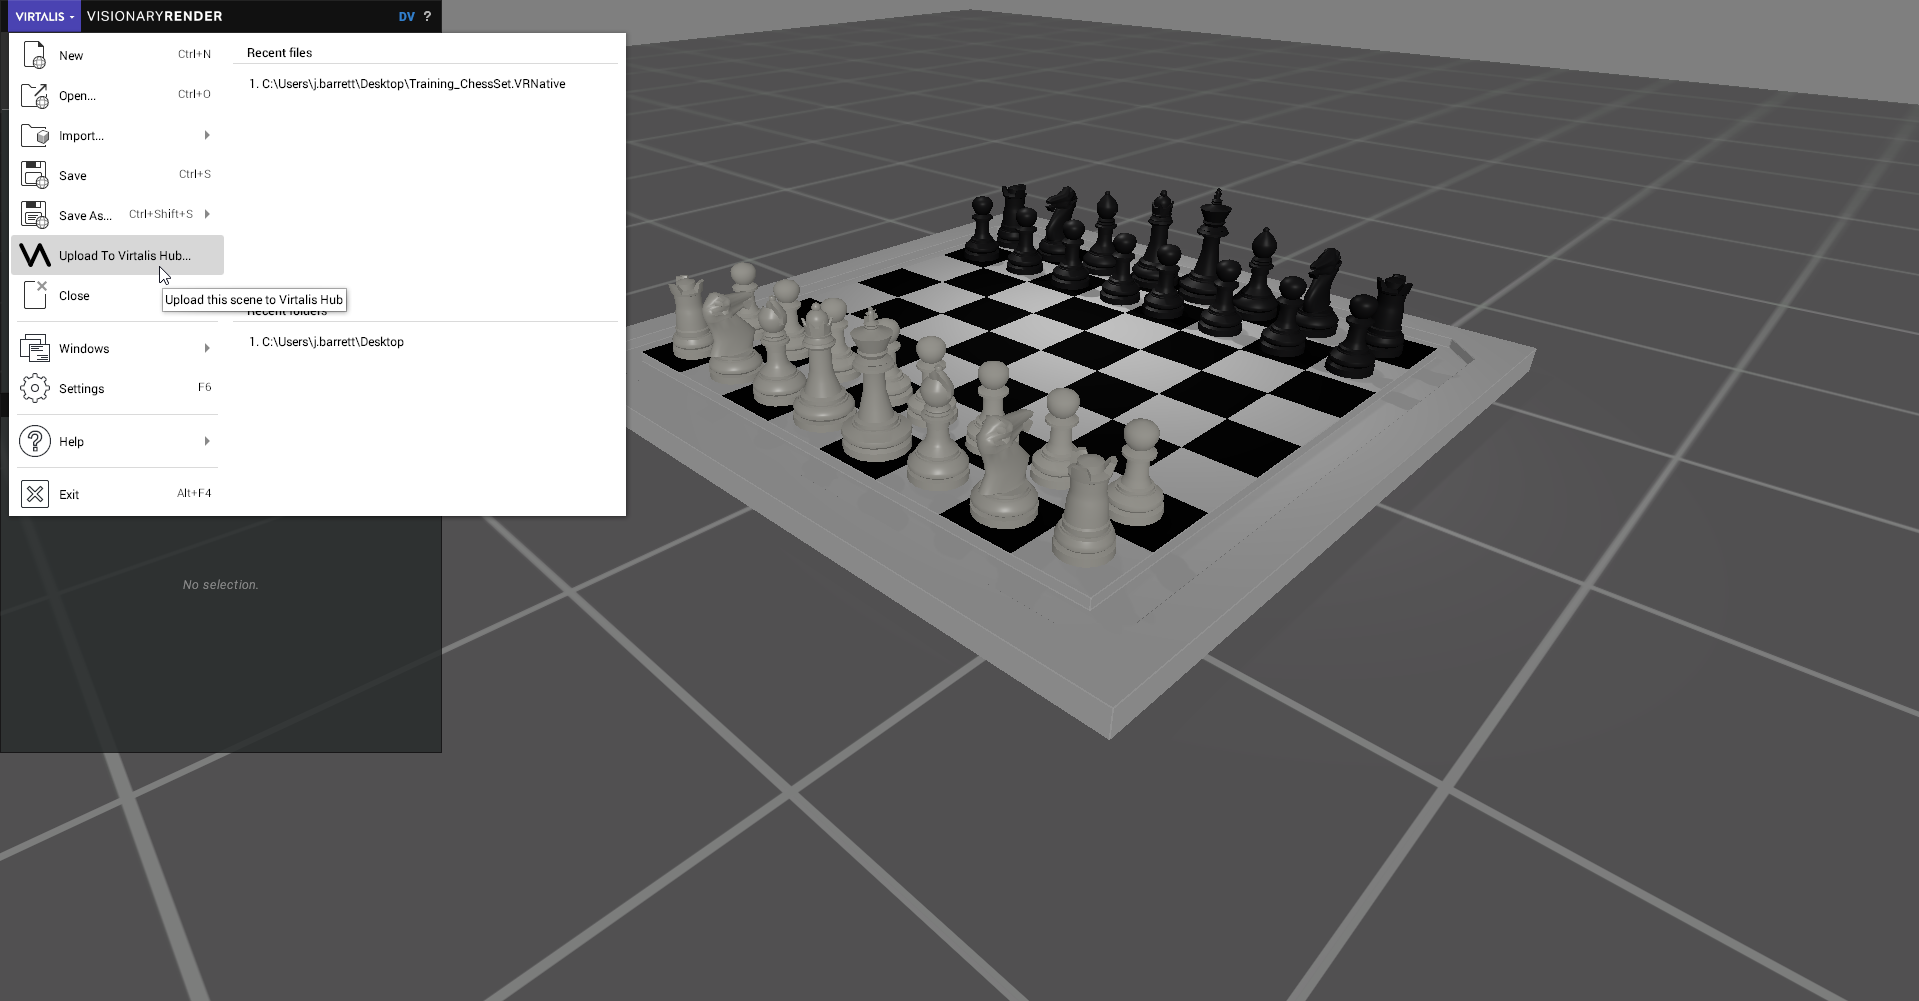
The upload dialog will appear. It will contain the name of your scene if you’ve saved it and the server address that you entered. Click Upload to continue.
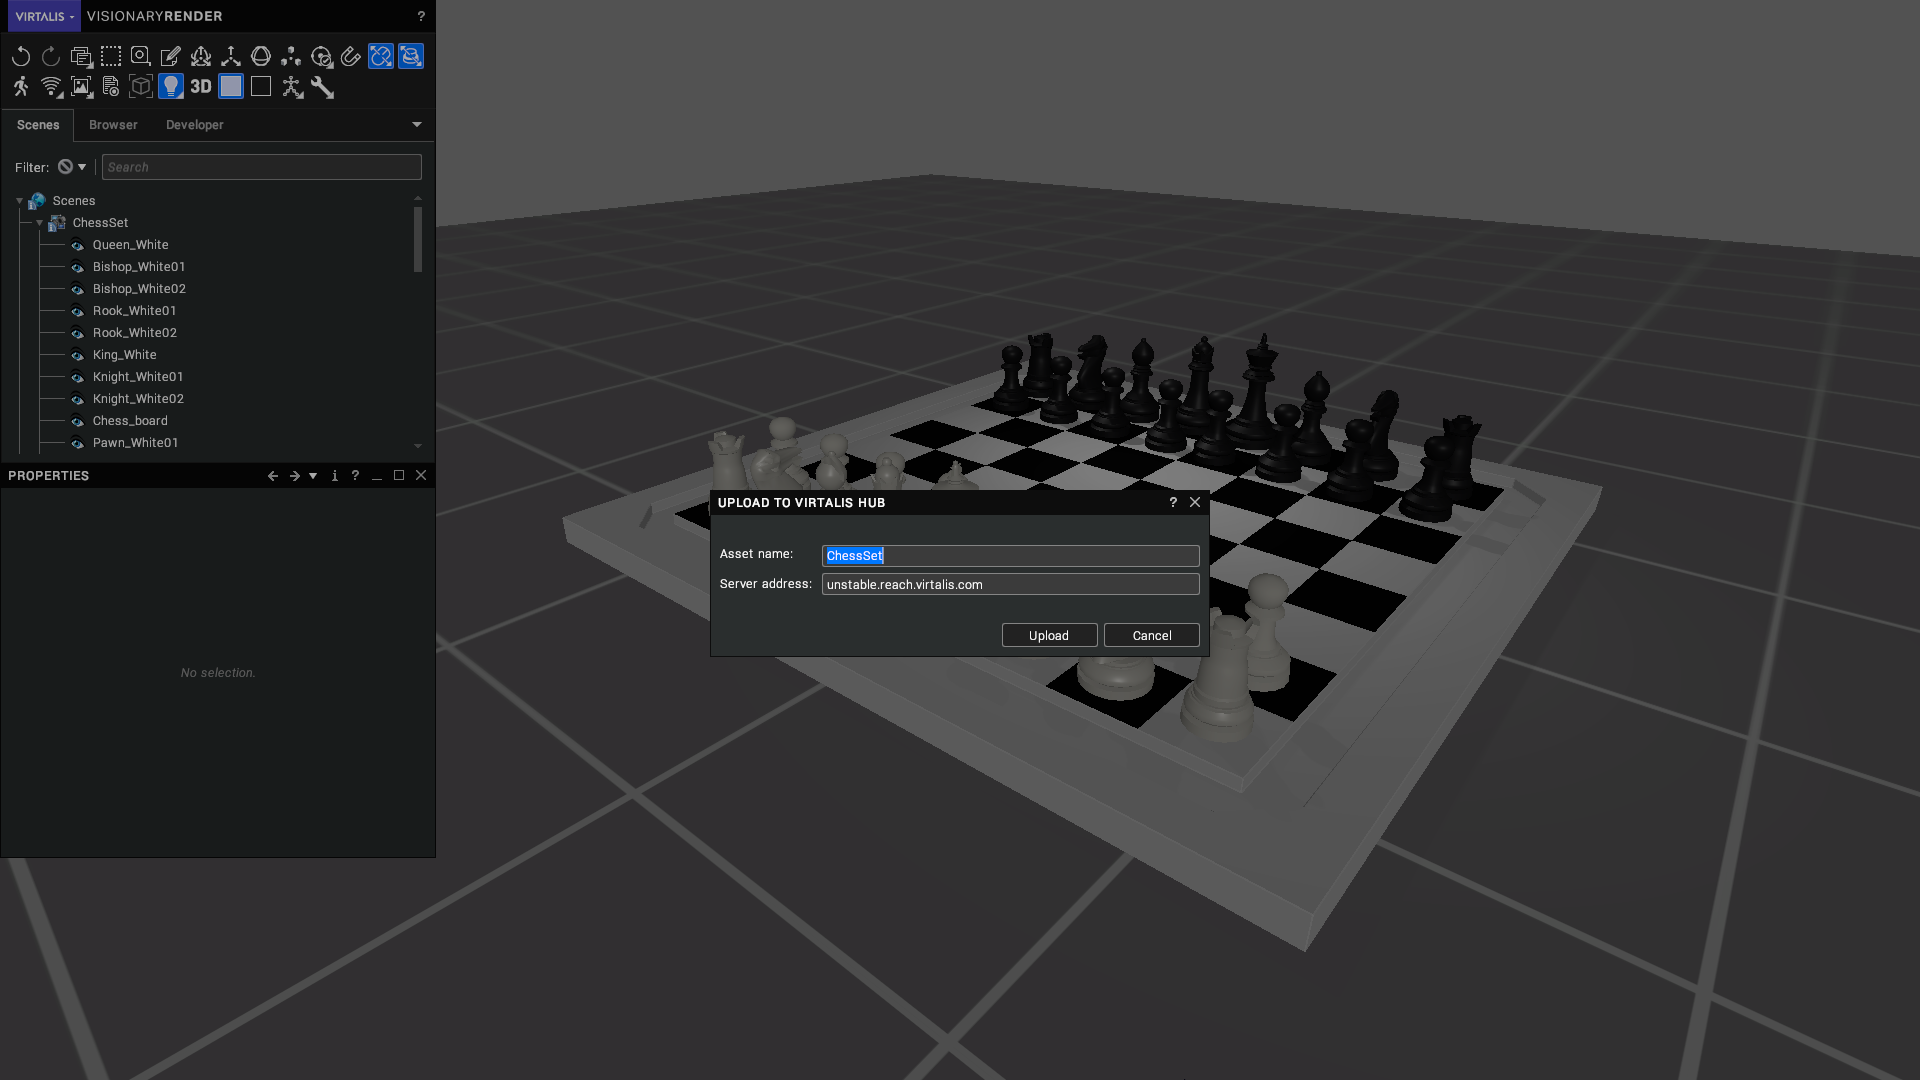
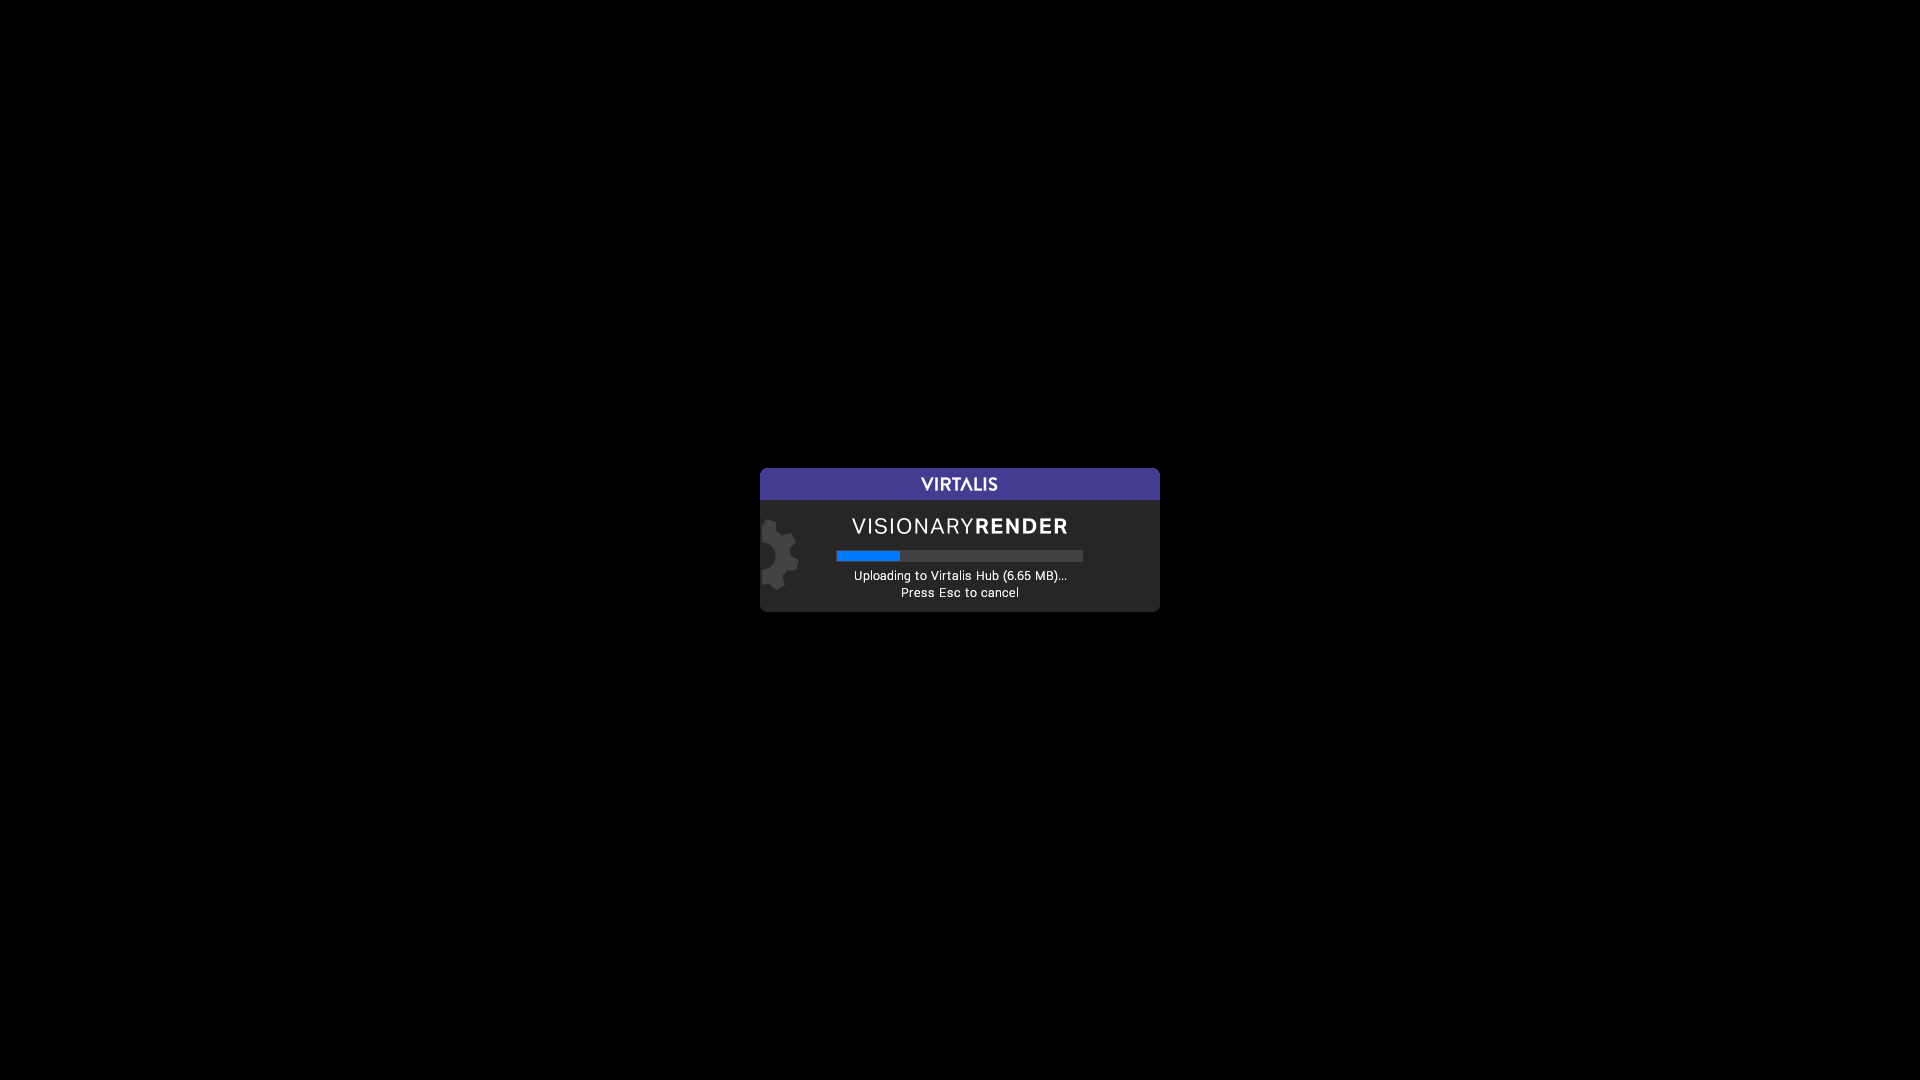
A progress bar will appear. Your scene will be saved and uploaded to Virtalis Hub.
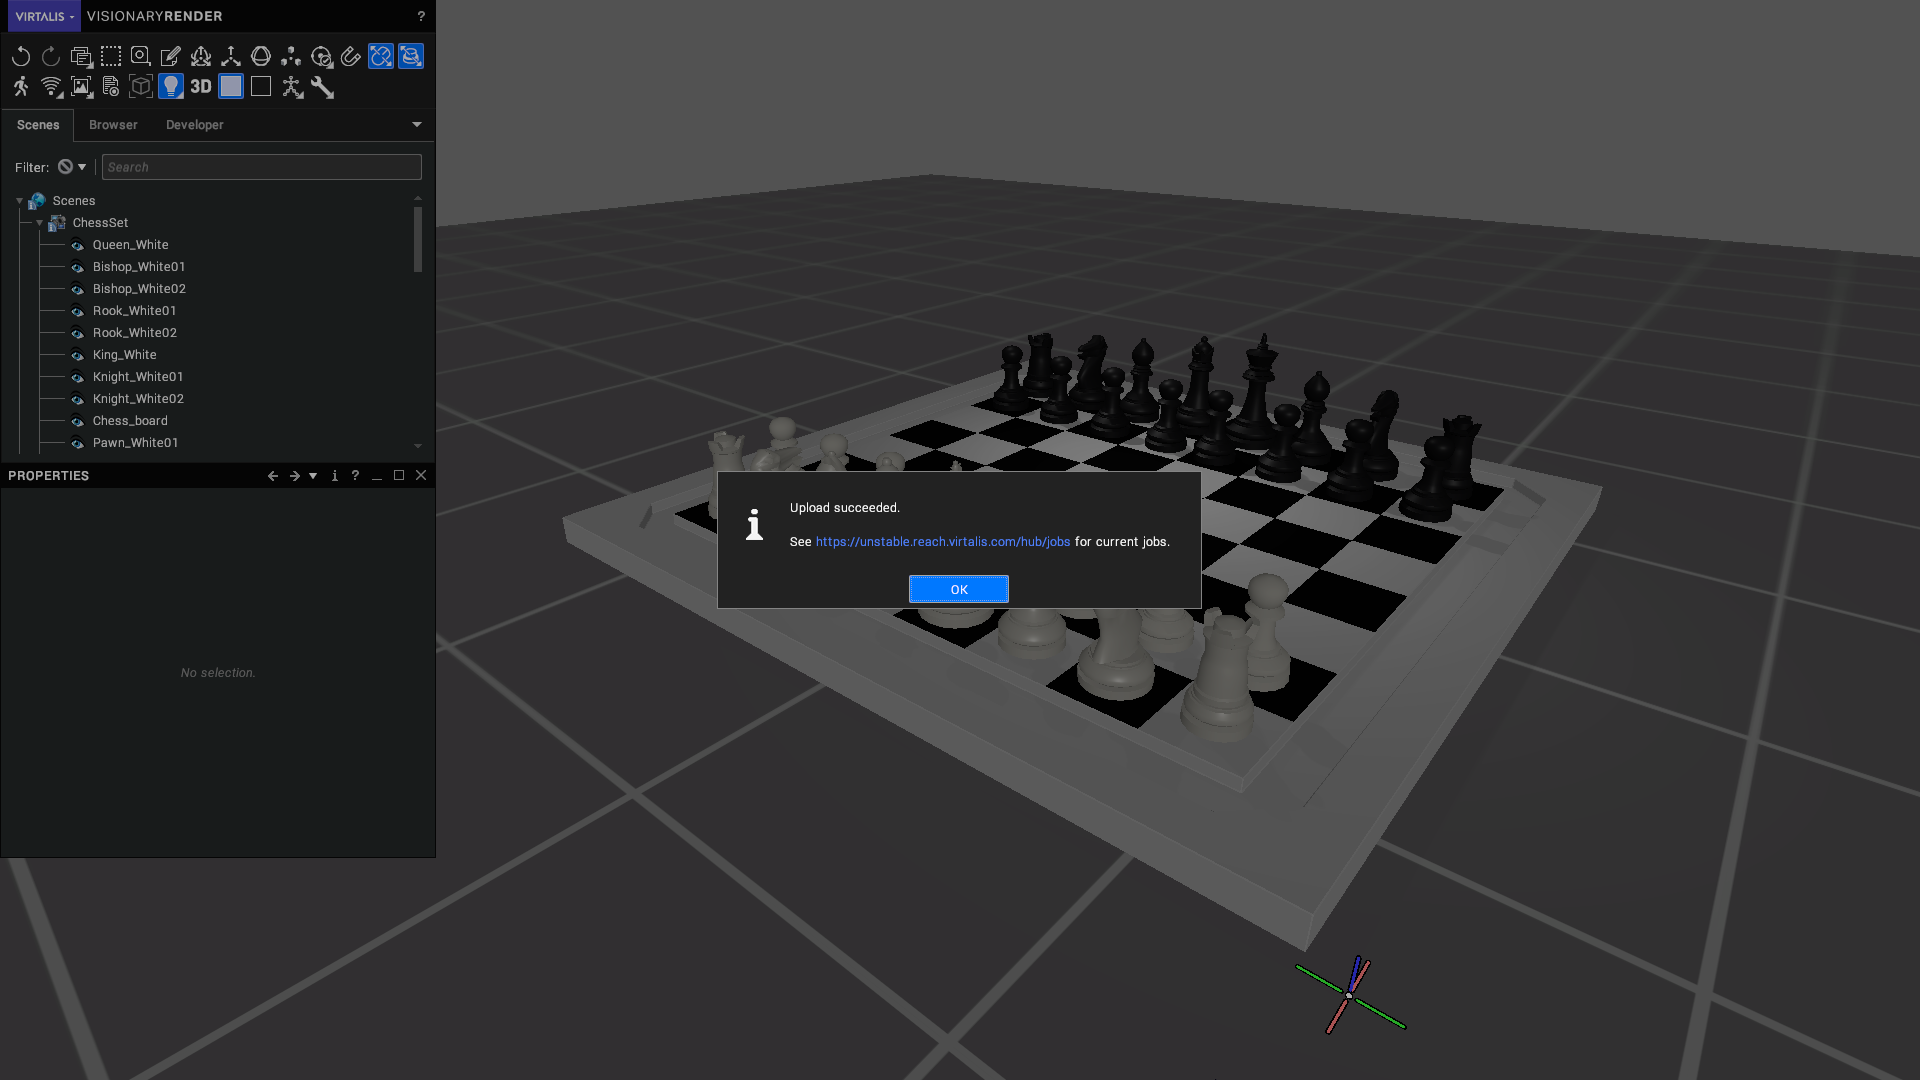
If the upload completes without errors, you will see a success message box. Click on the hyperlink to open the Virtalis Hub jobs page in your default browser.
Your job should appear at the top of the jobs list. When done, it will show a green
completedicon if there were no errors.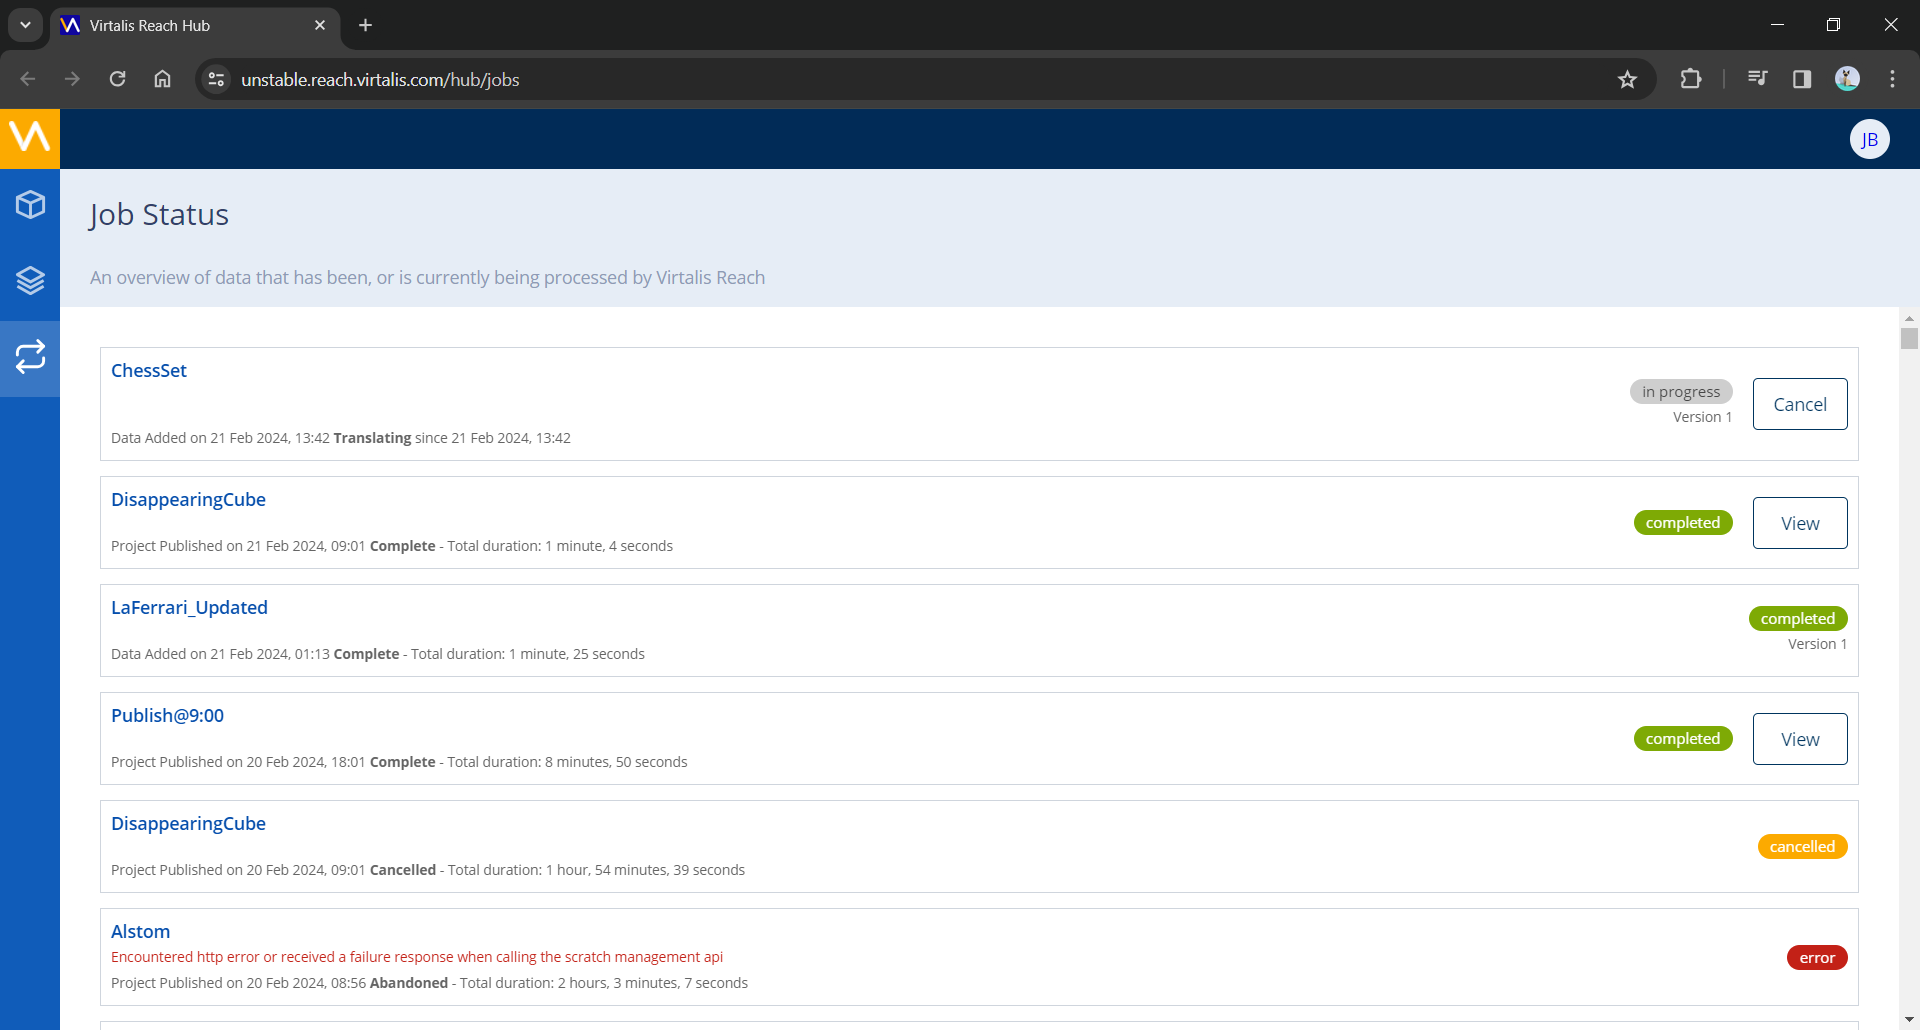
To Web Viewer
This section describes how to open your scenes in the Web Viewer.
Once your job has completed, click on the cube at the top left of the screen to open the Projects page. Now click on the New project button.
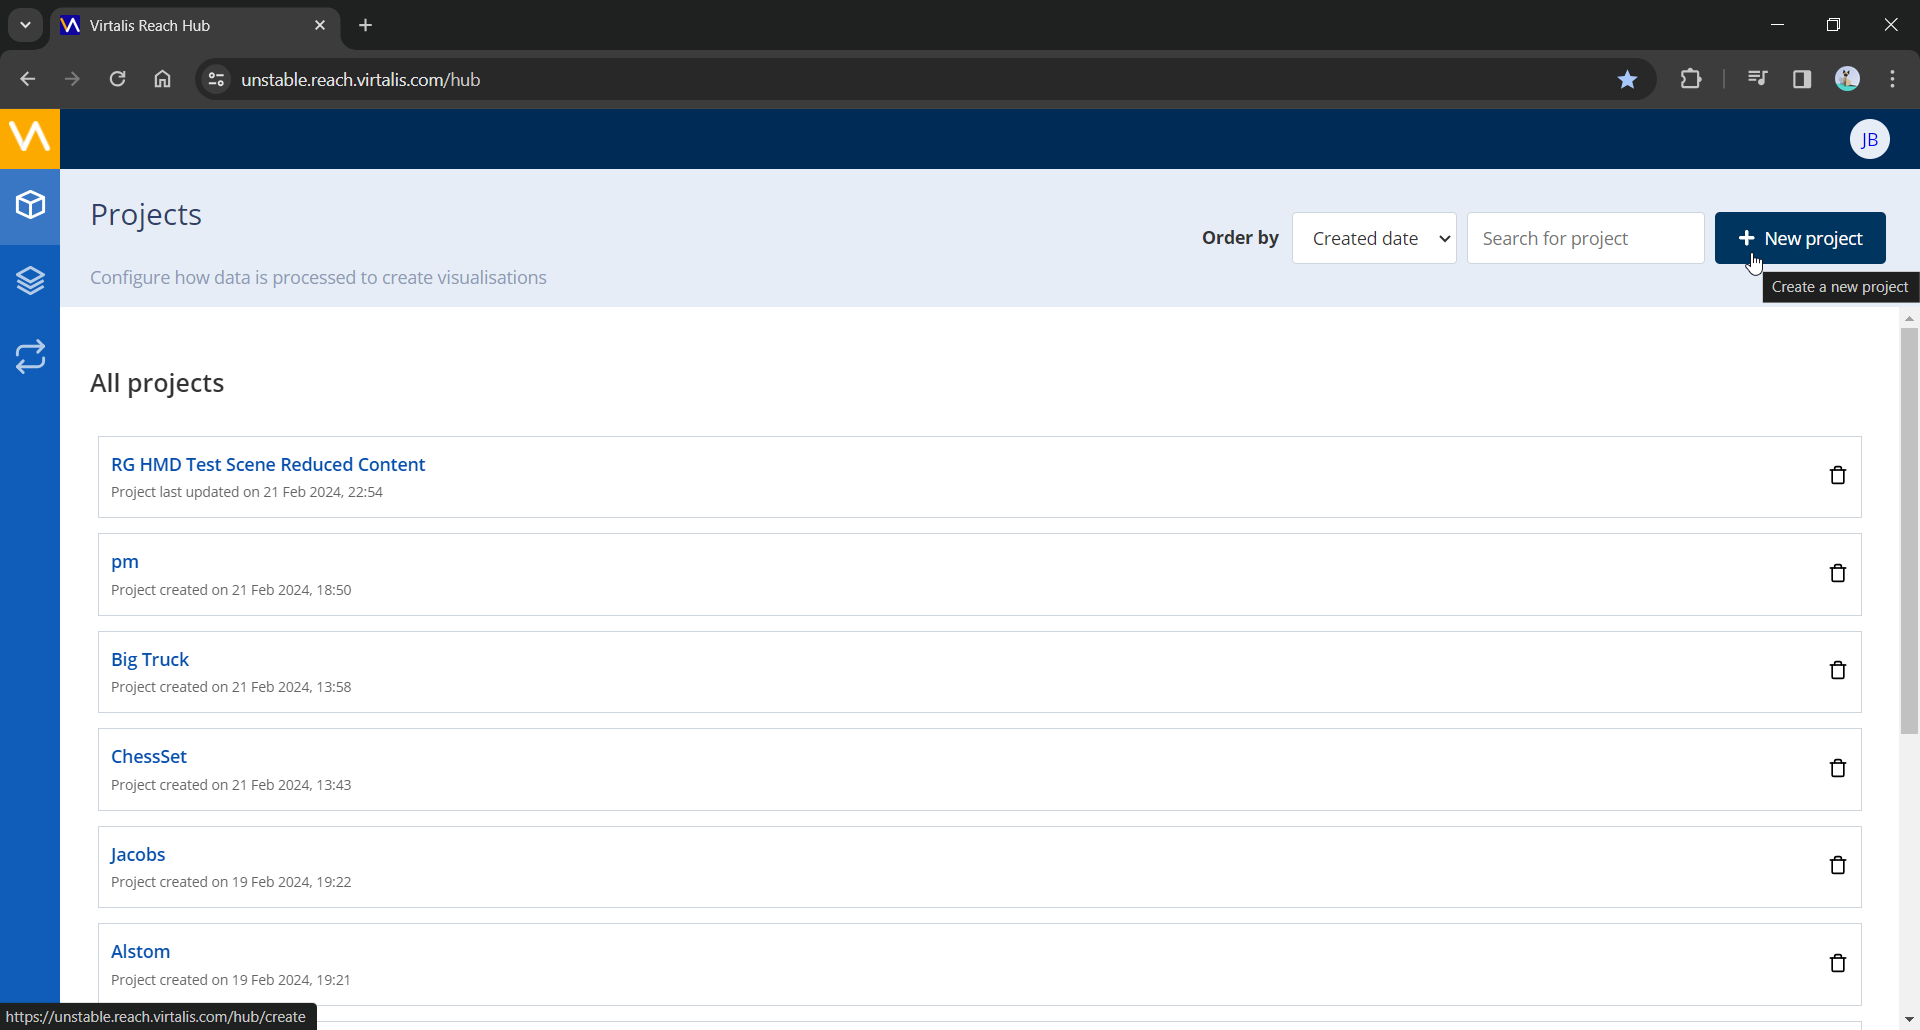
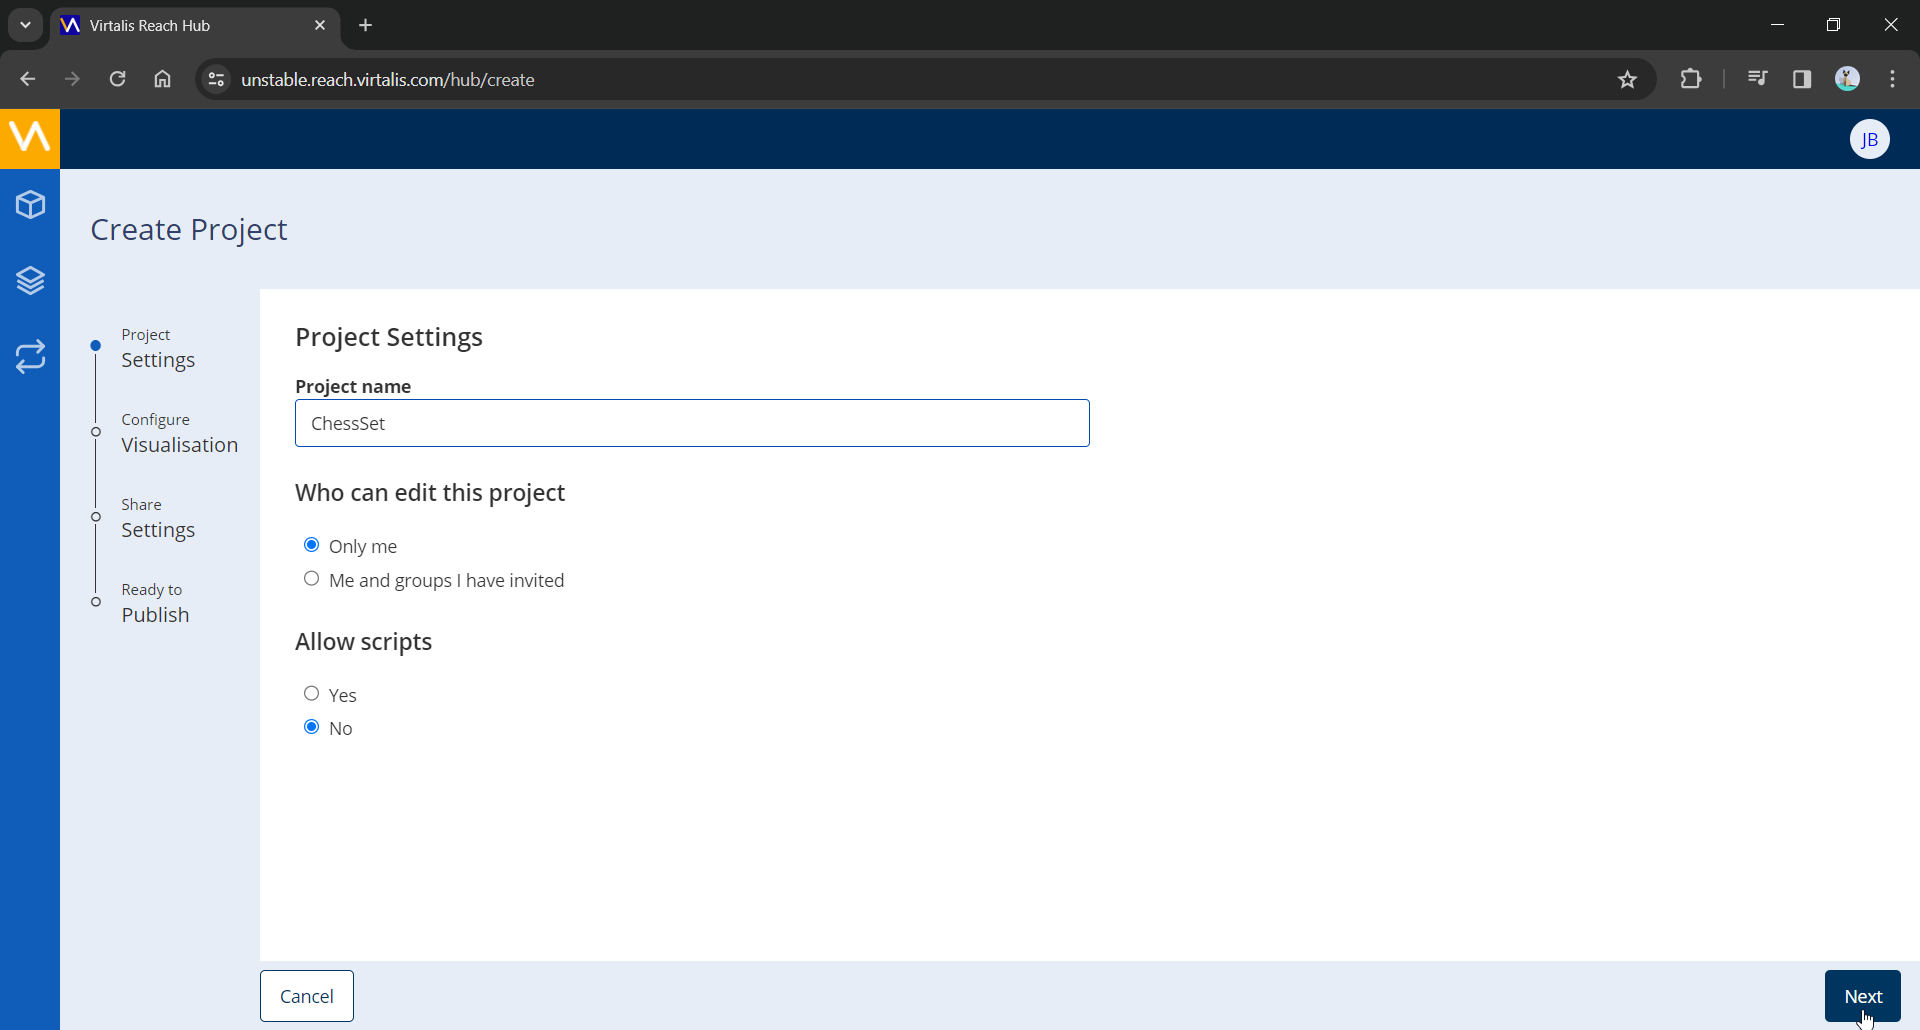
Give your new project a name, choose who can edit the project and whether scripts are allowed, then click on the Next button.
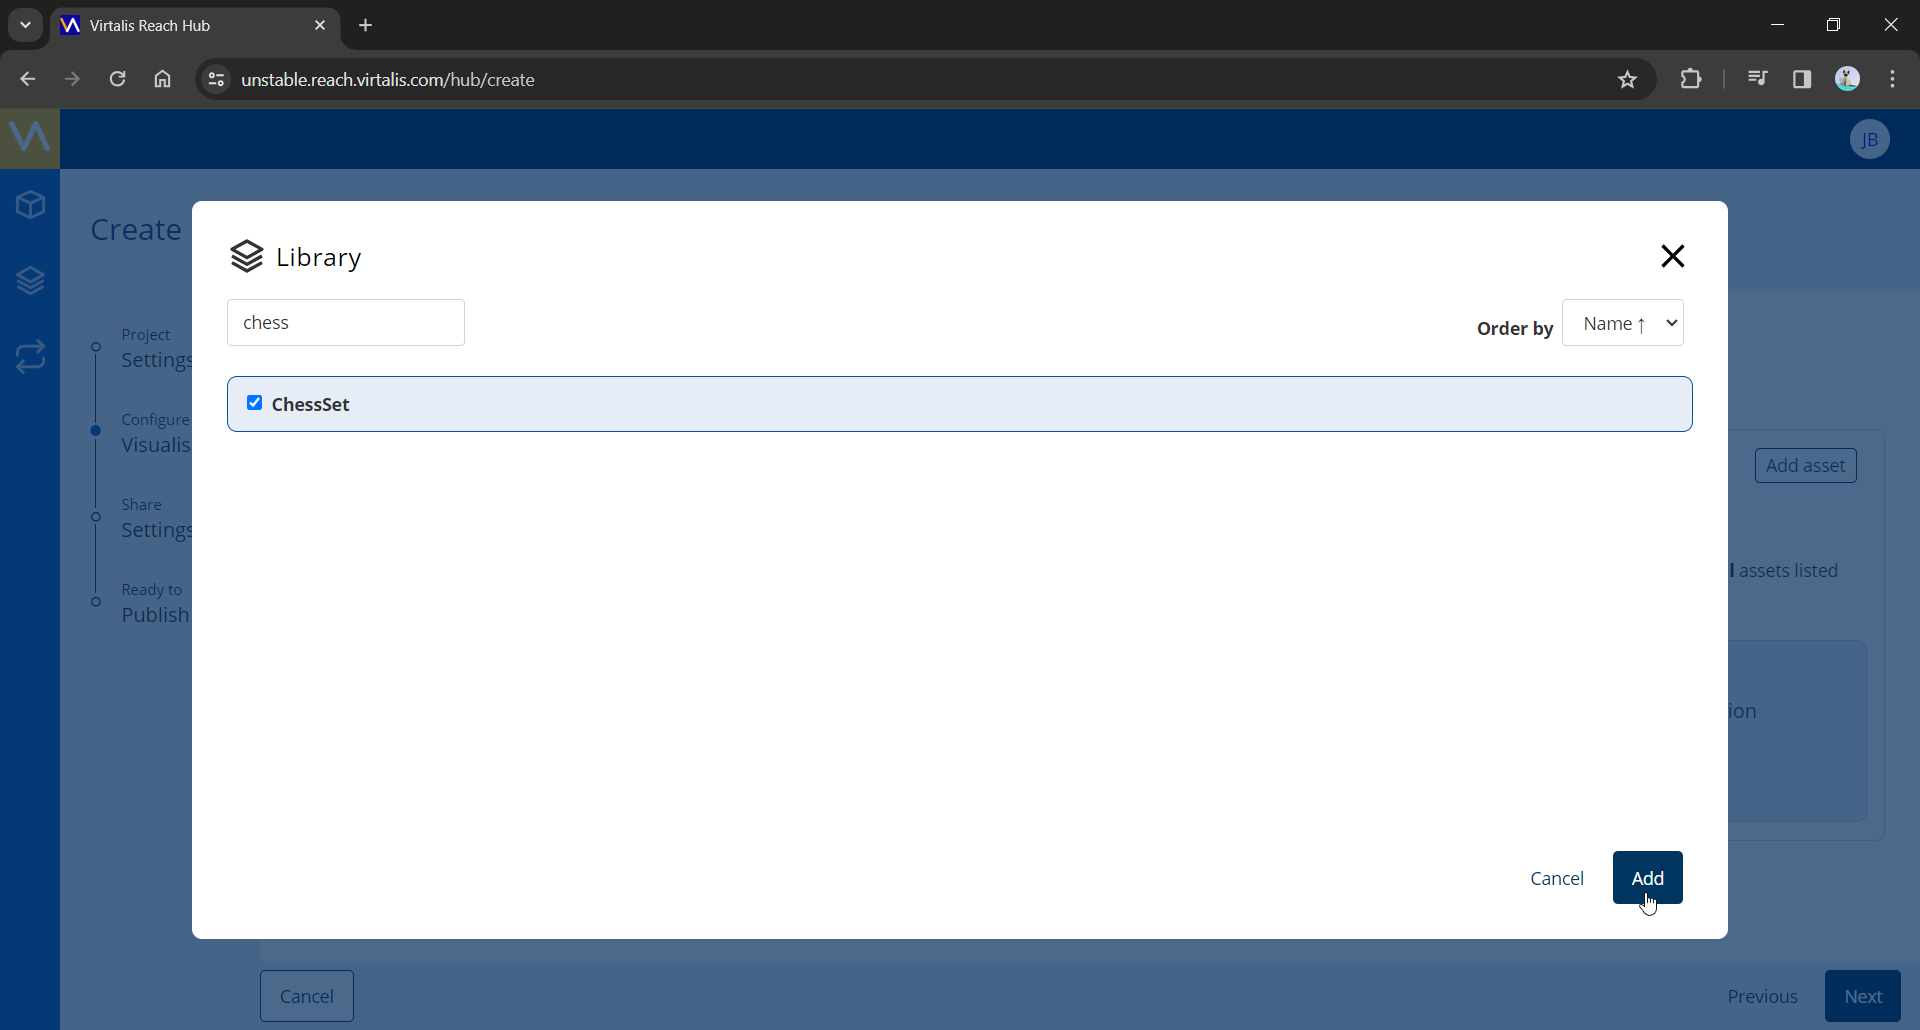
Click on the Add asset button, search for your scene name in the popup then select it and click on the Add button to add it to your new project.
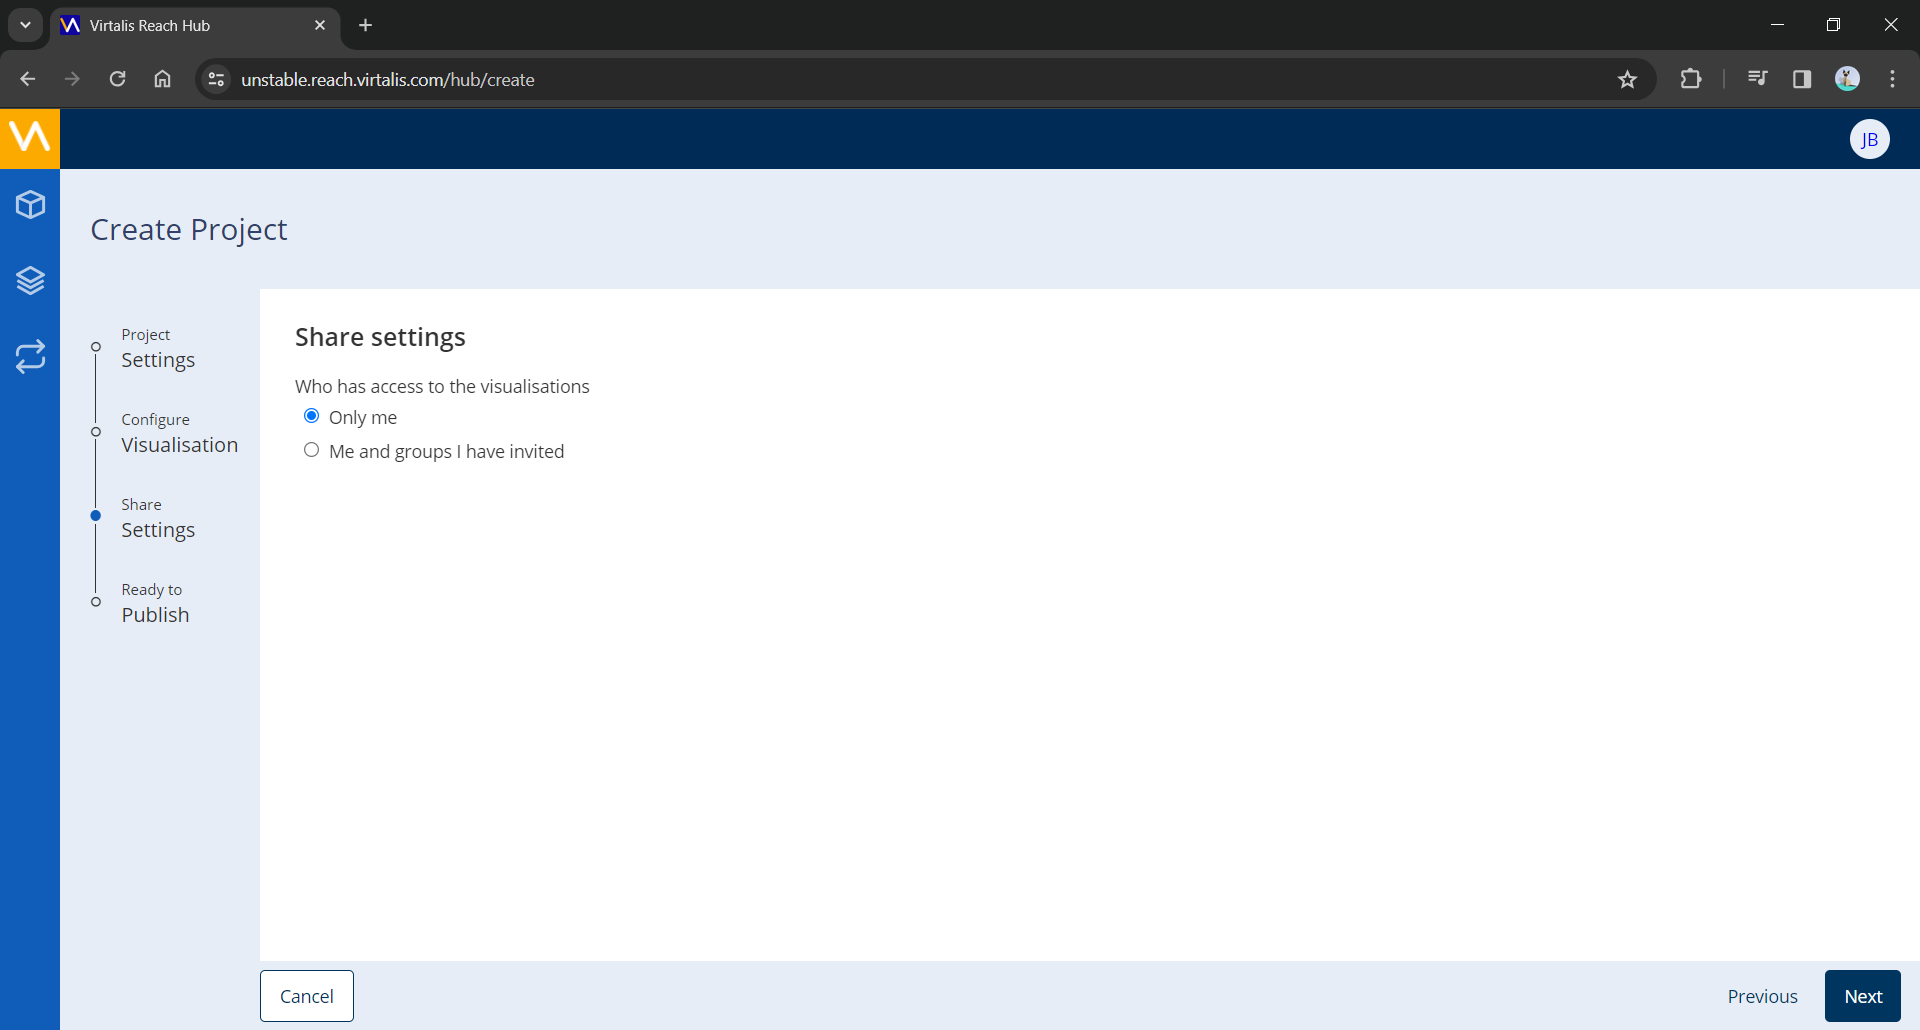
Choose who can access the new project and click on the Next button.
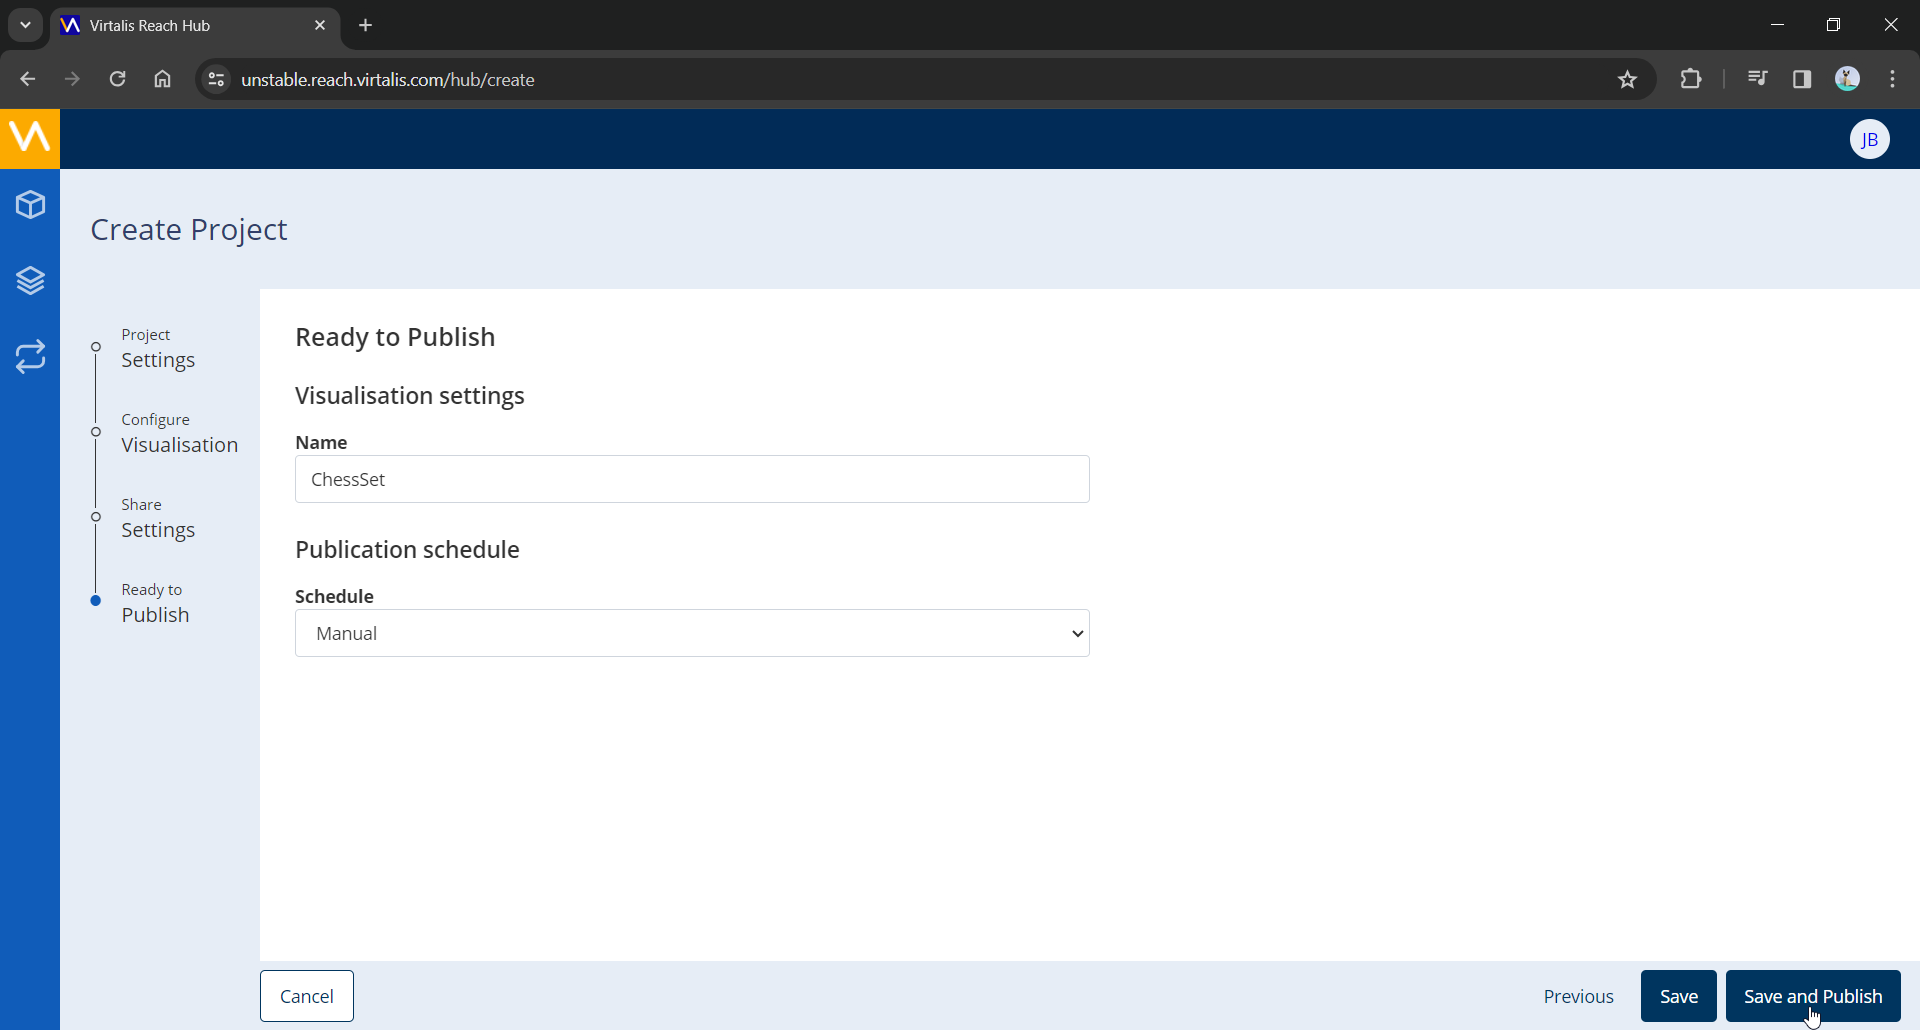
Change the visualisation name or publication schedule if necessary and click on the Save and Publish button.
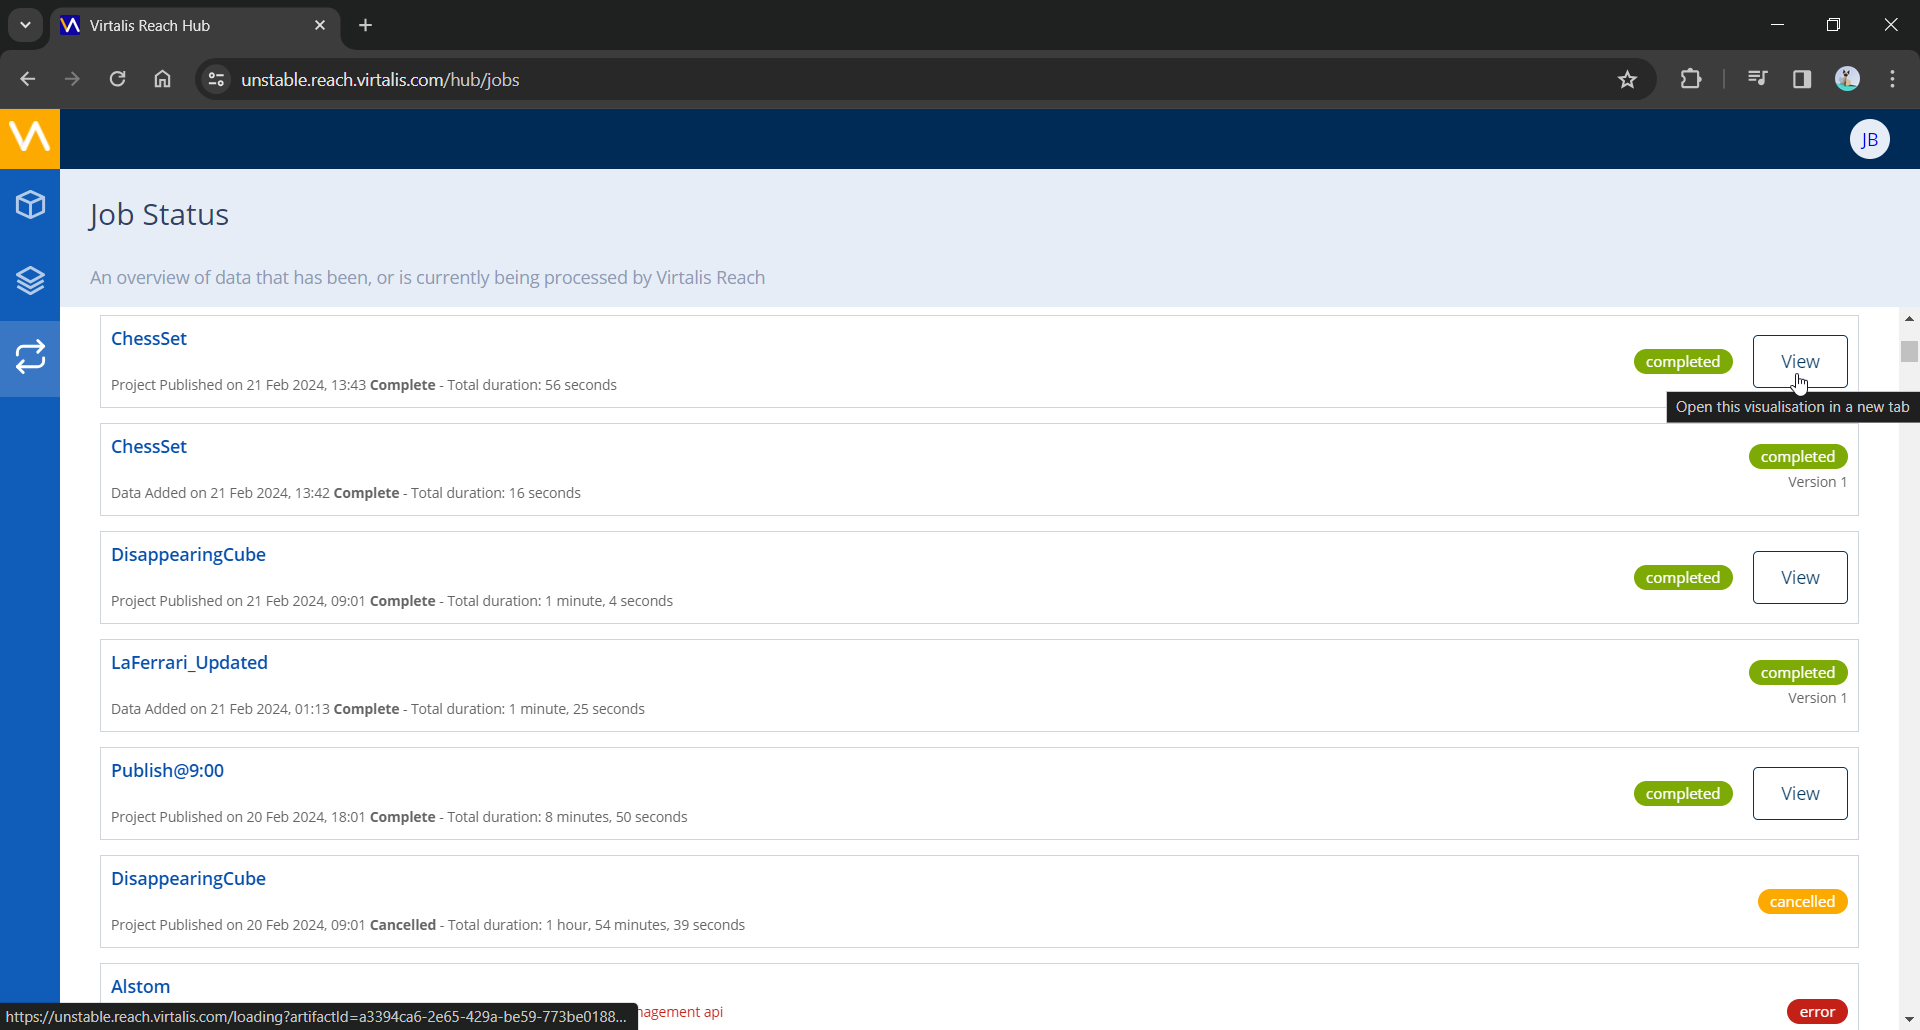
Open the jobs page again from the sidebar at the left of your screen. Once your job has completed, click on the View button to open it in the Web Viewer.
Your Visionary Render scene will now be visible in the Web Viewer. Copy the URL in the address bar to share it with others. For further details, see the Web Viewer manual.

Download
This section describes how to download scenes from Virtalis Hub.
Start Visionary Render and create a new scene. Open the Settings window (
F6) and set Virtalis Hub > Server > Address to your Virtalis Hub server address, such asvirtalishub.example.com.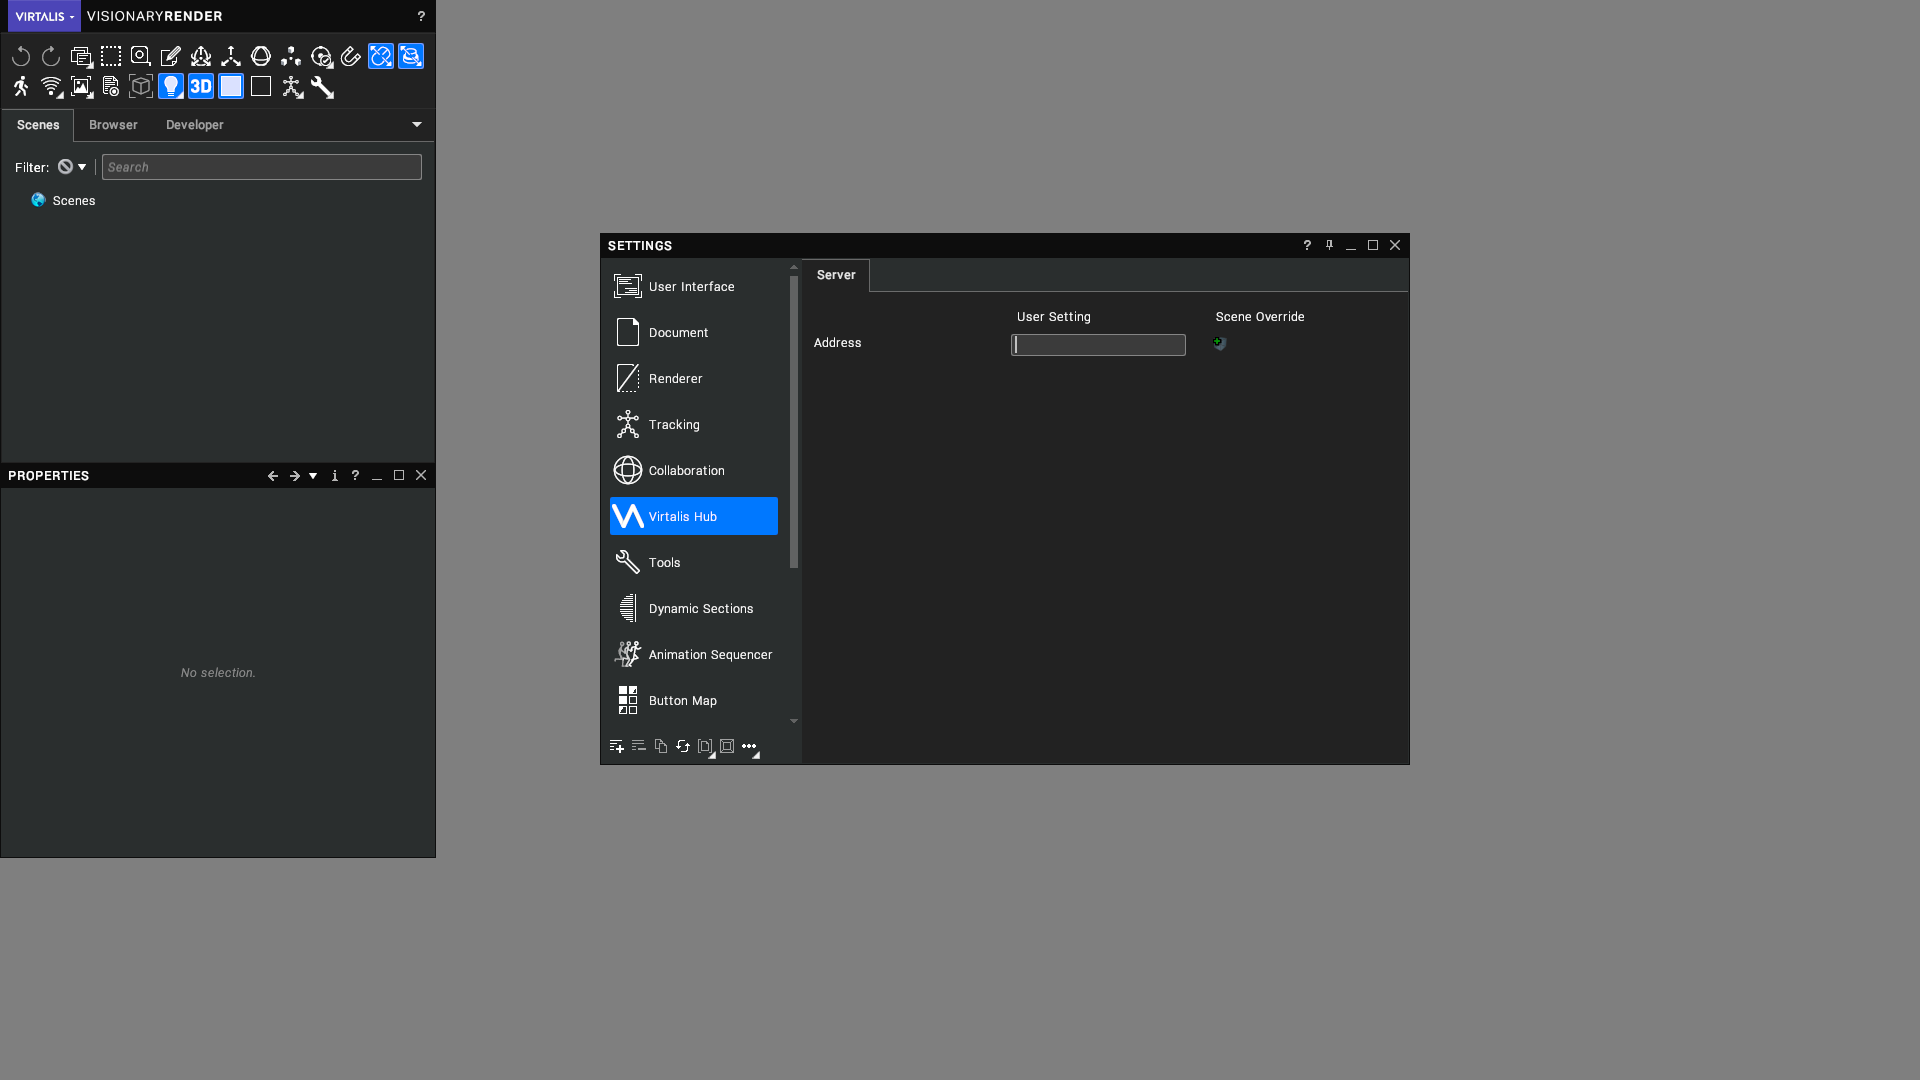
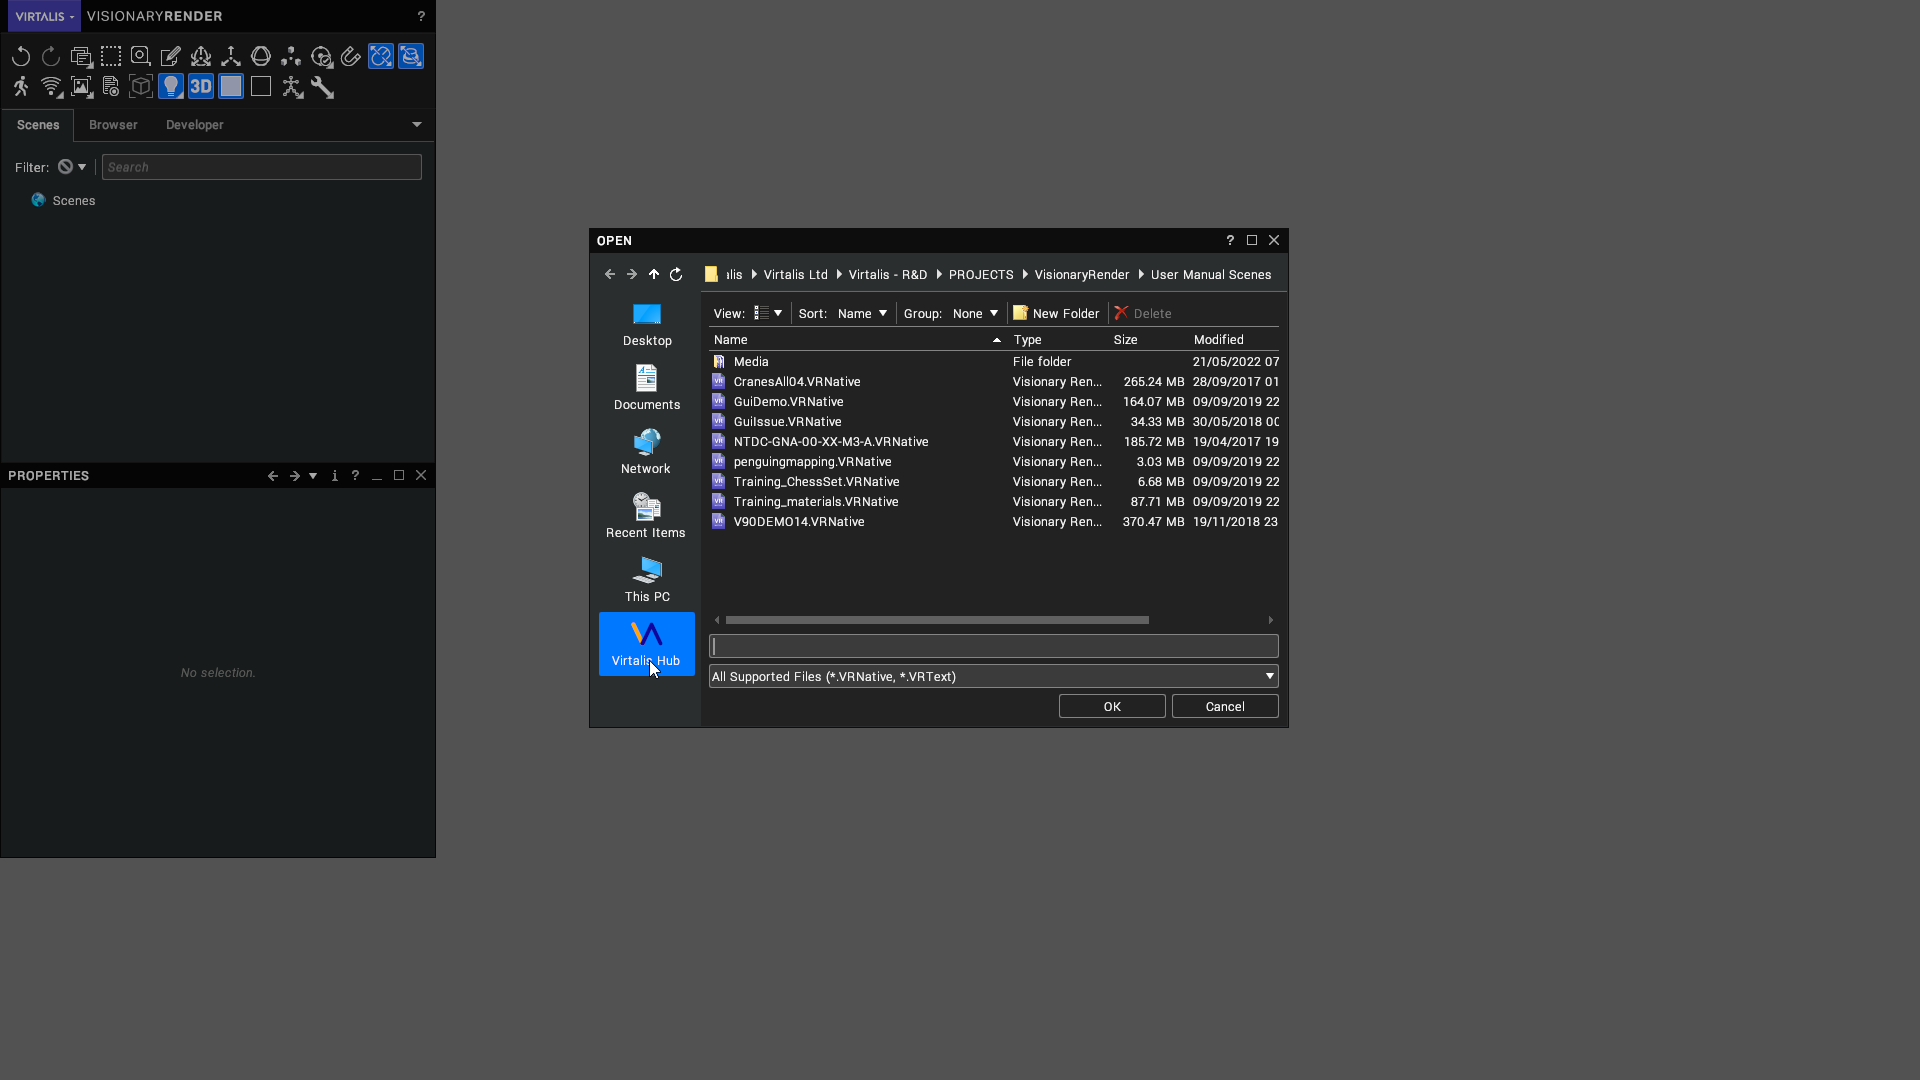
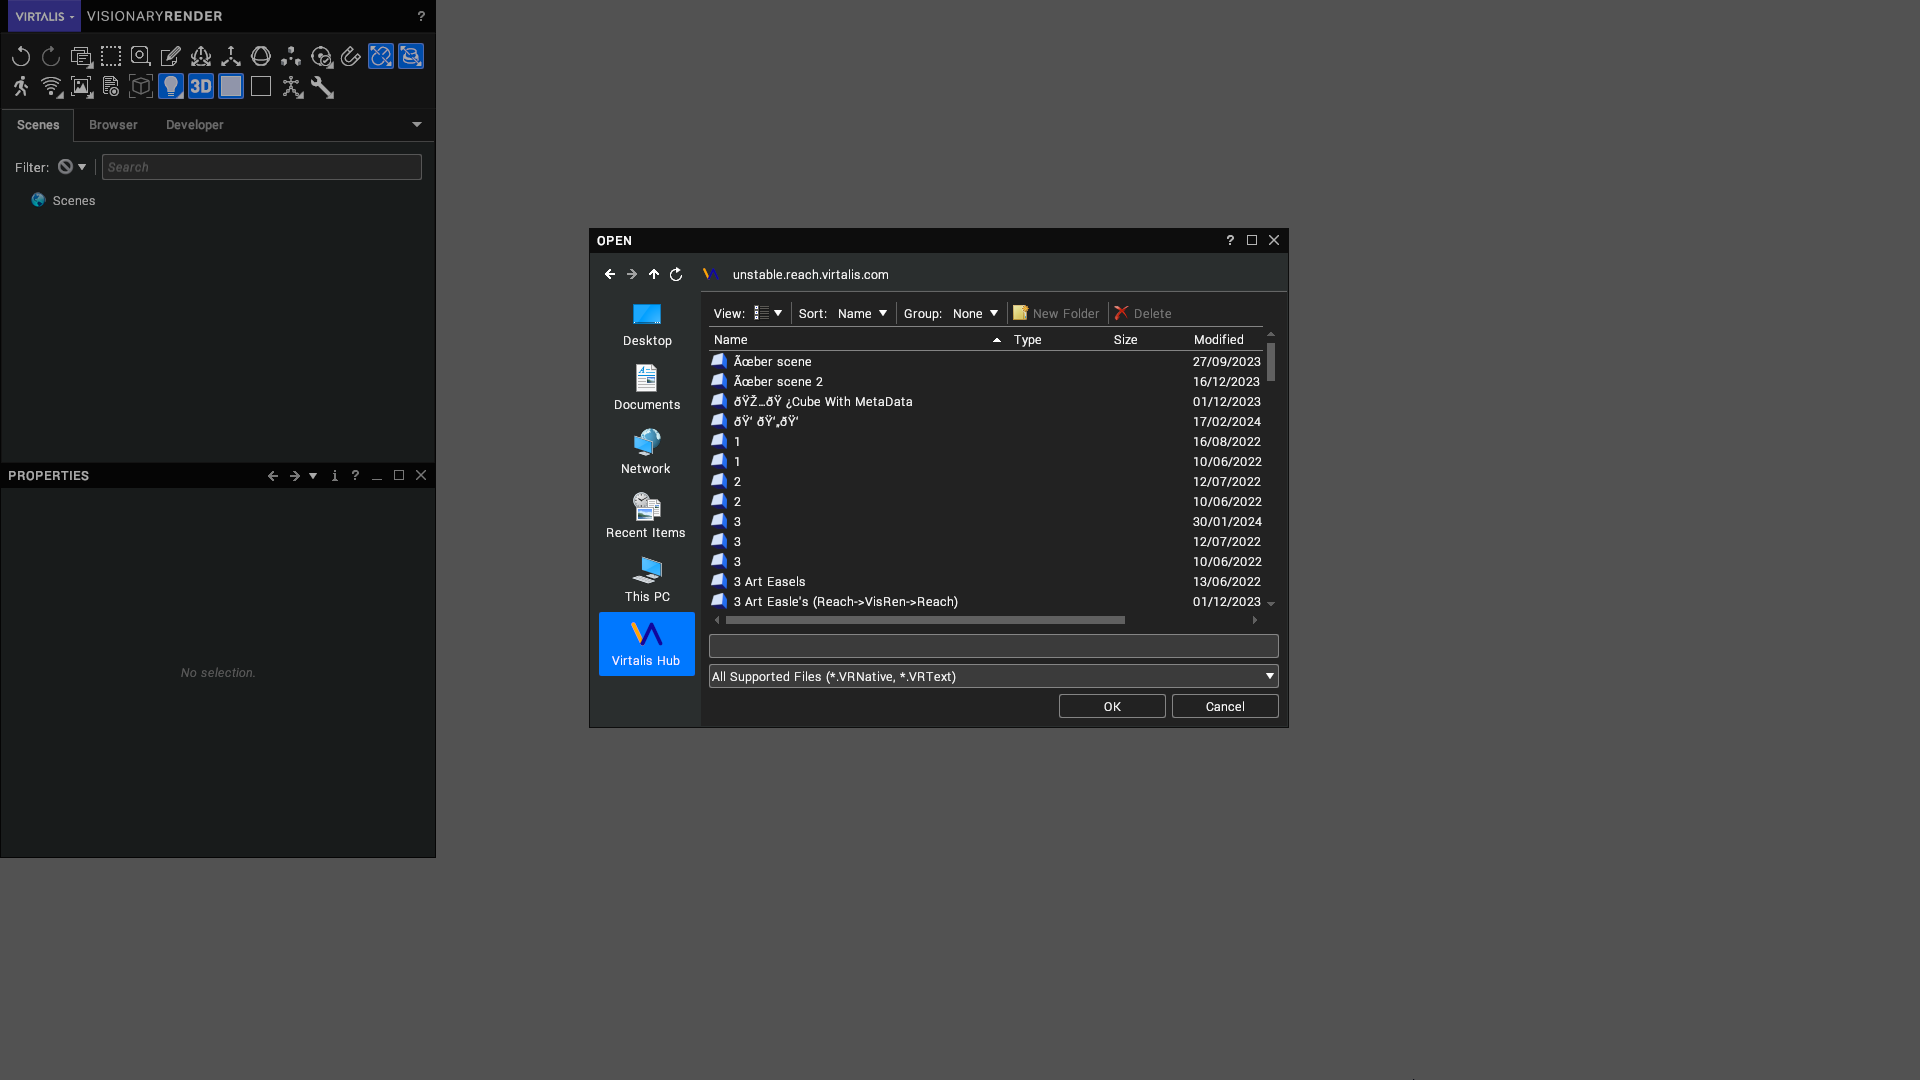
Click on the App Menu and select Open. A file dialog will appear.

Click on Virtalis Hub at the bottom left of the file browser.
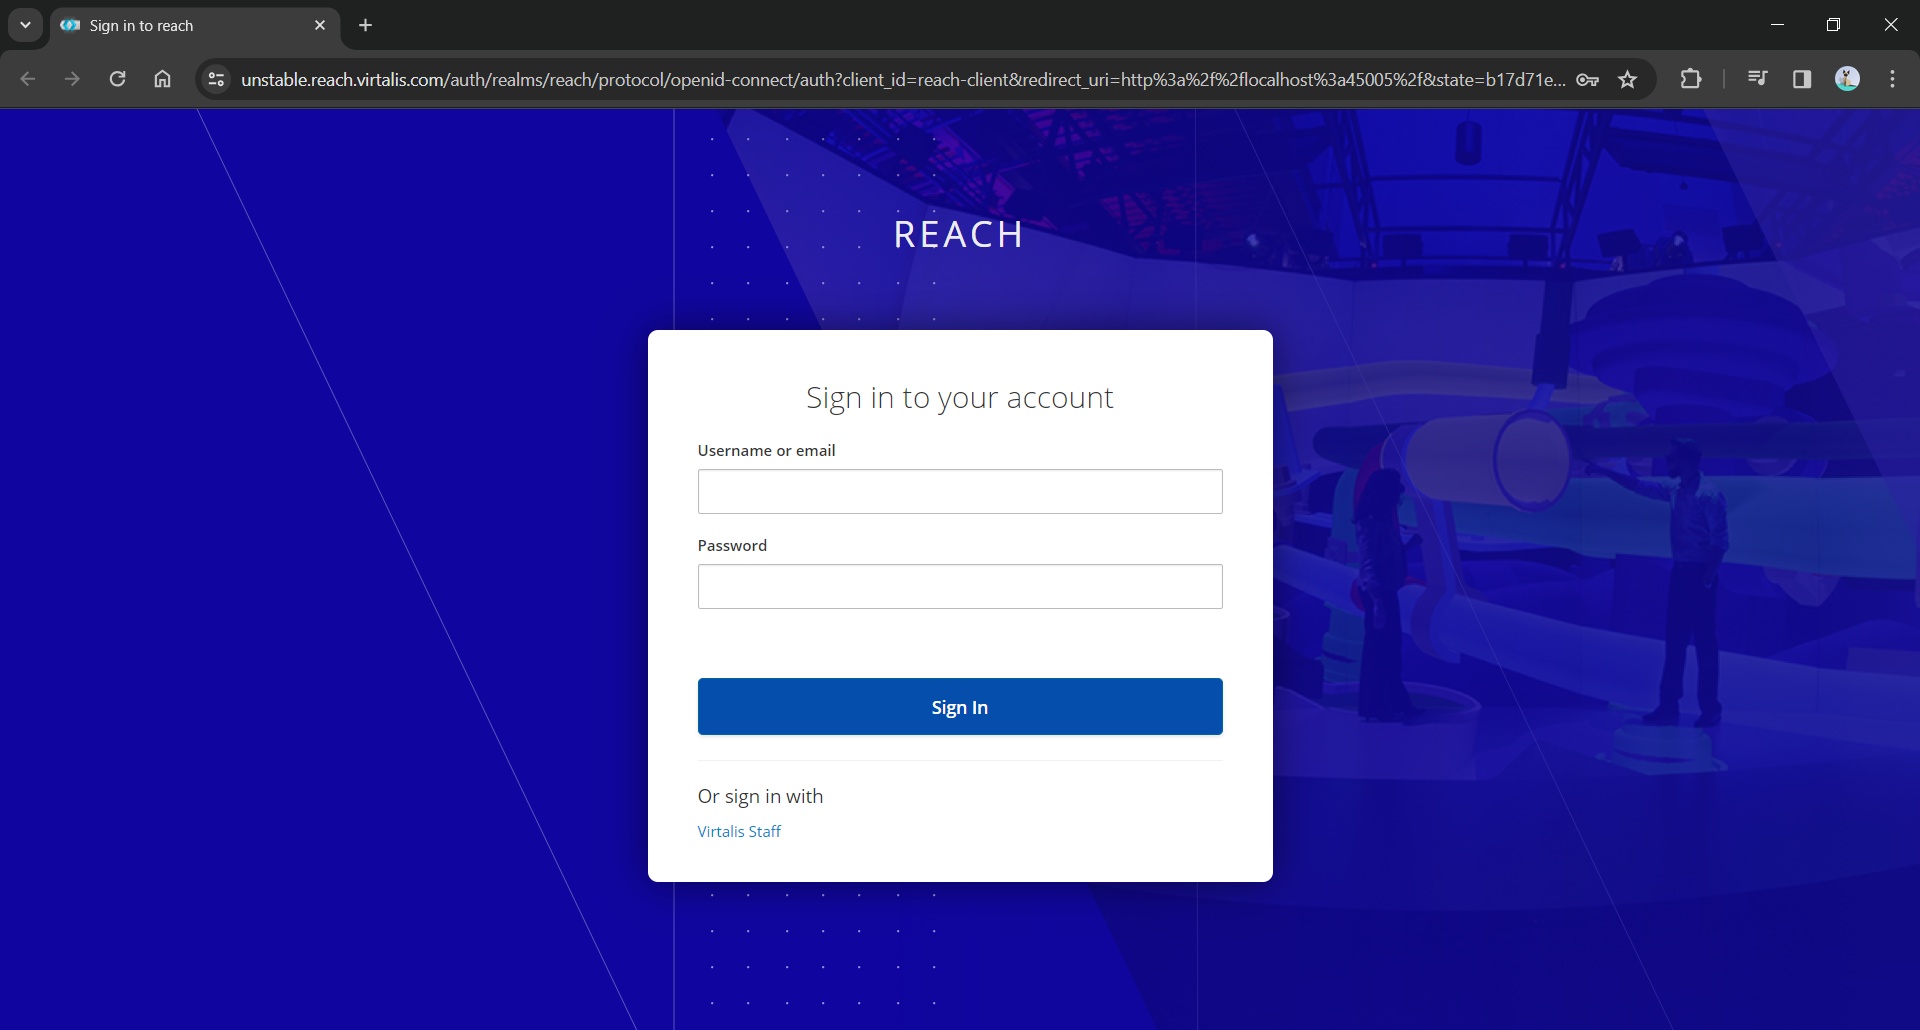
The Virtalis Hub login page will appear in your default browser if you are not yet signed in. Enter your credentials and click on the Sign In button.
You will be taken back to the Visionary Render file browser, which will load a list of all the scenes on Virtalis Hub. Double-click on a scene to open it.
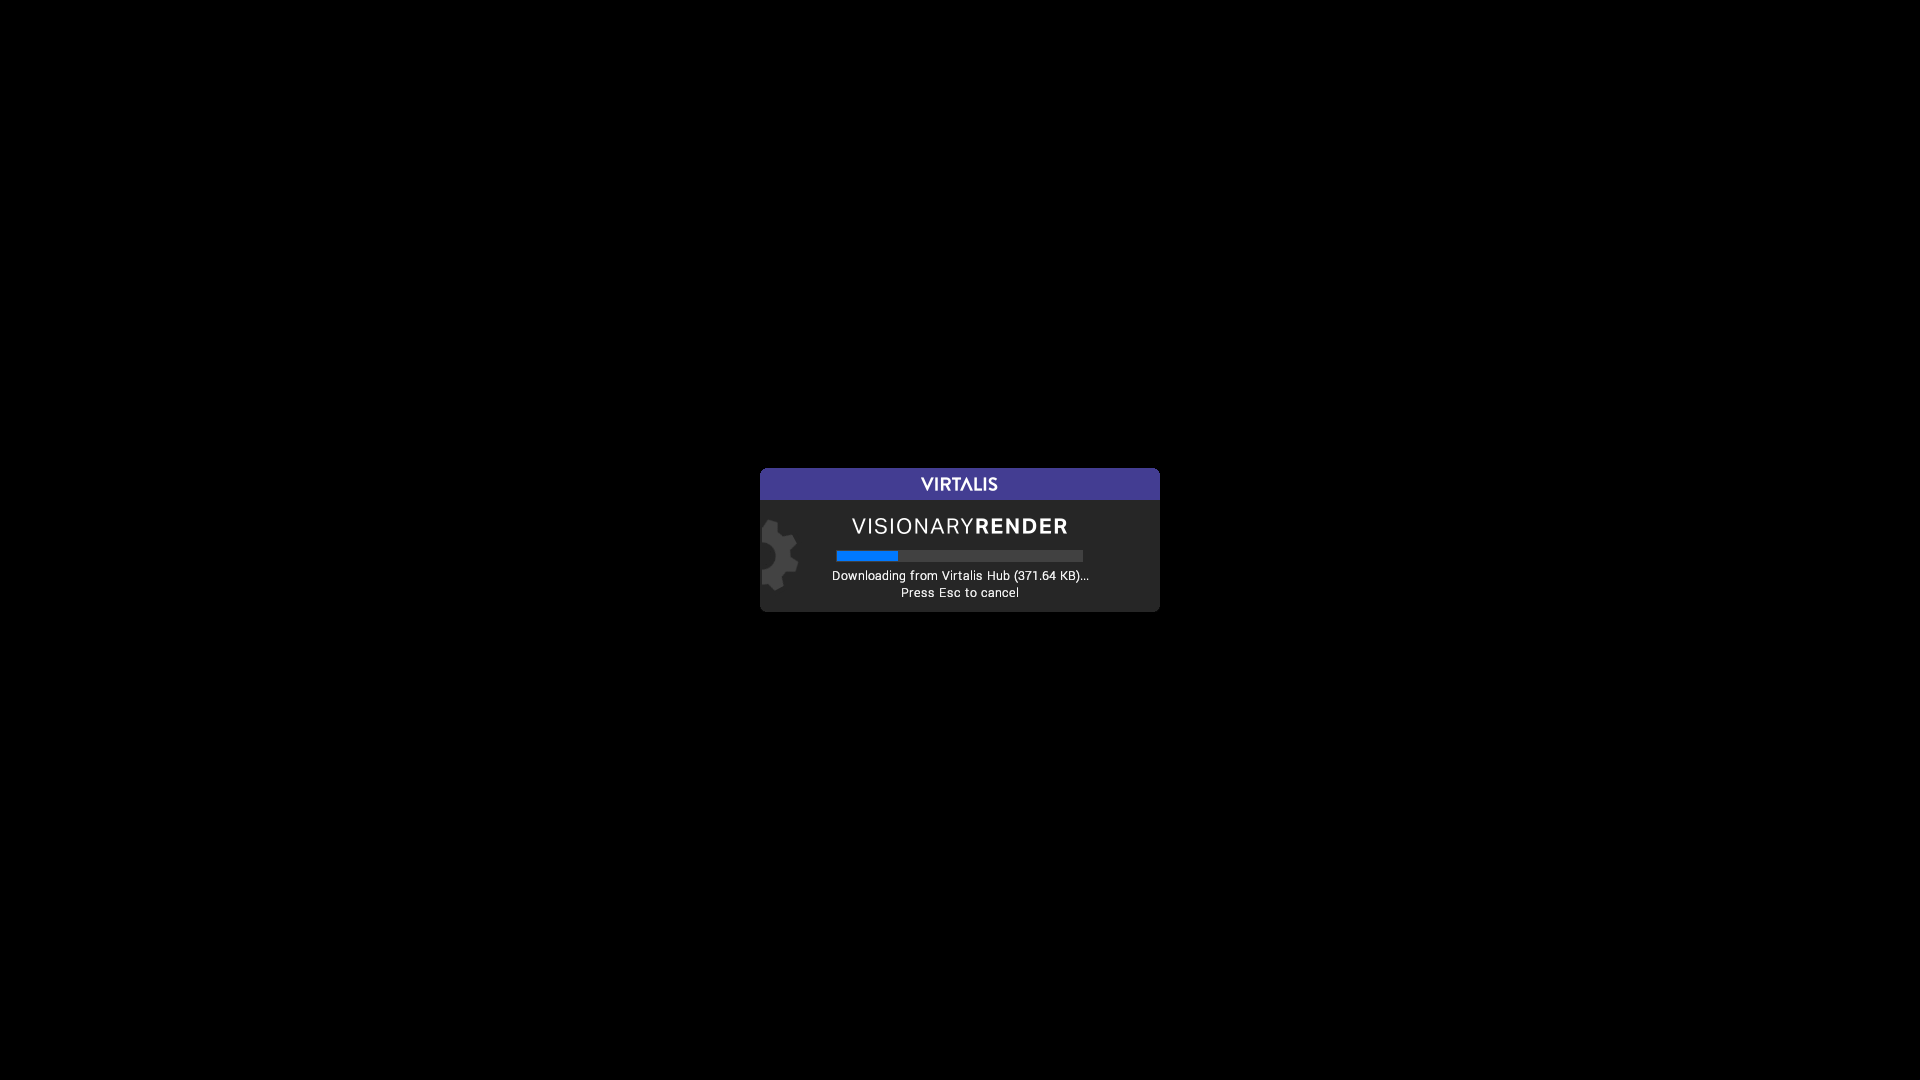
A progress bar will appear. Your scene will be downloaded from Virtalis Hub.
When finished, your scene will be visible in Visionary Render. You can now edit it as you see fit and either save your changes to your local machine or upload them back to Virtalis Hub.

When you save the scene to your local machine, the meshes will be saved as remote meshes rather than local meshes. So when you reopen the scene, you will still require a connection to Virtalis Hub. This will be fixed in a future release.