3D View
This provides a 3D view of your data and is the centrepiece of the application. Any GUI windows that are visible will be shown over it transparently.
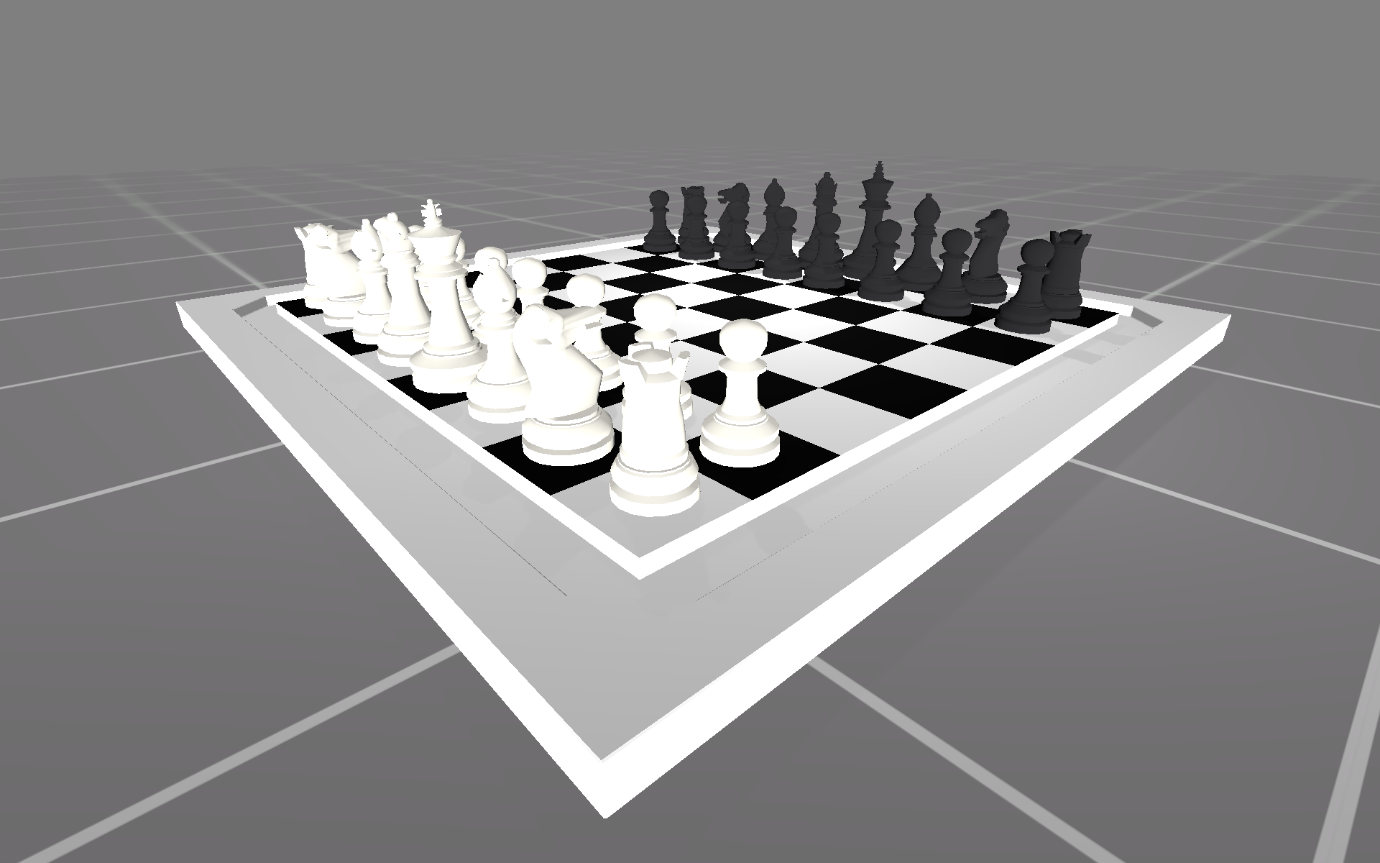
To hide the GUI so that only the scene is shown, press Alt + Z.
Stereo Cursor
Visionary Render provides a 3D cursor called the "stereo cursor". This is a set of axes drawn at the point in which the mouse collides with geometry in the scene. The position and orientation of the cursor is determined by the geometry directly beneath it. The orientation is equivalent to the normal of the surface that the cursor is intersecting with. When viewed in stereo, the cursor will appear at the correct depth in the scene.
The stereo cursor can be enabled or disabled from the Settings window under User Interface > Mouse. When disabled, the standard Windows mouse cursor will be shown instead.
Selection
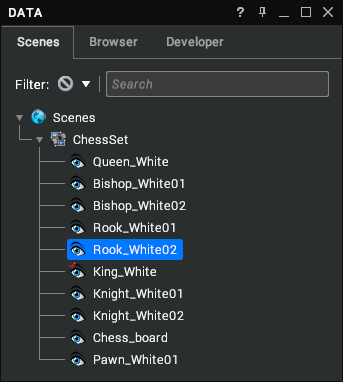
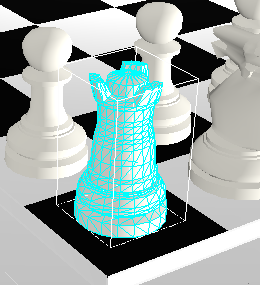
Left-click on an item in the tree view or scene to select it (it will be selected in both). When clicking in the scene, the object directly beneath the cursor will be selected. Hold Ctrl to select multiple objects or Shift to region select in the tree view.
 |  |
|---|---|
| Tree View Selection | 3D Selection |
There are 3 ways to clear the current selection:
- Click on the background of the tree view.
- Click in empty space in the 3D view.
- Press
Esc.
Right-click on an object to select it and show the context menu. The appearance of highlighting in the 3D scene can be configured from the Settings window under Renderer > Selection.
Region Select
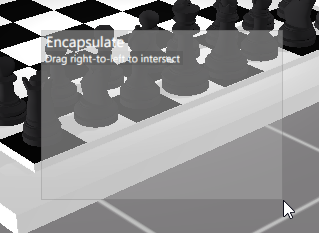
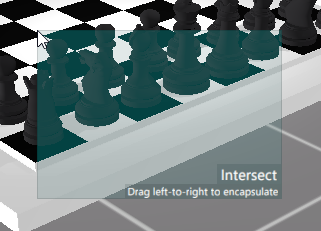
Region selection can be enabled or disabled from the Toolbar (or with Ctrl + 1). Left-click and drag over the scene to create a selection box. There are two types of region selection:
 |  |
|---|---|
| Encapsulate Drag from left-to-right to select encapsulated objects (i.e. any object with all its pixels in the selection box). | Intersect Drag from right-to-left to select intersected objects (i.e. any object with a pixel in the selection box). |
If you select a parent node and all its children, only the parent will be highlighted in the scene.
Tooltips
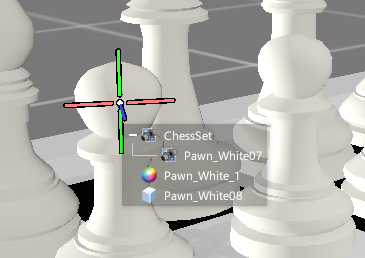
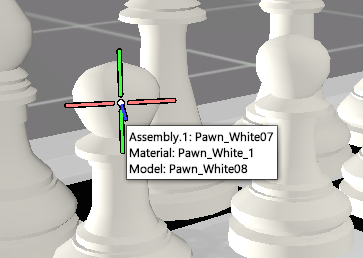
Tooltips can be shown in the scene when the cursor is hovered over geometry. These can be enabled or disabled from the Settings window under User Interface > Mouse > Scene Tooltips.
 |  |
|---|---|
| Tree View Enabled | Tree View Disabled |
There is also a Use Tree View setting that controls whether a graphical tree view with icons is shown or just simple text.
Drag-and-drop
The Visionary Render interface allows you to drag and drop data. This follows some simple guidelines:
- Drag from scene, drop onto user interface.
- Drag from user interface, drop onto the scene.
- Drag from scene, drop onto the scene.
- Drag from user interface, drop onto user interface.
Dragging and dropping with a key held down yields different results.
| FROM / TO | Scene | Property – Visual – Model | Property – Visual – Material | Library – Material – Maps | Script Editor |
|---|---|---|---|---|---|
| Scene | Set Visual Material | Model | Material | NA | Assembly |
| Scene + Ctrl | Copy Visual Material | Model | Material | NA | Model |
| Scene + Shift | Snap Assembly | Model | Material | NA | GeoGroup |
| Scene + Alt | Set GeoGroup Material | NA | NA | NA | NA |
| Scene + Ctrl + Shift | Copy Assembly and Snap | Model | Material | NA | Material |
| Library – Material | Material | NA | Material | NA | Variable |
| Library – Model | Model | Model | NA | NA | Variable |
| Browser – Material | Material | NA | Material | NA | Variable |
| Browser – Model | Model | Model | NA | NA | Variable |
| Browser – Texture | NA | NA | NA | Texture | Variable |
| Scenes – Library – Users – Developers View | NA | NA | NA | Texture | Variable |
All Model and Material controls will accept drag and drop elements. These are identified by their colour.
Tree Views
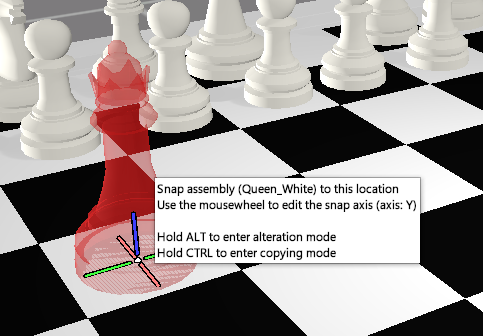
You can drag from the Scenes or Developer tree view to move and orient the dragged assembly onto whichever assembly it is dropped on. It does not change the parent of the dragged assembly, simply its position and orientation.
Select the Assembly in the Scenes tree view.
Drag it onto the 3D view and it should produce a transparent version that follows the cursor as in the image below.
It is also possible to drag Materials and Models from the Libraries tree or Browser onto the 3D scene window.
Dragging a material onto the 3D scene can:
- Apply it to the Visual as an override Material - changing that instance of the model to use the dragged material.
- Apply it to the Visual as an override Material and make a copy of the material alongside the original - by pressing
Ctrlwhile dragging. - Apply it to the GeoGroup of the Model reference in the Visual - so all instances of that Model now use that Material for that GeoGroup - by pressing the
Altkey while dragging.
Dragging a model onto the 3D scene can:
- Create a new Assembly with the dragged Model as a Visual which is made a child of the Assembly it is dropped on.
- Change the Model used in the Scene for the Model being dropped - by pressing the
Altkey when dragging.