Media
Visionary Render can import various audio, video, and document file formats into your scenes.
Audio
Supported File Formats
| Format | Extensions |
|---|---|
| Audio Interchange Files | aif |
| Free Lossless Audio Codec Files | flac |
| Ogg Files | ogg |
| Waveform Audio Files | wav |
Visionary Render supports 5.1 surround sound.
Audio Buffer
To add audio to your scene, you must first create an audio buffer in the Libraries tree. An audio buffer is a container for a single audio file that can be used in multiple places. To create an audio buffer, right-click on the Libraries node in the Developer tree and select Create > Audio Buffer from the context menu. An audio buffer should be added as below.
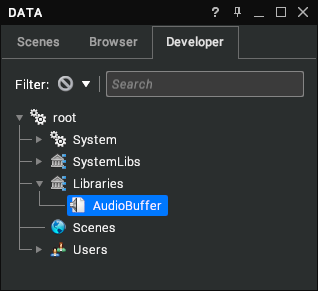
Now click on the ... button in the Properties window to browse for an audio file on your machine. Once you have added a file, a play button will appear in the Properties window to permit you to sample the audio file.
Audio Sound/Track
An audio buffer can be used in your scene by creating an AudioSound or AudioTrack. To do this, right-click on the Scenes node in the Developer tree and select Create > Media from the context menu.
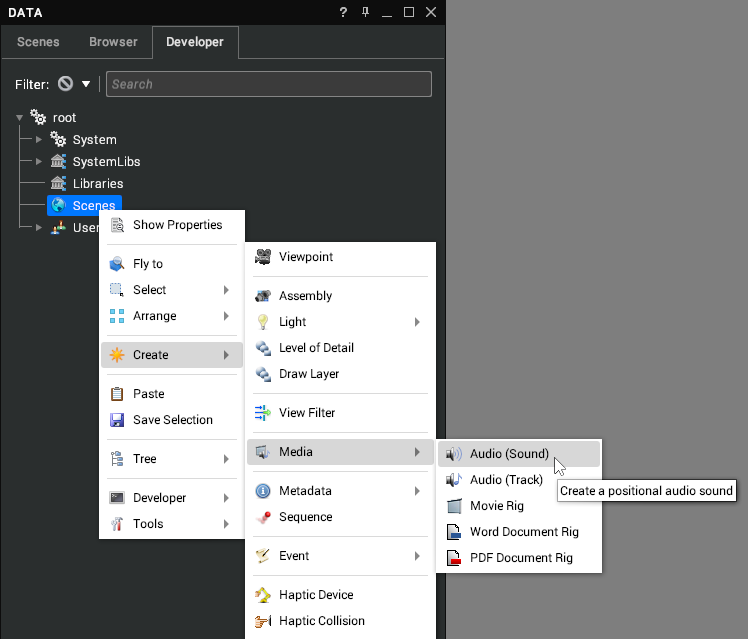
An AudioSound is designed for sound effects that are relatively short and played once (such as a car horn or gunfire). There is no way to stop playing back an AudioSound once it has started.
An AudioTrack is designed for longer background sounds that are typically looped (such as music or environmental noise like traffic). It has more control over playback.
Audio Sound Properties
| Property | Description |
|---|---|
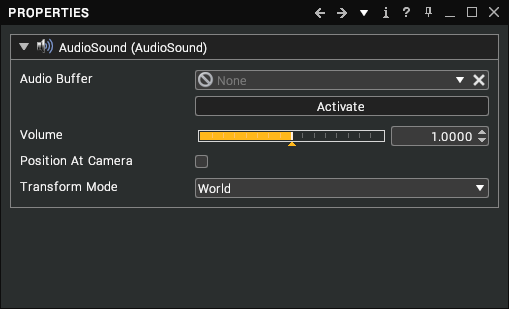
| Audio Buffer | Link to an AudioBuffer in the Library tree whose audio file should be played. |
| Activate | (AudioSound) Plays the sound back once just now. The sound will play until it is finished. |
| Volume | The volume of the sound. |
| Position At Camera | Whether to make the sound relative to a location. The audio node should be attached to an assembly in the scene to set its location. When positioned, the volume of the audio will vary depending on how far the camera is from it. It will also pan as appropriate when it is to the left or right of the camera. Note that the audio file must be mono for this to work. |
| Transform Mode | Make the sound relative to the World or a Parent node. World is the absolute world location of the assembly that the audio is attached to. Parent is the location of the assembly relative to its parent. |
Audio Track Properties
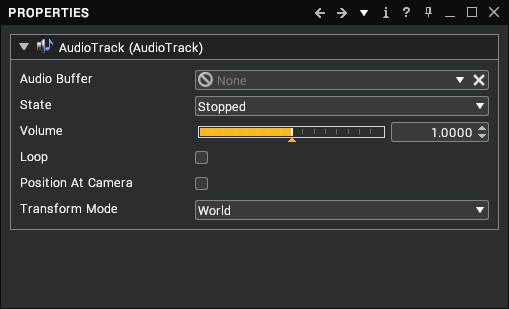
| Property | Description |
|---|---|
| Audio Buffer | Link to an AudioBuffer in the Library tree whose audio file should be played. |
| State | (AudioTrack) The current state of the track (Stopped, Playing or Paused). |
| Volume | The volume of the sound. |
| Loop | (AudioTrack) Whether to loop the track. |
| Position At Camera | Whether to make the sound relative to a location. The audio node should be attached to an assembly in the scene to set its location. When positioned, the volume of the audio will vary depending on how far the camera is from it. It will also pan as appropriate when it is to the left or right of the camera. Note that the audio file must be mono for this to work. |
| Transform Mode | Make the sound relative to the World or a Parent node. World is the absolute world location of the assembly that the audio is attached to. Parent is the location of the assembly relative to its parent. |
The audio can be now triggered from a Lua script, Event, or directly through the Properties window.
Browser
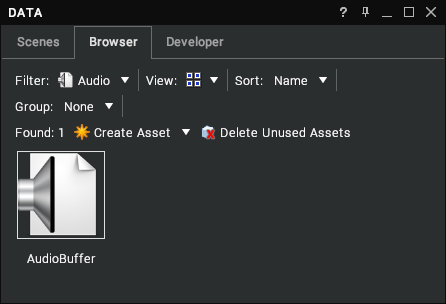
In large and small icon view, the audio browser shows an icon depicting an audio file. Double clicking on the icon brings up the Properties of that audio. From here, the audio can also be played. List view provides additional information about the library, path to the file, etc.
Video
Supported File Formats
| Format | Extensions |
|---|---|
| 3G Mobile Phone Files | 3g2, 3gp |
| Advanced Stream Redirector Files | asx |
| Advanced Systems Format Files | asf |
| Audio Video Interleave Files | avi |
| AVCHD Files | mts |
| Binary DVD Files | bin |
| Digital Video Files | dv |
| DivX Files | divx |
| DVD Files | ts |
| DVD Video Object Files | vob |
| Flash Video Files | flv |
| General eXchange Format Files | gxf |
| Material eXchange Format Files | mxf |
| Matroska Video Stream Files | mkv |
| MPEG Files | mpg, mpeg |
| MPEG-1 Files | m1v, mpeg1 |
| MPEG-2 Files | m2v, mpeg2 |
| MPEG-2 Transport Stream Files | m2ts |
| MPEG-4 Files | m4v, mp4, mpeg4 |
| Partially Downloaded Files | part |
| QuickTime Movie Files | mov |
| VCD Files | dat |
| Virtalis Movie Files | vsm |
| Virtalis PAK Files | pak |
| VLC Media Player Files | vlc |
| Windows Media Video Files | wmv |
Movie
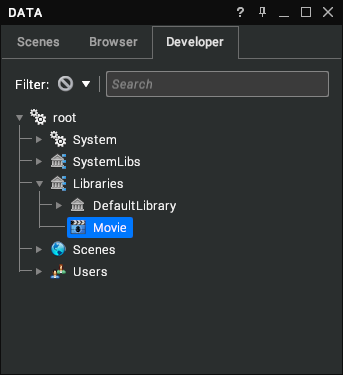
Video files can be played back within a 3D scene. A movie resource can be created within the Library tree view, then a movie file is associated with it.
| Property | Description |
|---|---|
| Filename/URL | The relative filename of the movie file. |
| Playing | Is the movie currently playing? |
| Repeat | Loop the movie around when the end is reached. |
| Position | Normalised position in the movie (i.e. a value from 0.0 to 1.0). |
| Volume | Normalised volume of the movie (0.0 = no volume, 1.0 = volume level within the movie file). |
| Colour Space | Colour space of the source file. Can be either sRGB (gamma curve colour space - Default) or Linear RGB (colour intensity is linear). |
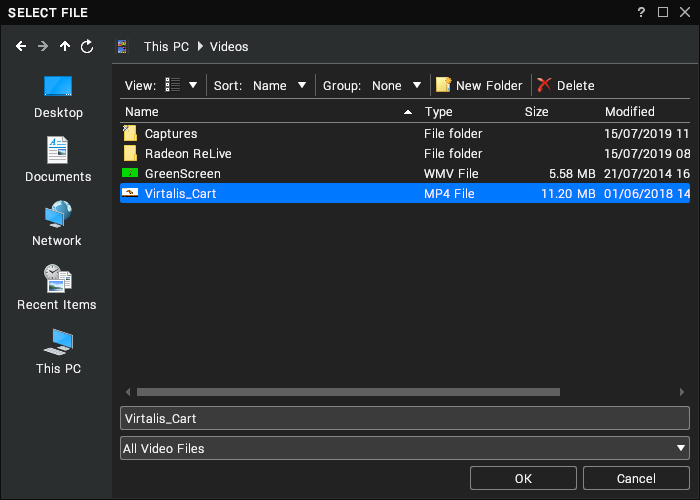
The movie file isn’t directly imported into the Visionary Render file – it is kept external to reduce the size of the Visionary Render file. It is important that the movie file remain in the same folder relative to the Visionary Render file.
Once the movie is in the Library then it can be added to your scene. It can be attached to a Movie Rig or a Material.
Browser
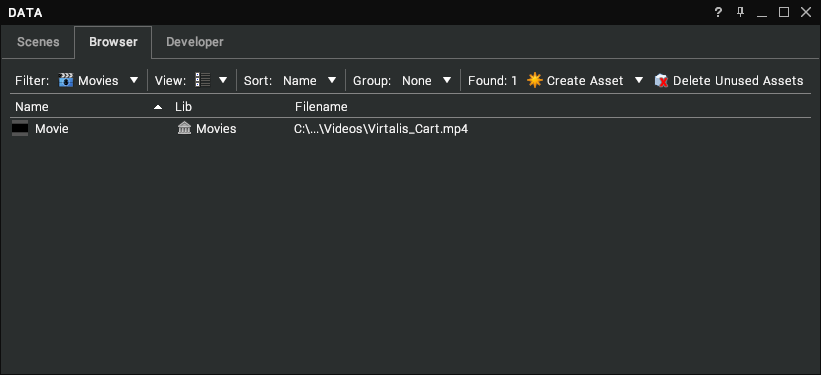
In large and small icon view, the Movie browser icon depicts an illustrative movie clapper board. Double clicking on the icon opens the Properties window for the movie. List view provides filename and library information.
Movie Rig
One method of playing a movie is to create a Movie Rig from the Developer tree view. This can then be linked to the Movie in the Libraries tree. The Movie Rig contains an Assembly at its root to permit the movie to be positioned, rotated, and scaled as desired in the scene.
The Movie root node works as any other assembly and has transform information. The Movie GUI node defines the layer the movie screen will be drawn at and whether its selectable, depth tested etc as per GUI elements. The Movie Screen defines the size, position, and movie to be played.
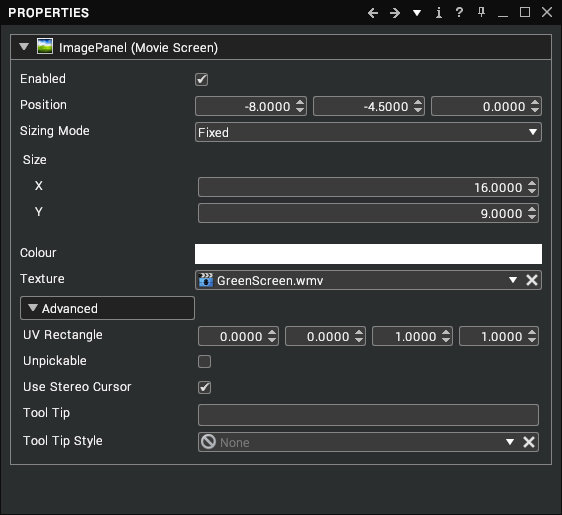
The position in this example is half the screen height and width. This means that the parent Movie node transform is from the centre of the screen. If the position is set to (0, 0, 0), the Move node transform is from the bottom left. By default, the screen size is set to a 16:9 screen size but this can be altered by typing in values or setting to Size to Fit.
Size to fit will use the movie resolution as a basis. A 1280 x 720 movie will have a screen size of 12.8 x 7.2. Drag and drop the movie from your library into the Texture slot. The colour can be used to adjust the hue of the movie as it modulates the colour against the movie. Normally this will be white.
The advanced properties allow you to offset the location and scale the UV coordinates to be able to zoom in to parts of the movie frame. The first two values move the movie frame in X and Y whilst the second two define the scale of the movie. To play the Movie you enable the Playing property on the Movie assembly in the Library.
Material
Another method of using the Movie is to use it in a Material in the Colour Map channel. The Movie will be combined with the other Material properties when applied to a Visual.
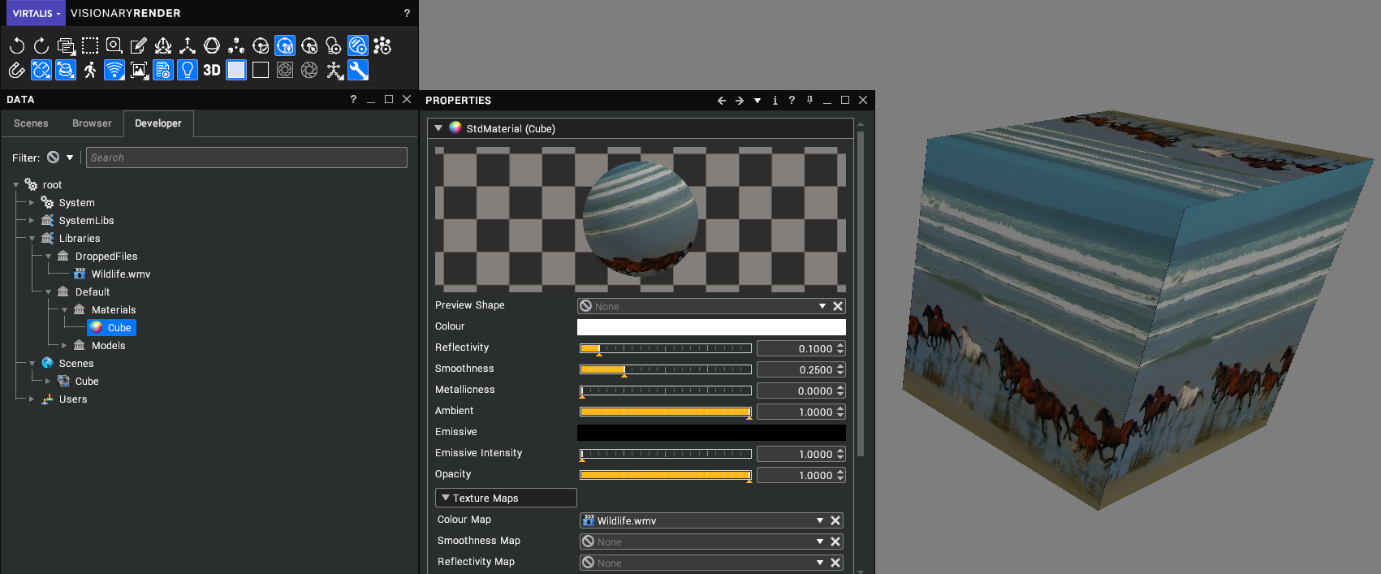
How the Movie appears on the Model will depend on the UV coordinates. The UV coordinates are used to control what section of the movie is displayed. These can be modified using the Geometry Operators and the material Map Matrix.
| Screenshot | Description |
|---|---|
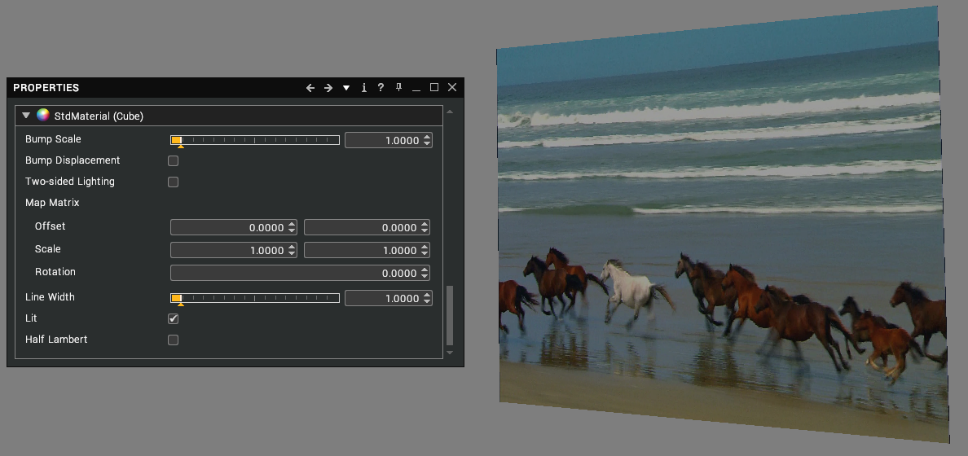 | Normal UV mapping – simple 1:1. The Map Matrix is left as the default. |
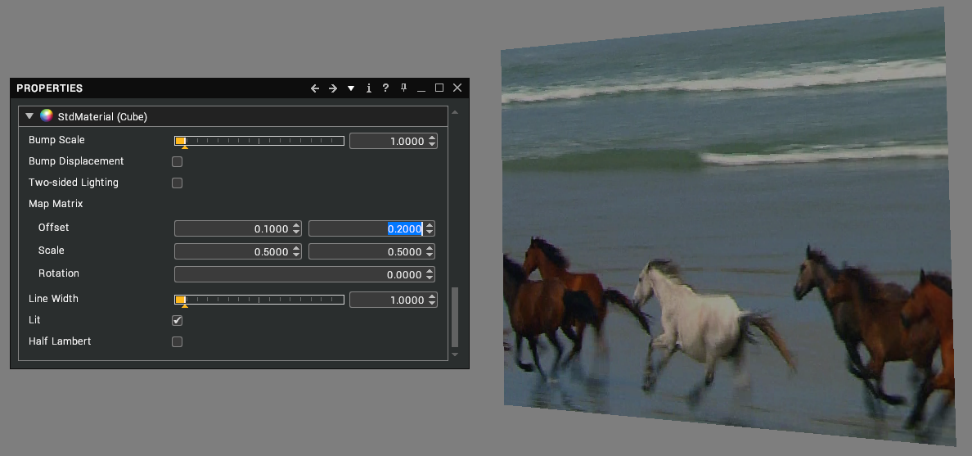 | Zoomed in on a specific portion of the movie. The Map Matrix has had the scale and position modified. |
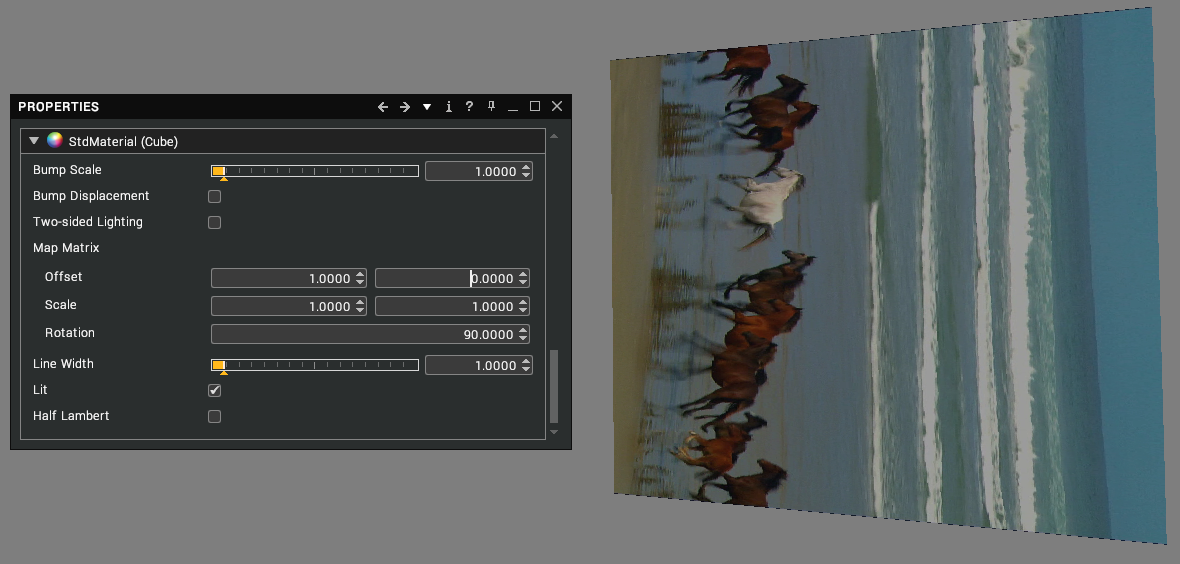 | Movie rotation 90º. The Map Matrix has a rotation added in the Z axis and translated in the Y axis. |
Multiple materials can reference the same Movie instance. When the Movie is played, all materials using that movie will show the movie playing.
Chroma Key
Chroma key compositing, or chroma keying, is a technique that removes selected colour hues (chroma range) from a video or image. Chroma keying can be done with backgrounds of any colour that are uniform and distinct, but green and blue backgrounds are more commonly used because they differ most distinctly in hue from most human skin colours.
Once you have imported your video footage. In the libraries tab, use the context menu to create a Chroma Key Texture.
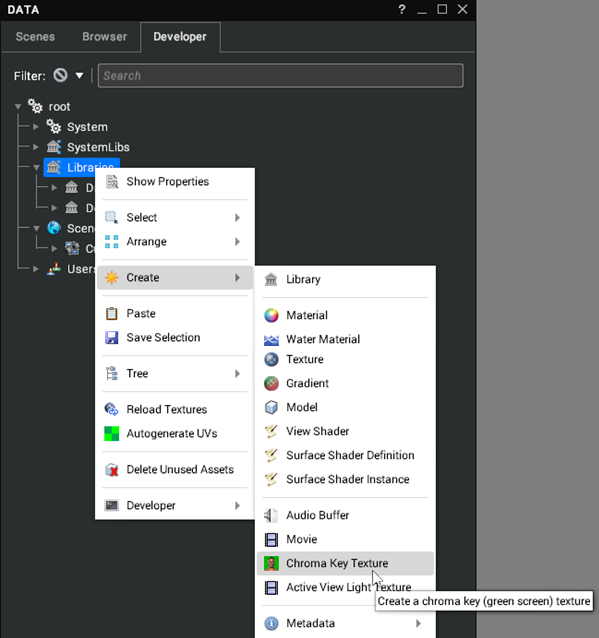
Next drag the Movie or image into the Chroma Key Texture Source.
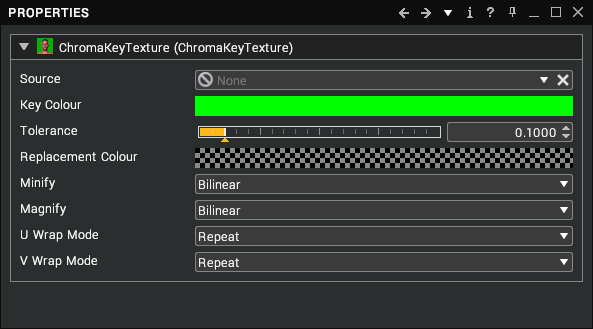
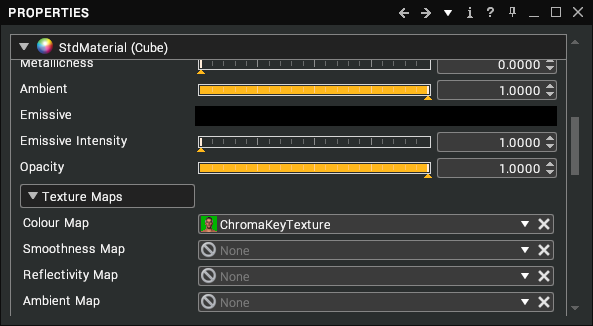
Initially, this won’t affect your onscreen movie. To apply this, change the material colour texture to use the Chroma Key texture rather than the movie.
The Key Colour is the colour that you wish to remove from the movie or image. In most cases, the colour in the movie isn’t consistent due to lighting providing subtle variations shading. To correct for this, the tolerance can be adjusted to let more shades of the colour be selected as the key colour.
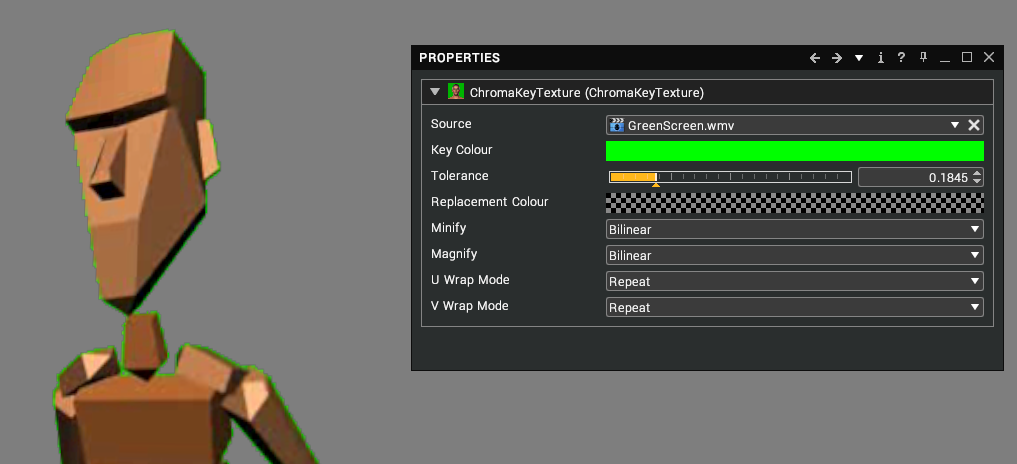
With low tolerance, green edging can be seen around the character. Increasing the tolerance will remove this but may pick up some parts of the movie you don’t wish to be replaced.
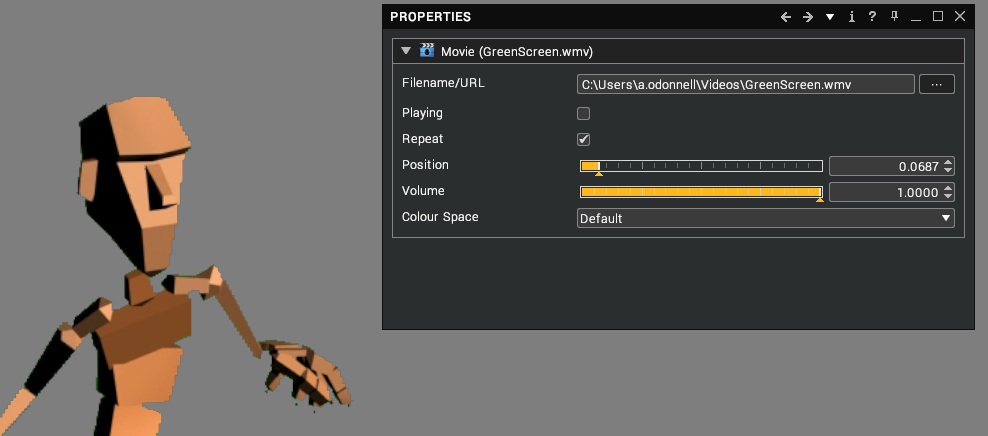
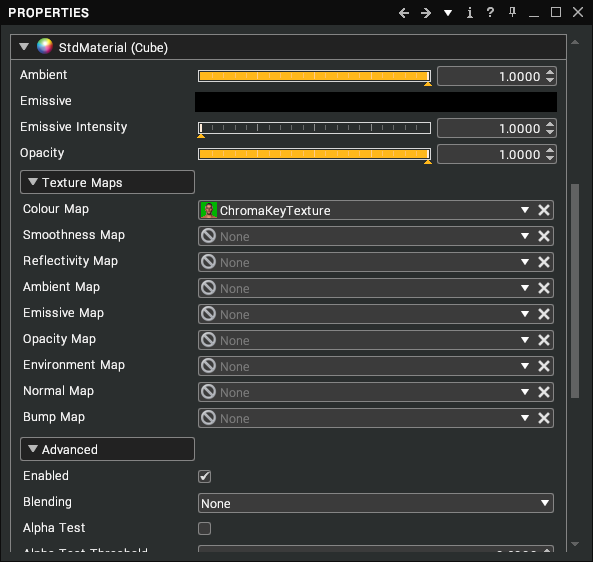
By default, the replacement colour is set to transparent, but this can be changed as required. When adding the chroma key to the material, if the replacement colour is transparent, you may need to set Blending to Alpha Blend on the material.
Minify, Magnify, Wrap U and Wrap V are the same as for any texture.
Documents
Supported File Formats
| Format | Extensions |
|---|---|
| Portable Document Format Files | |
| Microsoft Word Files | docx, docm, doc, htm, html, dotx, dotm, dot, oft, rtf, txt, xml |
PDF
To add a PDF document to your scene, open the Developer tree then right-click on a node in the Scenes tree and select Create > Media > PDF Document Rig from the context menu. This adds all the nodes that are required to display a document in the 3D view.
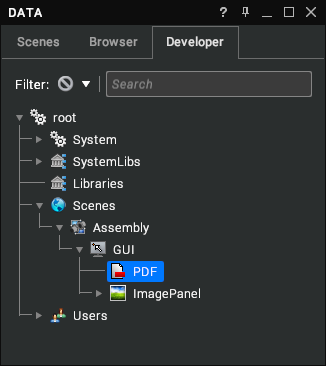
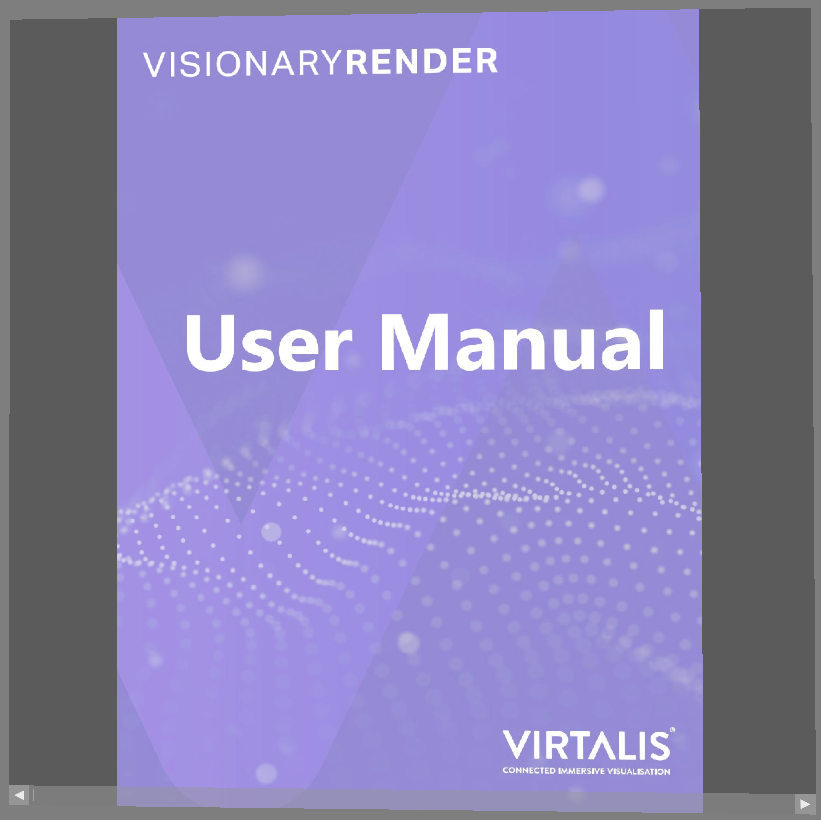
Click on the ... button to select a PDF file to open. It should appear in your scene as in the image below. Click on the arrows at the bottom of the page to navigate to the previous or next page. The DPI can also be changed from the Properties window.
Word
To add a Word document to your scene, open the Developer tree then right-click on a node in the Scenes tree and select Create > Media > Word Document Rig from the context menu. This adds all the nodes that are required to display a document in the 3D view.
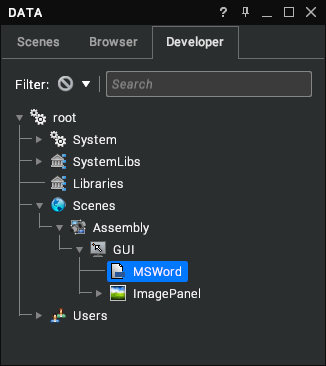
Click on the ... button to select a Word file to open. It should appear in your scene as in the image below. Click on the arrows at the bottom of the page to navigate to the previous or next page.
