Groups
Visionary Render can combine several Assemblies to form a Group. This Group can then be acted upon independently to the rest of the scene, e.g. alternating between different materials on multiple scene items in different assembly hierarchies. You can record the state of the Assemblies in the Group and recall them using a Snapshot. Multiple Snapshots can be recorded on a single Group.
Overview
- A Group is a collection of links to Assemblies. It contains references to these Assemblies – so when an Assembly is added or removed from a Group a link is created or deleted.
- A Group can contain many links to Assemblies.
- An Assembly can be a member of more than one Group.
- The properties of an Assembly which need to be recorded in a Snapshot can be identified. The remaining properties are ignored in the Snapshot.
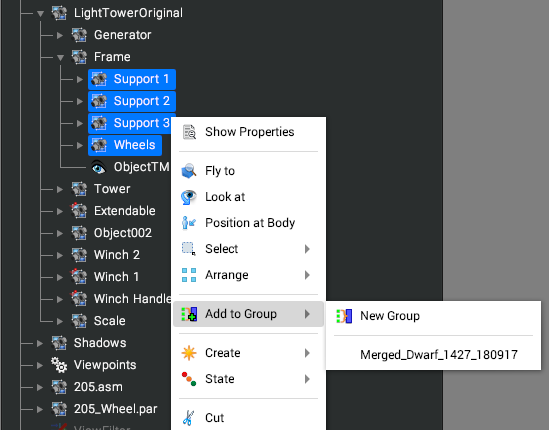
To create a group right click on an item in either the Scenes, Browser or Developer window to bring up the context menu and select Add to Group. Here you can add the item to an existing group or to a new group.
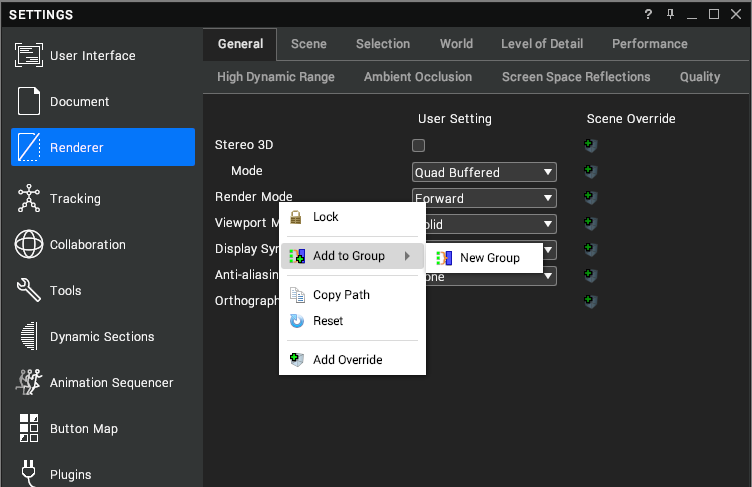
You can add other attributes to a group from different windows such as the settings or properties windows using the same method.
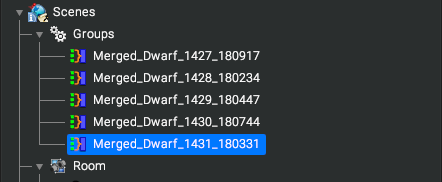
The new Group then appears at the bottom of the Scenes tree view and can be renamed as required.
A group can be used to:
- Select all the details within a scene and enable/disable them using a Snapshot.
- The external body parts of a car can be added to a group and enabled/disabled using a Snapshot.
- Change the transparency of materials used on the Hull and steelwork Models used in a ship scene.
Properties
A Group has several properties and features.
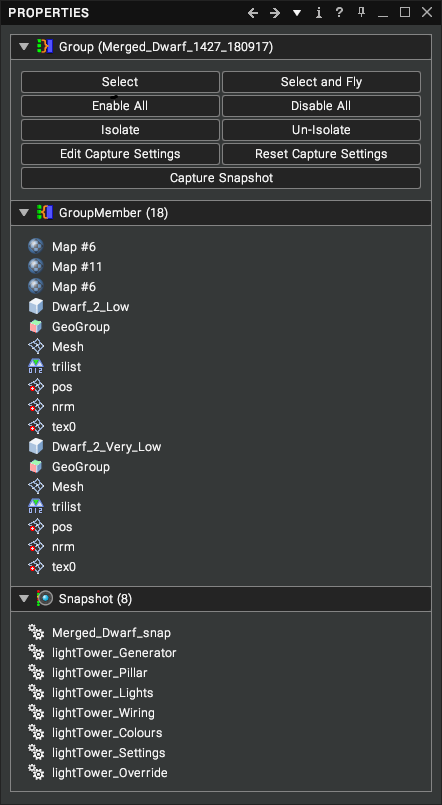
The Properties are split into 3 sections:
| Section | Description |
|---|---|
| Group | These are the main controls for updating the Group. They allow you to modify the Enabled state of the group member, modify what properties of the member are captured in a Snapshot and capturing a Snapshot. |
| Group Member | List off everything in that group. Right mouse clicking on any of the member allows you to Rename or Delete that group member. |
| Snapshot | A newly created Group creates a default Snapshot and is shown here. This is where any Snapshots created for this Group are listed. Right clicking a Snapshot shows the context menu where you can Apply the Snapshot, Delete it, Rename it, Recapture it or show the capture settings. |
Buttons
These buttons are an important way of interacting with the Group and its members.
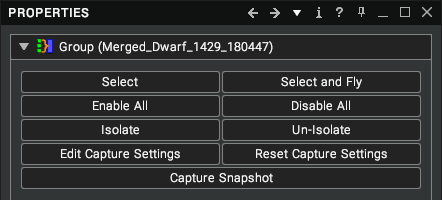
| Button | Description |
|---|---|
| Select | Changes the selection from the Group to all the members of the group and updates the Properties window. |
| Select and Fly | As above and moves the camera to a location based on the bounding box of all selected assemblies |
| Enable All | Sets the enable properties of the assemblies in the group to true |
| Disable All | Sets the enable properties of the assemblies in the group to false |
| Isolate | Make visible only those Assemblies in the Group – all other assemblies are invisible. The Scene tree view is not altered. |
| Un-Isolate | Reverts an Isolate back to its original state. |
| Edit Capture Settings | Allows you to change what properties are recorded when a Snapshot is created. |
| Reset Capture Settings | Reset what properties are recorded to the default settings. |
| Capture Snapshot | Create a snapshot for the Group members using the Capture settings. |
Group Member
Simple list of the Assemblies which are contained within the group.

You can delete them from the group or rename them from the right click menu. They are also accessible via the Data window.
Snapshot
A Snapshot is a method of recording the state of certain properties of all the Assemblies within the Group. When a Snapshot is created the current properties of the Assemblies are saved and can be recalled by activating the Snapshot.
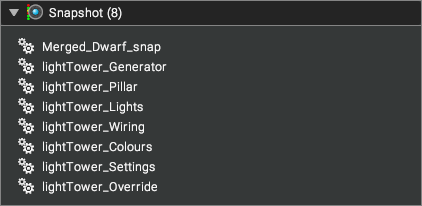
The list of Snapshots only applies to the current group. The Assembly properties which are included or excluded from the Snapshot are identified in the Capture Settings, which can be accessed for existing Snapshots from the context menu by right clicking on the snapshot in the list.
Capture Settings
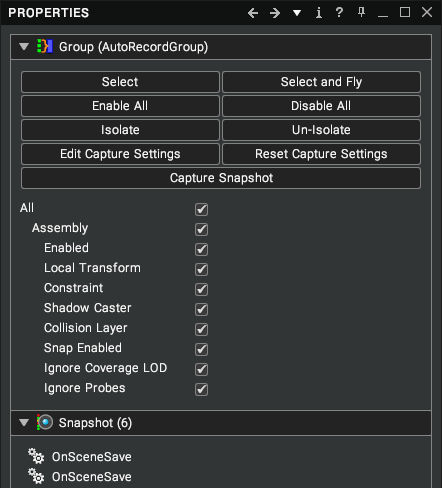
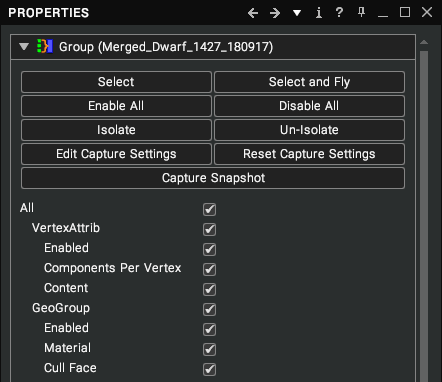
Selecting the Edit Capture Settings button displays the list of Settings available within the Group. This will be dependent on what Assemblies are within the Group – Visual and Material. If a Setting is enabled, then that value on the Assembly will be recorded and replayed back when a Snapshot is applied. If a Setting is disabled, then it is ignored and when a Snapshot is applied that setting remains at its current value.
Browser
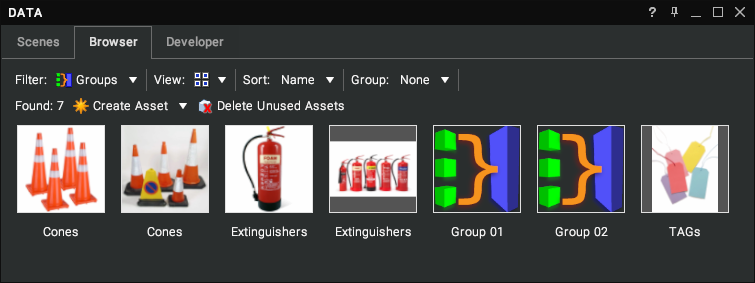
Groups appear in the Browser window. From there you can perform several actions including applying any Snapshots on the Group.
| This is the default icon used for a Group. It can be changed to a different icon using the same method as for Viewpoints. |
|---|
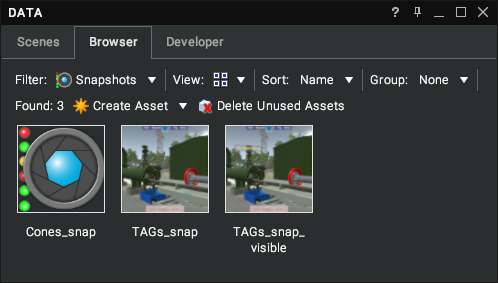
Snapshots also appear within the Browser window. From there you can perform several actions including Apply, Show in Tree, Copy/Cut/Paste and Duplicate.
| This is the default icon used for a Snapshot. It can be changed to a different icon using the same method as for Viewpoints. |
|---|
Activation
Snapshots can be activated simply by double clicking on the snapshot in the Browser window or double clicking the Group Snapshot properties.
They can also be used within the Event handling system and within a Lua Script. See the Visionary Render Programming Guide for more information.