Installation
Firstly, check that your machine meets the minimum requirements listed in System Requirements. When ready, download the latest version of Visionary Render from the Virtalis Software Portal (if you do not yet have access to this, then please contact us). When the download is complete, run the installer executable and follow the steps below.
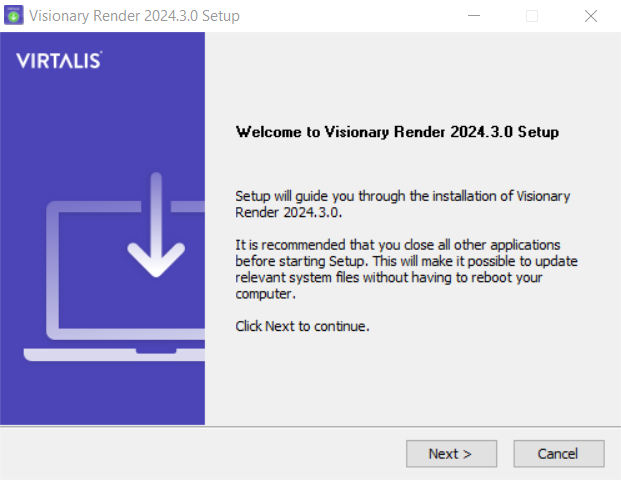
Close Visionary Render if you have it running then select Next to continue.
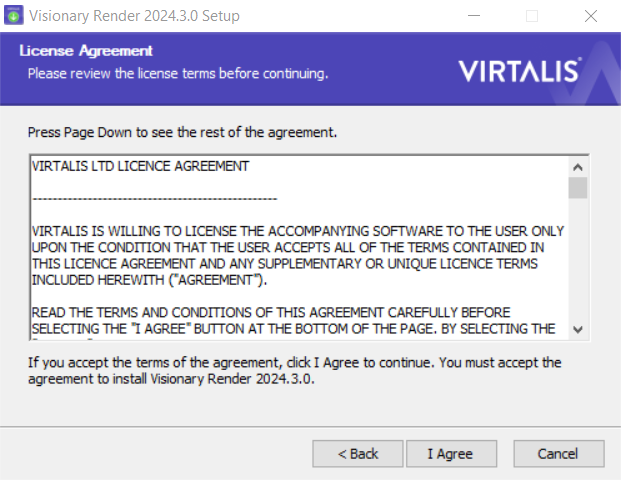
Review the terms of the license agreement then select I Agree to continue if you agree to the terms.
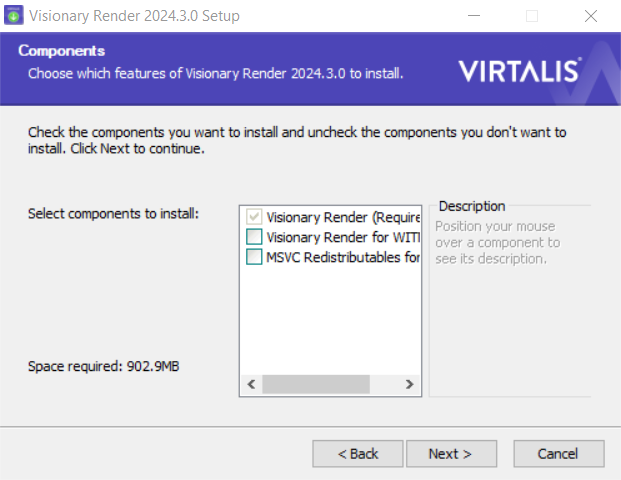
Choose which components to install. There are 2 options:
- Visionary Render for Witness – Permit Visionary Render to be connected to Royal HaskoningDHV's Twinn Witness.
- MSVC Redistributables for Cluster – Install MSVC redistributables on the cluster master and share them with the slaves. This prevents you from having to install them on every machine in your cluster.
Select Next to continue.
Choose the folder to install Visionary Render to. We recommend using the default location, unless you have good reason to change it, as this helps us to provide support to you. Select Next to continue.

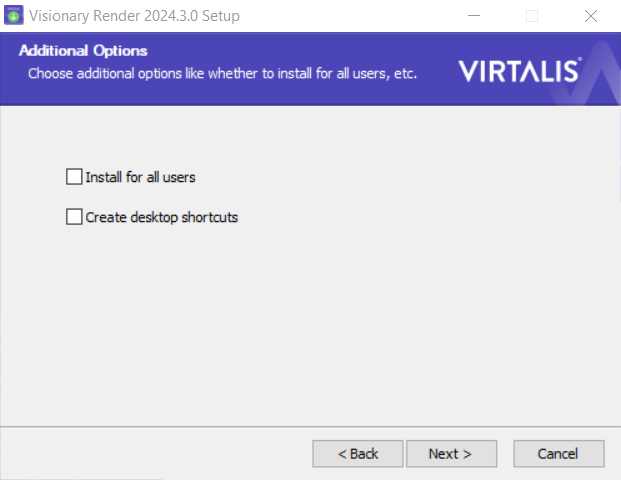
Choose whether to install Visionary Render for all users of this machine and whether to create desktop shortcuts. Select Next to continue.
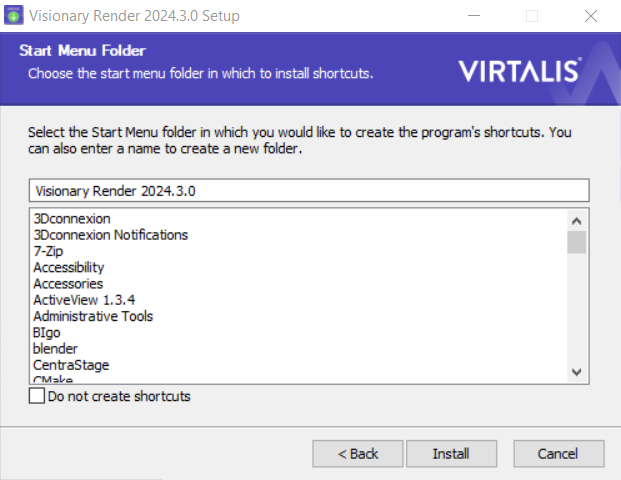
Choose the folder to install start menu shortcuts to. We recommend using the default location. Select Next to continue.
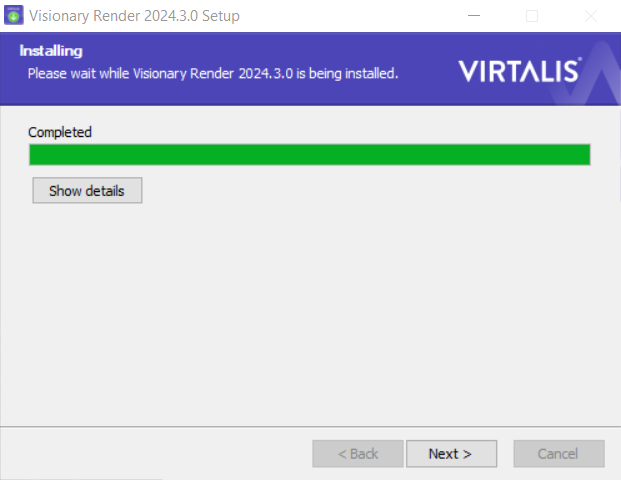
Visionary Render will now be installed on your machine. If something went wrong, or you wish to see information about specific files and steps, select Show details. When done, select Next to continue.
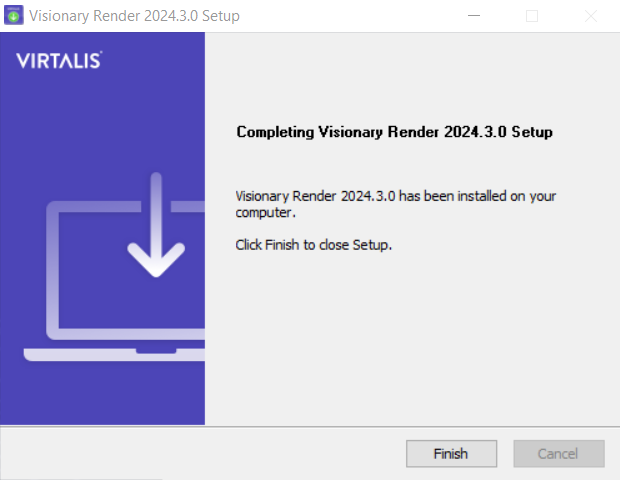
The setup is now complete. Select Finish to close the installer. You can now run Visionary Render from the start menu or desktop shortcut (if you chose this option). If you are running Visionary Render for the first time and require help setting up your license, see the License Server Manual.