Start Room
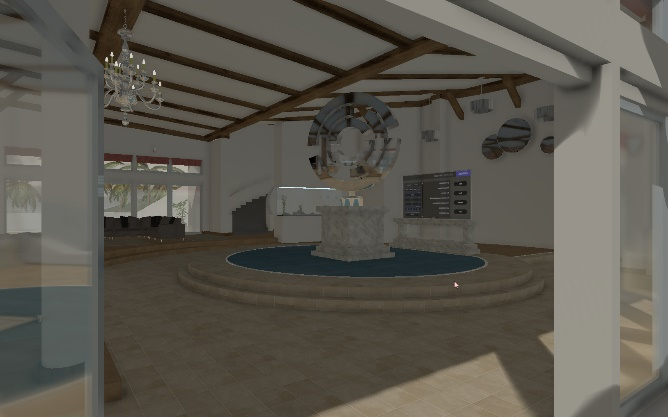
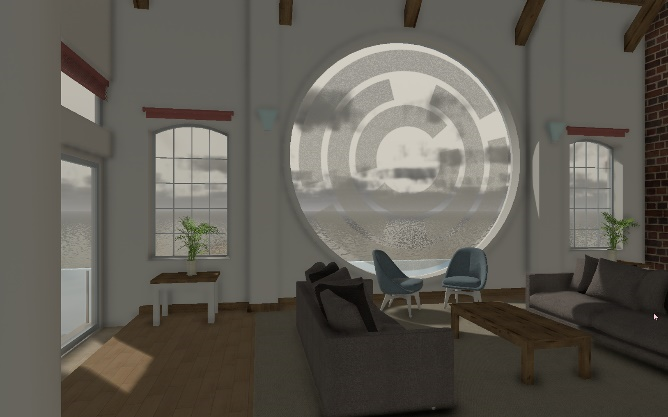
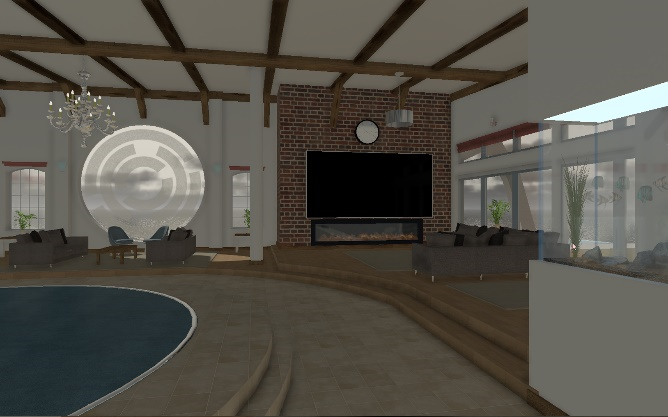
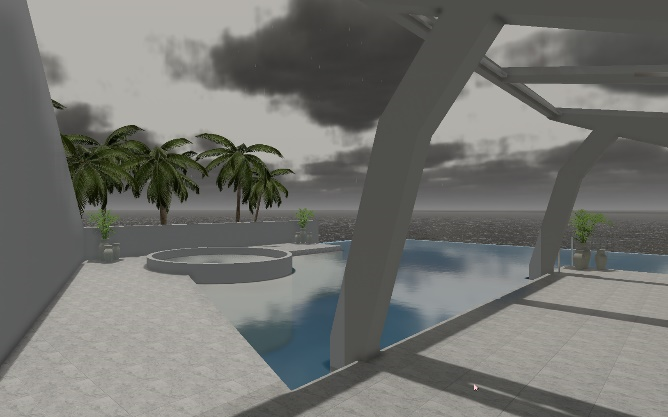
When Visionary Render is initialised, you will be presented with the Start Room. This is a simple scene of a fictional room. It is designed to help you become accustomed to a virtual environment, to determine the visual fidelity that your machine can support, and to configure tracking systems before loading your data.
 |  |
|---|---|
 |  |
Main Menu
The initial view of the room shows a menu with various options. The left column displays the options, the centre column displays a list of recent files, and the right column displays settings. You can select an option right away or walk around the room for a bit and return to the menu later.
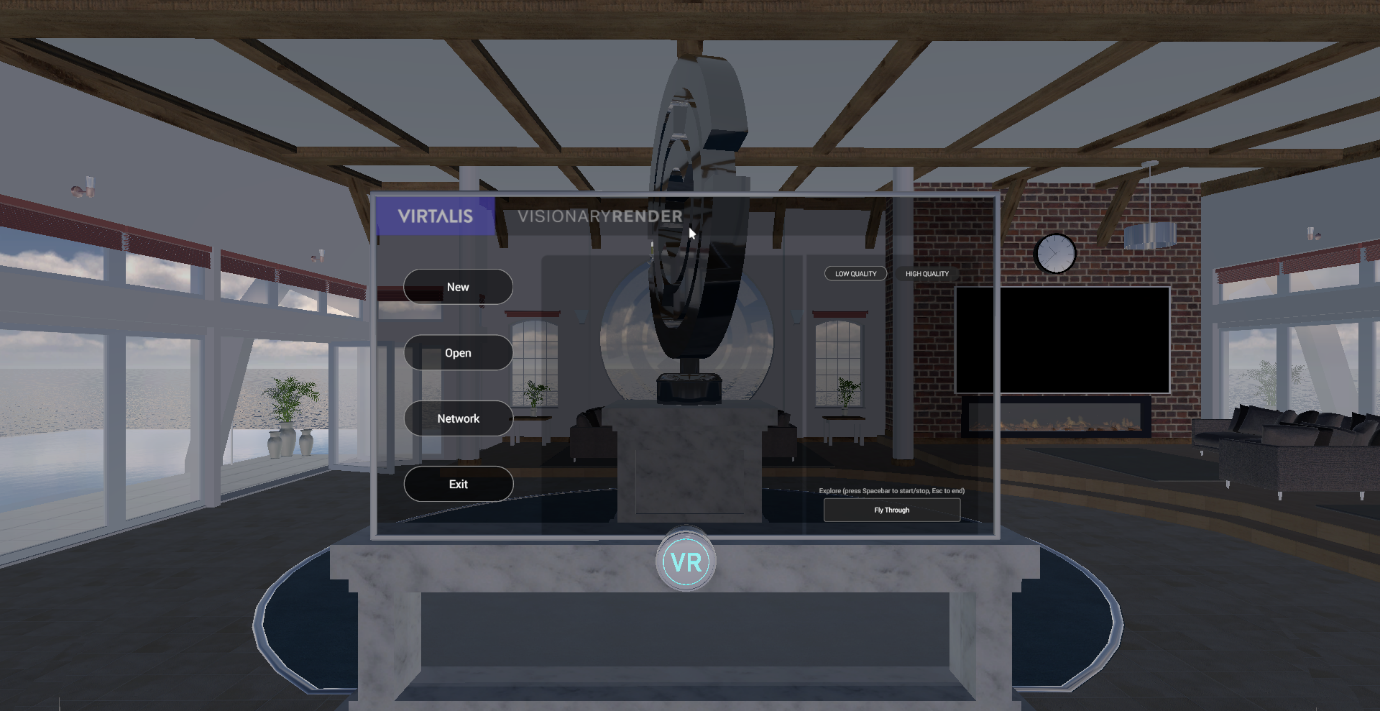
| Option | Description |
|---|---|
| New | Start a new, empty scene. |
| Open | Open a file dialog to select an existing scene to load. Visionary Render scenes use the VRNative or VRText file extension. |
| Network | Fly to the TV and display the network menu on it. |
| Exit | Exit the application. |
Settings
The settings menu permits you to configure the environment and graphical effects. By default, the Start Room is rendered with low quality settings that can't be configured. Click on the High Quality button to enable and configure various visual effects that are disabled by default.
These effects are performance-intensive and may cause a significant drop in frame rate.
To disable the visual effects and hide their settings again, click on the Low Quality button. Visionary Render will reload the previous settings when it is restarted, so if you exit with High Quality settings enabled, these will be restored.
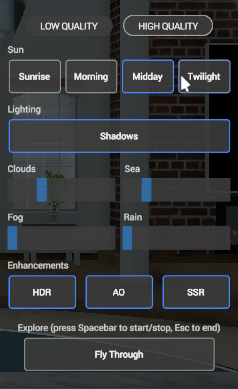
| Setting | Description |
|---|---|
| Sun | Change the time of day to Sunrise, Morning, Midday, or Twilight. |
| Shadows | Permit objects in the scene to cast shadows onto surfaces. |
| Lights | Turn on artificial lighting in the room (this setting is only visible at Twilight). |
| Clouds | Adjust the cloud coverage in the sky. |
| Sea | Adjust the sea state (calm to rough). |
| Fog | Adjust the thickness of the fog, which fades out objects as they get further away from the camera. |
| Rain | Adjust the intensity of the rain outside the room. Note that this setting also affects cloud coverage. |
| High-Definition Rendering (HDR) | Reproduce a higher dynamic range of luminosity. This typically makes the scene appear brighter. |
| Ambient Occlusion (AO) | Simulate the shadowing caused by objects blocking ambient light. |
| Screen-Space Reflections (SSR) | Improve the detail of reflections in the scene. |
Fly Through
Click on the Fly Through button at the bottom-right of the menu or press Spacebar to start flying around the room on a predefined path. Spacebar can then be used to pause or resume the fly through. When done, press Esc to return to the main menu.
VR Button
The VR button at the bottom of the menu glows when you have a HMD connected to your machine. Click on it to enter immersive mode.
TV
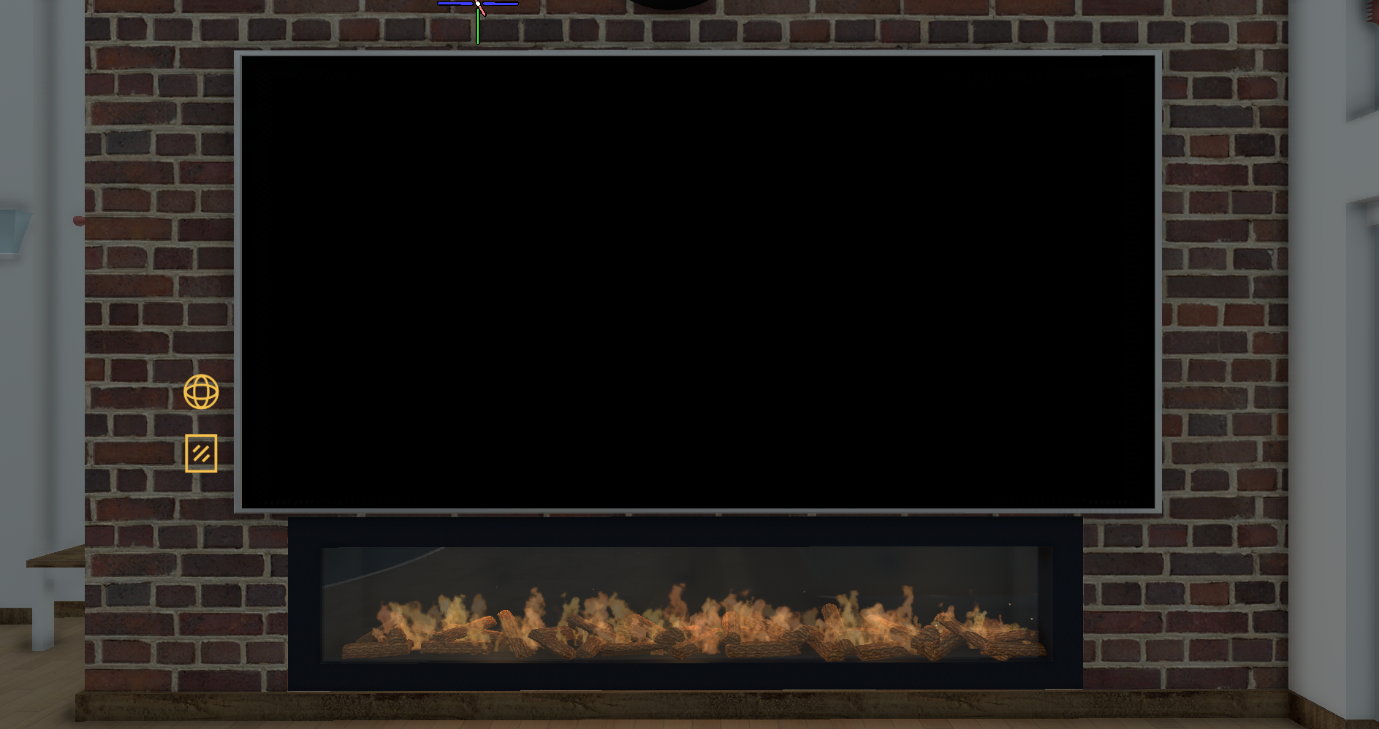
The TV is located on the front wall of the Start Room above the fireplace. It can be used to show the network menu or mirror.
Buttons
When you move close enough to the TV, the following buttons will appear at the bottom-left corner:
| Button | Description |
|---|---|
| Show or hide the network menu. | |
| Show or hide the mirror. |
Network Menu
The network menu permits you to connect to other users to collaborate in one world. In the main menu, click on the Network button to fly to the TV and show the network menu.
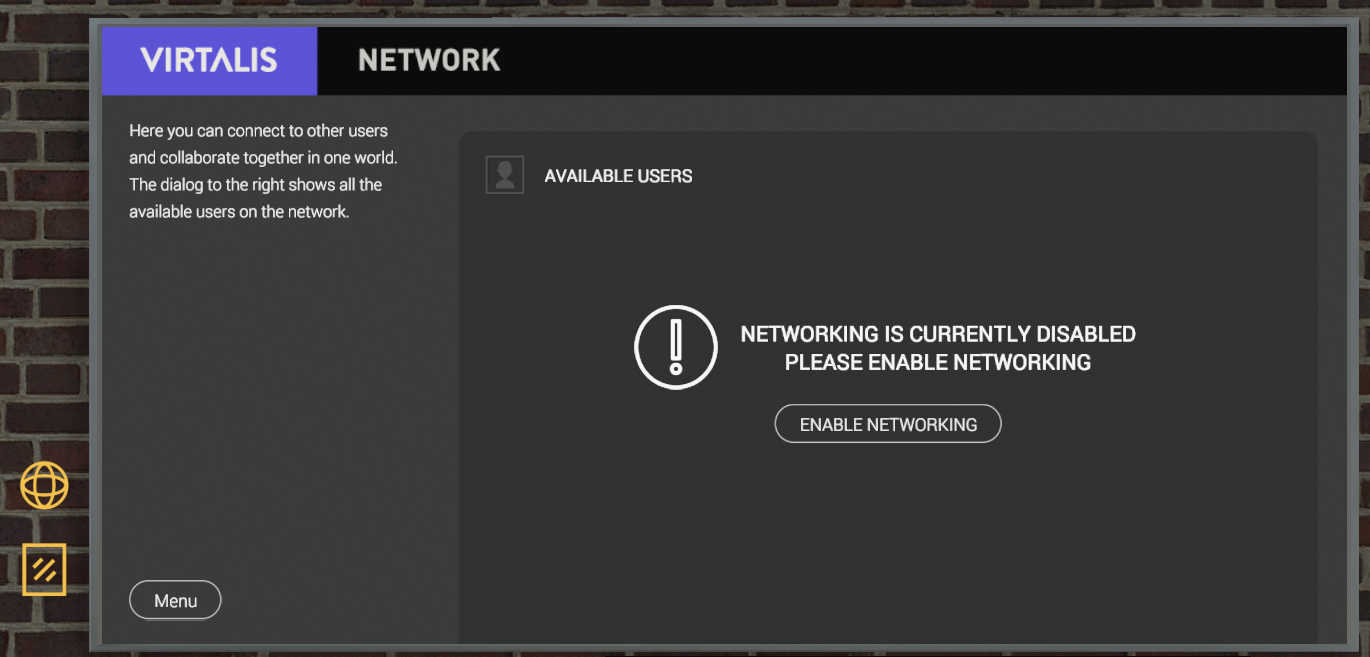
To enable networking, click on the Enable Networking button at the centre of the menu. To return to the main menu, click on the Menu button at the bottom-left of the menu.
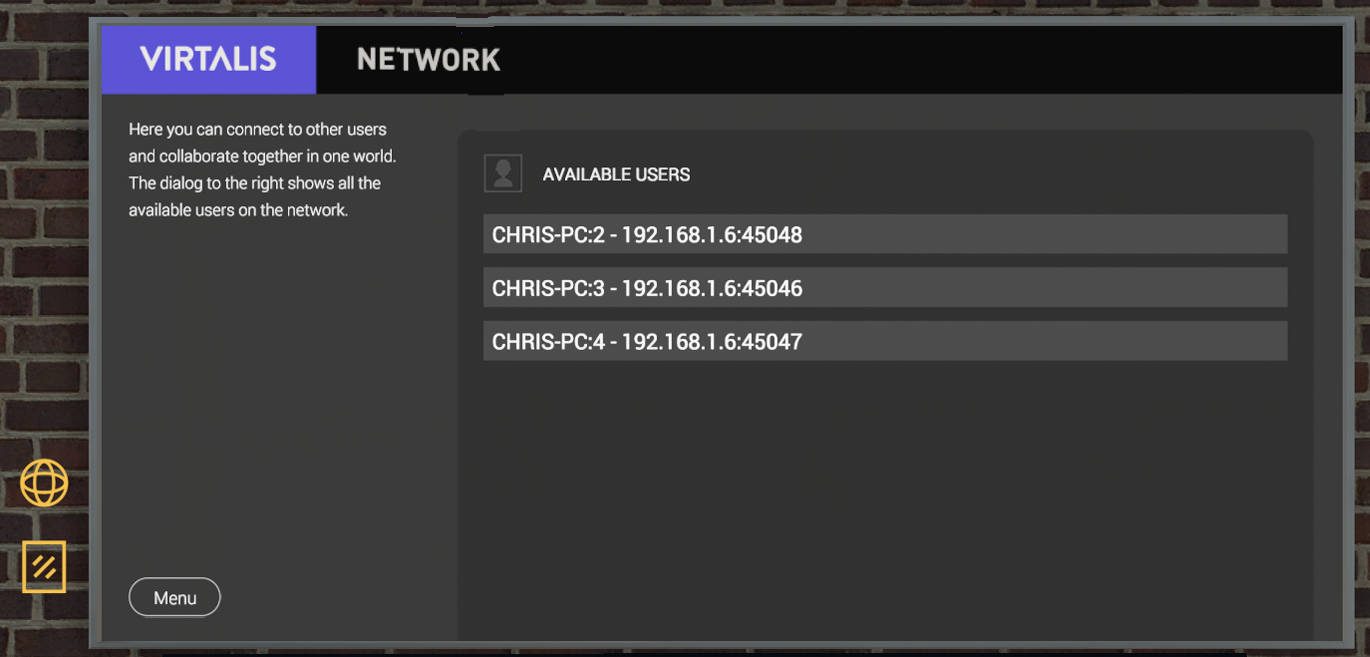
Once networking is enabled, you should see a list of available devices that are also currently running Visionary Render with networking enabled. Click on a device to connect to it.
Mirror
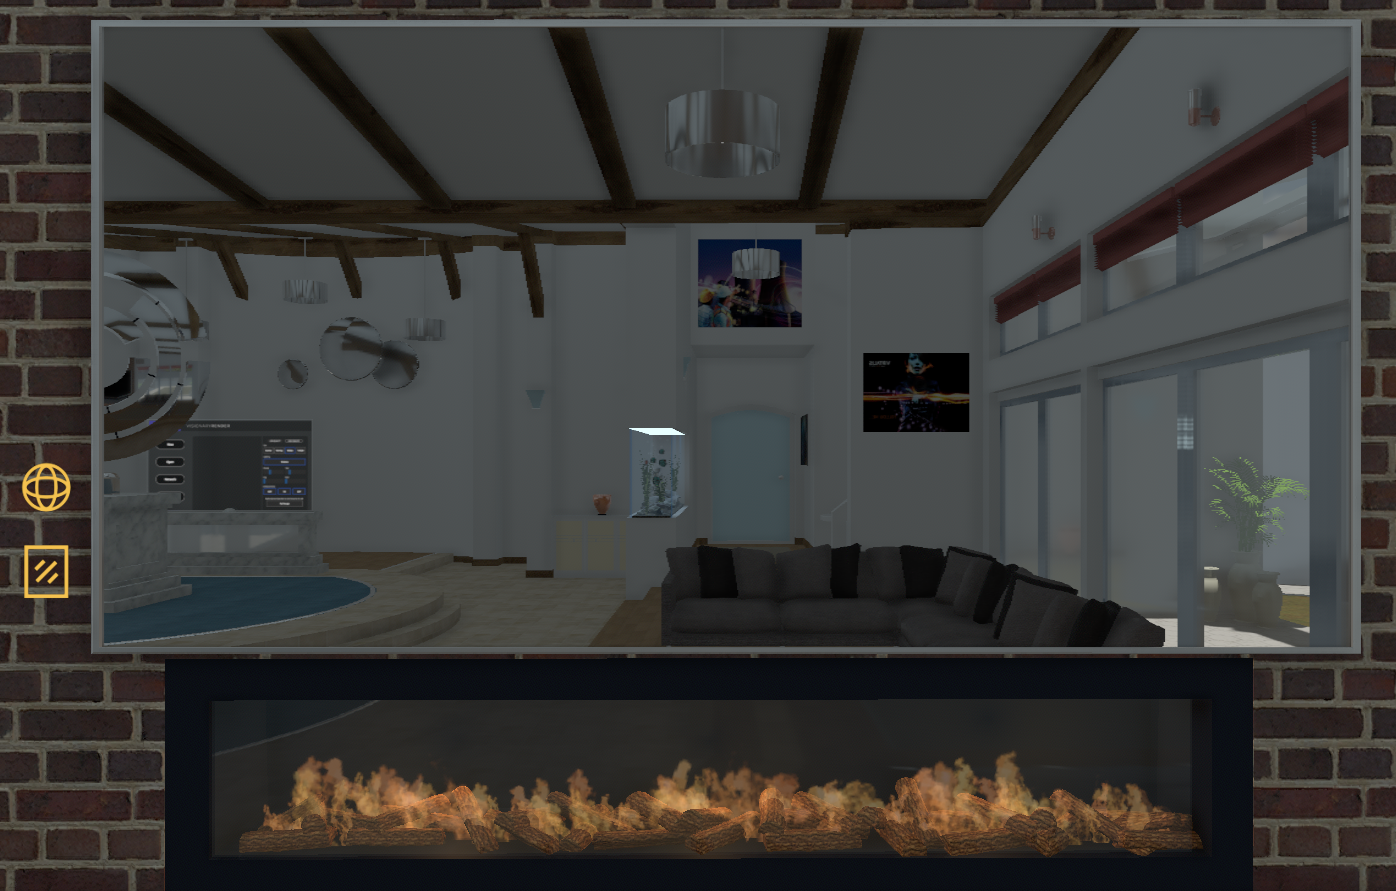
The TV on the wall can also be changed to a mirror. This can be useful when setting up tracking and configuring your avatar. Click on the Mirror icon on the wall at the bottom left of the TV to activate the mirror. When done, click on it again to deactivate the mirror.
Startup Setting
By default, Visionary Render opens the Start Room when initialised. This behaviour can be configured from the Settings window under Document > General.
There are 4 options:
| Option | Description |
|---|---|
| Open Start Room | Open the Visionary Render Start Room. [default] |
| Open Previous Scene | Open the scene that was loaded when Visionary Render was last shut down. |
| Create New Scene | Create a new, empty scene. |
| Open Custom Scene | Open a scene of your choosing, such as a replacement Start Room. A file input box will appear to permit you to browse for a scene to open. |
This setting cannot be overwritten by scenes.