User Interface
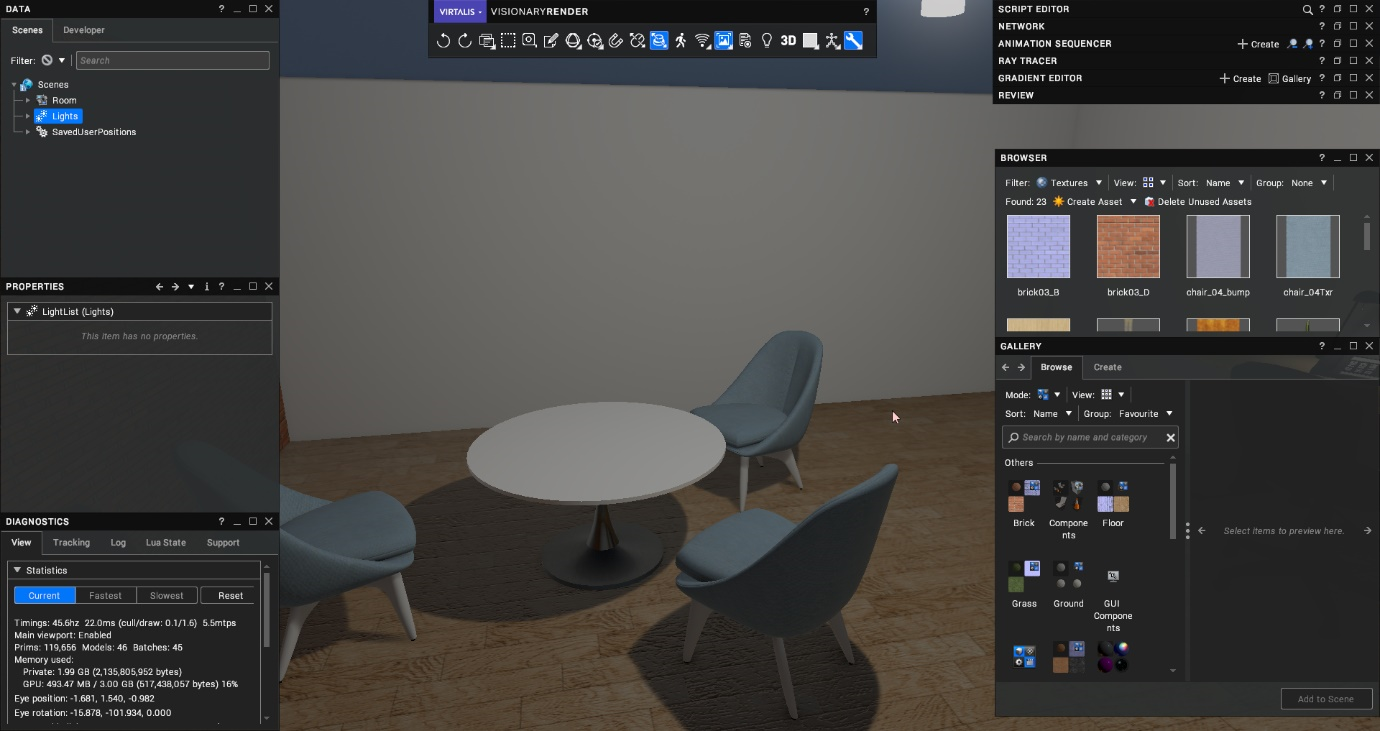
Visionary Render has a transparent GUI that is rendered over the 3D scene. It supports all the typical controls that will be familiar to Windows users like file browsers and message boxes, plus it can be rendered in stereo and operated immersively from VR hardware. This section will introduce some of the common GUI controls.

Application Menu
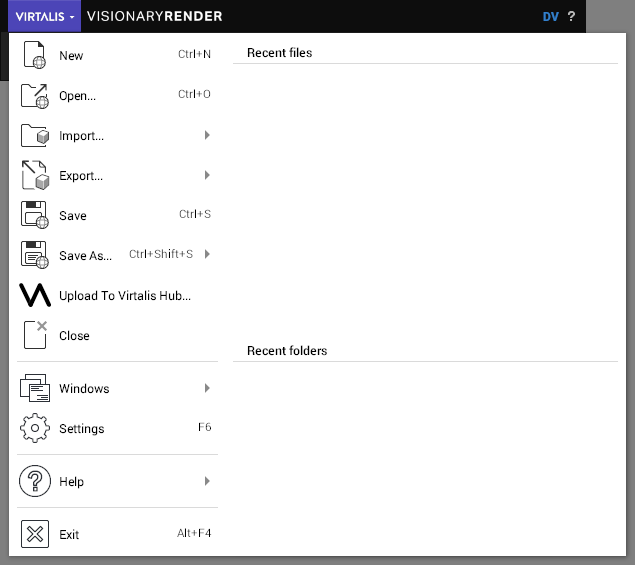
Click on the Virtalis button at the top-left of the Toolbar to open the Application Menu.

The main menu is shown in the left column, with any sub-menu options in the right column. A list of recent files and folders is displayed when no option is selected.
You can change the number of recent files to display in Settings > User Interface > Files.
| Option | Description |
|---|---|
| New | Start a new, empty scene (Ctrl + N). |
| Open | Show a file open dialog to specify a VRNative or VRText file to load. |
| Import | Merge a file (Ctrl + Shift + O) or overlay into your scene or import a file with an installed importer (Ctrl + I). |
| Export | Export your scene to a format supported by an installed exporter. |
| Save | Save the current scene with its existing name and location (Ctrl + S). |
| Save As | Save the current scene with a different name, location, or format (Ctrl + Shift + S).
|
| Upload To Virtalis Hub | Upload the current scene to Virtalis Hub to share it with other people in your organisation. |
| Close | Close the current scene and return to the Start Room. |
| Windows |
|
| Settings | Open the Settings window (F6). |
| Help |
|
| Exit | Exit the application (Alt + F4). |
When saving modifications to Library objects (materials, geometry, etc.), these may overwrite the original library files. Performing a Save As in the same directory as the original scene file will create a new copy of the scene file only. If this is not desirable (i.e. the libraries should not be shared), then the new filename needs to be in a different/new directory from the current scene file. This will then also save a copy of all the libraries in the new location.
Alternatively, Save As > Monolithic Scene will automatically disable the archiving of all libraries and save the entire scene into one large file. Save As > Finished Monolithic Scene means extra confirmation is required for overwriting the file in the future and does not prompt for saving when it has been edited then closed.
Windows
Title Bar
The title bar of a window contains its icon, name, tool buttons, and standard window controls. Double-click on it to roll the window up to just the title bar. Double-click again to unroll it. You can also roll or unroll the window with the mouse wheel if you prefer - simply mouse over the title bar and move the wheel forwards to roll or backwards to unroll. The title bar contains the following standard buttons:
| Button | Description |
|---|---|
Show the help cursor so that you can click on part of the GUI to bring up its relevant section in this manual. You can also open it at the first page with F1. | |
| Make the window roll up automatically when focus is returned to the 3D scene. | |
| Roll the window up to just its titlebar or restore it. | |
| Maximise the window to fill the screen or restore it down. | |
| Close or dock the window. |
Move
Click on the title bar of a window (not over a button) and drag to move it. The window will snap into place when it is close to the edges of your display or to other windows.
Resize
A resize cursor will appear when resizing is possible. Mouse over the left or right edge of a window until you see the resize cursor and hold down the left mouse button to adjust the width of the window. The top and bottom edges can be used to adjust height, whilst the four corners can be used to adjust width and height simultaneously. The window will snap into place when it is close to the edges of your display or to other windows.
Stack
When a window is moved beneath another window, it will snap into place at the bottom of that window. When dragged near the bottom left, it will also assume the width of the window above it - or its minimum size - and become stacked.
When windows are stacked, they can be moved together by dragging the title bar of the first window in the stack. The windows can be resized together at the corners and outer edges of the stack.
Hold Ctrl whilst moving a window to prevent it from being added to a stack when it is dragged below another window. Alternatively, you can disable stacking altogether in Settings > User Interface > Windows.
Progress Bar

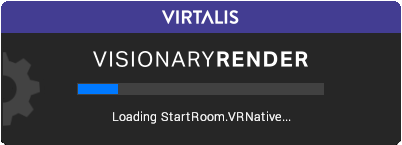
During lengthy operations like loading scenes, the 3D view is replaced by a progress bar over a black background. The text details specific operations being executed, and the blue bar provides an estimate of the current progress. The rings in the background spin as operations are being performed, so if they stop spinning for a significant amount of time then the application may have stalled. When done, the 3D view will be shown again.