Particle Systems
Particle systems can be used to simulate various phenomena that are difficult to reproduce with conventional rendering techniques, such as smoke, fire, moving water, sparks, and explosions.
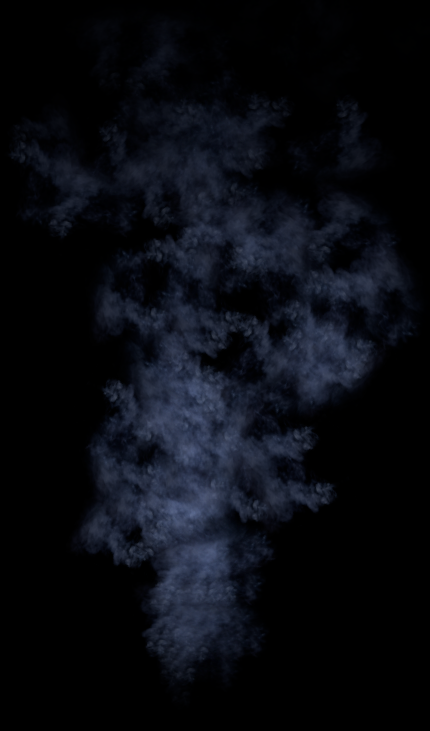
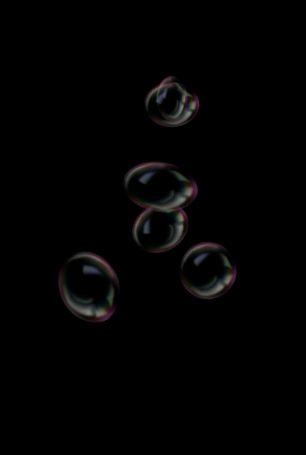
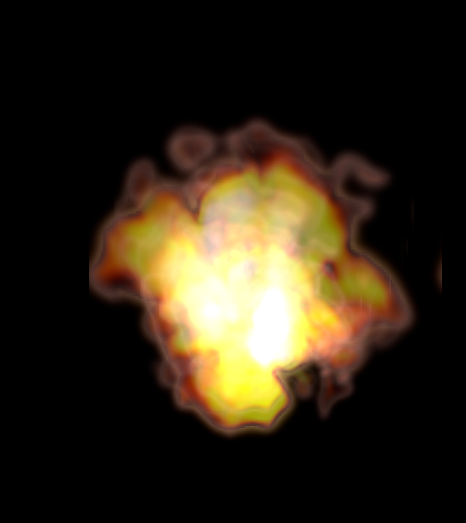
Create
To add a particle system to your scene, right-click on the Scenes node or an Assembly and select Create > Particle System from the context menu.
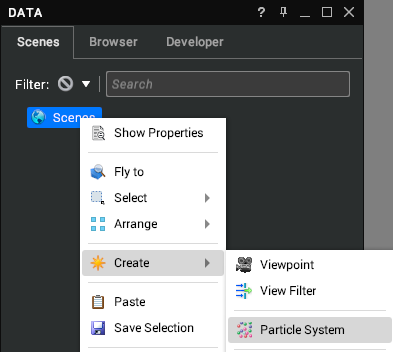
This will create a default particle system at the location of the Camera or Assembly, as in the image below. The particle system will be added as a child of the selected node.
A parent Assembly is also added to permit the particle system to be repositioned in your scene.
Preview
As with other geometry, particle systems can be previewed in the Properties window. By default, the preview is hidden to prevent a performance overhead. Click on the Preview drop-down to show the preview. The text at the bottom shows the size of the bounding box in metres and the number of particles currently being drawn.
Properties
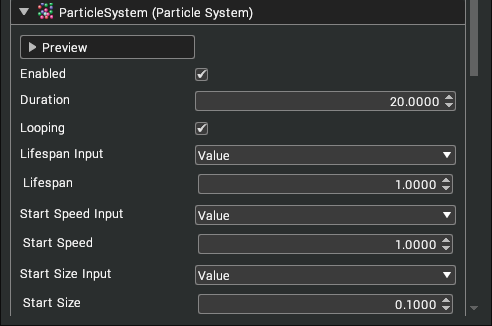
The particle system can be configured in the Properties window.
| Property | Description |
|---|---|
| Enabled | Toggles whether the particle system is enabled and therefore visible in the 3D scene. |
| Duration | Duration of a cycle of the particle system. |
| Looping | Restarts the particle system at the end of the duration. |
| Lifespan | How long a particle lives in seconds. |
| Start Speed | The initial speed of the particle. |
| Start Size | The initial size of the particle. |
| Start Rotation | The initial rotation of a particle. |
| Random Rotation Direction | Randomise the rotation direction. |
| Lifetime Gradient | Adding a gradient adjusts the colour of the particle over its lifespan. The left edge of the gradient is the start colour and right edge the end of life colour. |
| Max Particles | The maximum number of particles in flight at once. |
| Main Texture | Images can be applied to the particle shape to add further detail. Textures are added as per materials by dragging and dropping into the Main Texture slot. |
| Blend Mode | Select the blending mode – additive or alpha blend. Alpha blend would more commonly be use with textures with an alpha component. |
| Smooth Distance | Smooth distance adjusts the amount of fading of the particle based on the distance between it and an object in the background. This tends to create more realistic effects when the particles are intersecting with scene objects. |
| Tiling Mode | Tiling allows you to specify part of a texture to split into a grid. The options are None, Random, Animated and Animated Random. When selected, you can specify the number of rows and columns for the texture tiles. For this to work well, ensure that your texture is evenly spaced in a grid format. With animated and animated random, you also have an animation speed. An example image would be akin to the Muybridge footage that shows 16 frames of animation of a horse running. With set animation, at 4x4, the animation moves along the top row at the speed specified before dropping a row and continuing. This cycle repeats. 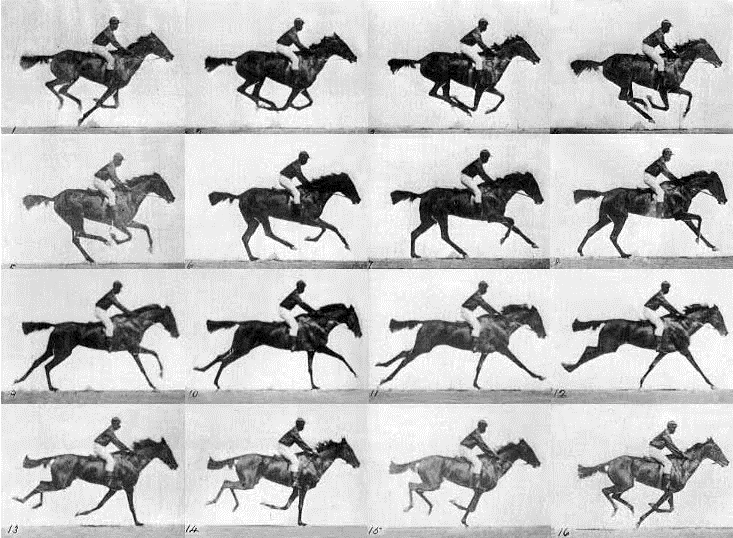 |
| Billboard Mode | Selecting between XY or XZ determines the direction the billboard faces. |
| Orient U/V | Orientation is apparent when using random direction for particle systems. When specified, it will align the texture in the direction of emission. In this example, the particles are emitted both up and down. With orient V, the arrows point up and down. 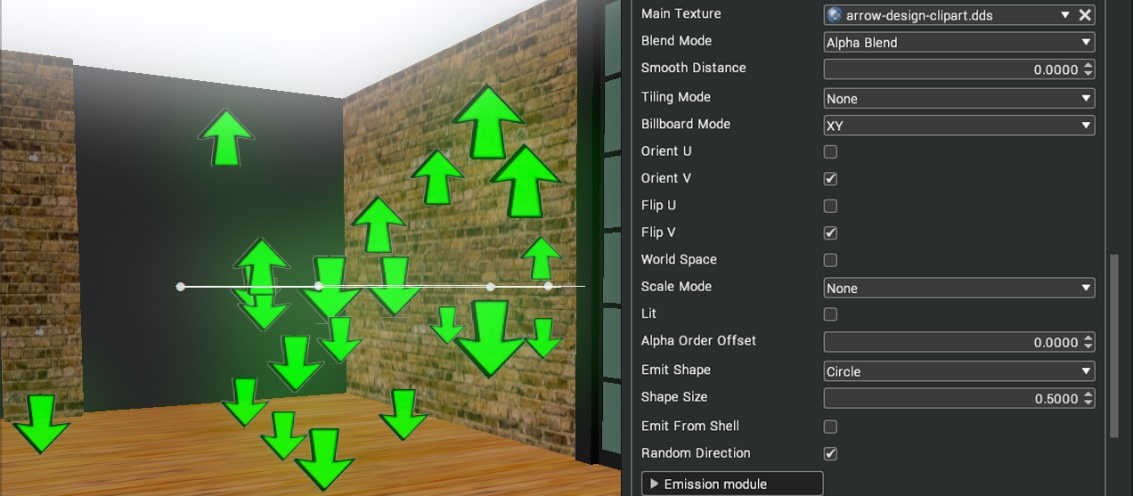 Without orientation, the arrows all face the same direction. 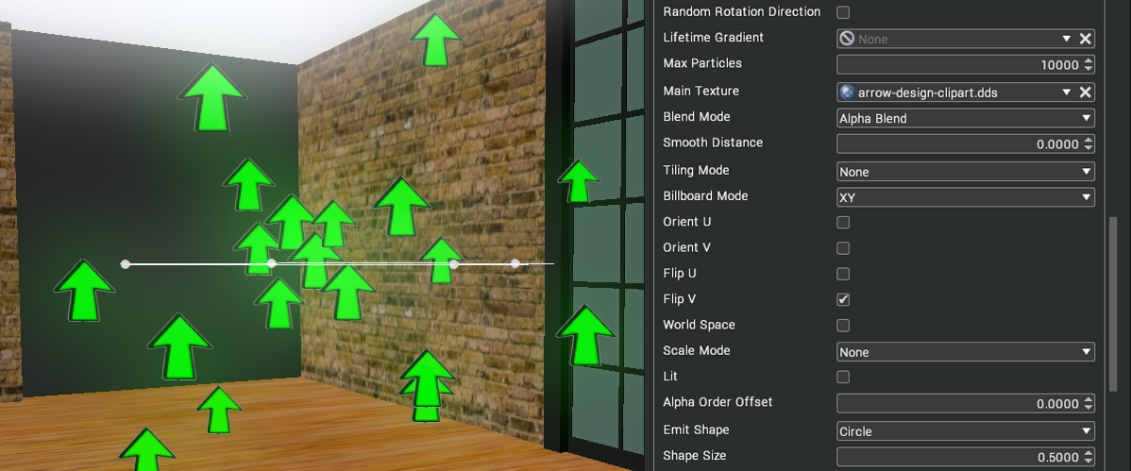 |
| Flip U/V | Flip the texture tile in the UV axis. |
| World Space | When ticked, the particle system will leave a trail when it’s moved in the scene. When unticked, the particles continue to be emitted in the local axis of the emitter. |
| Scale Mode | There are three different scale modes that are only applicable when parented to an object:
|
| Lit | Will only show if they have light on them. |
| Alpha Order Offset | Setting the alpha order offset may be required when other transparent layers are in the scene - e.g. rain behind a window. By adjusting the layers, you can adjust whether the particles are drawn in front or behind other transparent layers. |
| Emit Shape | The shape that particles are randomly created within. 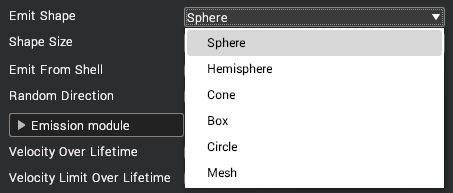 When specifying a mesh, the mesh used is not the visual element but the sub geo-group level mesh.  |
| Shape Angle | When cone is selected, a slider defining the Angle range of the emit shape is available. |
| Shape Size | Defines the size of the emit shape. |
| Emit From Shell | Emit particles from the outer skin of the shape. If not selected, the particles are generated from random positions within the volume of the shape. |
| Random Direction | Particles will travel in random directions. |
| Velocity Over Lifetime | With this ticked, the particles will accelerate over the lifespan based upon the multiplier and the defined curve. The multiplier indicates the number of cycles over the lifetime. |
| Velocity Limit Over Lifetime | This is used to provide a damping over the lifespan to restrict the distance a particle can move by reducing its velocity. |
| Size Over Lifetime | Adjusting the curve will control the particle size over its lifetime. |
| Size Over Velocity | The size over velocity is split into two parts: range and curve. The range provides the velocity multiplier for the amplitude curve. The amplitude curve controls the size of the particle with lower velocity at the left and higher velocity on the right. |
| Rotation Over Lifetime | Adjusting the curve will control the direction and speed of the rotation. |
| Force | Adding values to force will apply a directional force to particles over lifetime. This would commonly be used to replicate gravity on a fountain water particle system or similar effect. 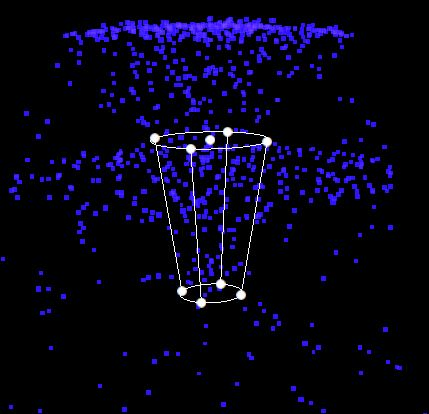 |
Emission Module
The Emission Module drop-down permits you to change the emission rate of the particle system and add one or more bursts. Emit Rate is the number of particles to emit per second. A burst is an event that spawns particles.
Click on the +/- buttons to add or remove a burst. Each burst has the following properties:
| Property | Description |
|---|---|
| Time | The time in seconds in the particle system cycle to emit the burst. |
| Min | The minimum number of particles to emit in the burst. A random value will be chosen between Min and Max. |
| Max | The maximum number of particles to emit in the burst. A random value will be chosen between Min and Max. |
| Cycles | The number of times to emit the burst. |
| Interval | The time in seconds between each cycle of the burst. |
The image below shows a burst of 200 particles.
Input Functions
Some properties of a particle system (such as Lifespan and Start Speed) have a combo box with 3 options: Value, Min/Max and Curve.
Value
Apply a constant value to a property. A number edit box will be shown as above.
Min/Max
Select a maximum and minimum value for a property. A random value between Min and Max will be applied to each particle. Two number edit boxes will be shown as above.
Curve
Interpolate smoothly between four values on a curve. An Edit Curve button will be shown as above. Click on it to open the curve editor.
Curve Editor
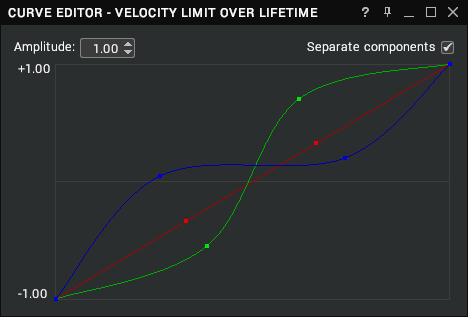
The curve editor permits the shape and amplitude of curves to be configured. Click and drag the squares (or “control points”) to change the shape of the curve.
Amplitude
The amplitude number edit box can be changed to affect the minimum and maximum values that the curve is plotted between. It is set to 1.00 by default.
Separate Components
The separate components checkbox is shown when modifying the curve of a vector property. Enable it to configure the curves for the x, y, z, and w components independently. These are coloured red, blue, green, and grey, respectively.
Helpers
Helpers are manipulators that are rendered in the 3D scene to enable you to tweak the emission shape of the particle system. They can be enabled or disabled from the helpers menu in the Toolbar (by default, they are enabled).
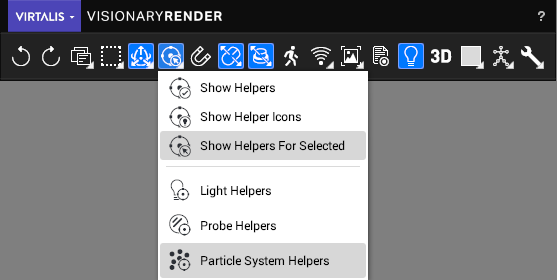
The circles – or “handles” – will be highlighted yellow when the cursor is hovered over them. Left-click and drag a handle to scale or change the proportions of the emission shape (depending on which handle you dragged).