Splines
Visionary Render supports splines with various types of knot. These can be imported from another application like 3ds Max or created on the fly in your scenes.
Create
To add a spline to your scene, right-click on a node in the Scenes tree (such as the root node or an Assembly) and choose Create > Geometric Shape > Spline from the context menu. Now right-click on the Spline node and choose Create > Knot from the context menu to add a knot to the spline.
You will need to add at least two knots to the spline (at different locations) before it will be rendered in your scene. There is no limit to the number of knots that you can add to a spline, but keep in mind that having lots of knots will affect performance so it is best to use as few as possible to create your desired shape.
Edit
Helpers
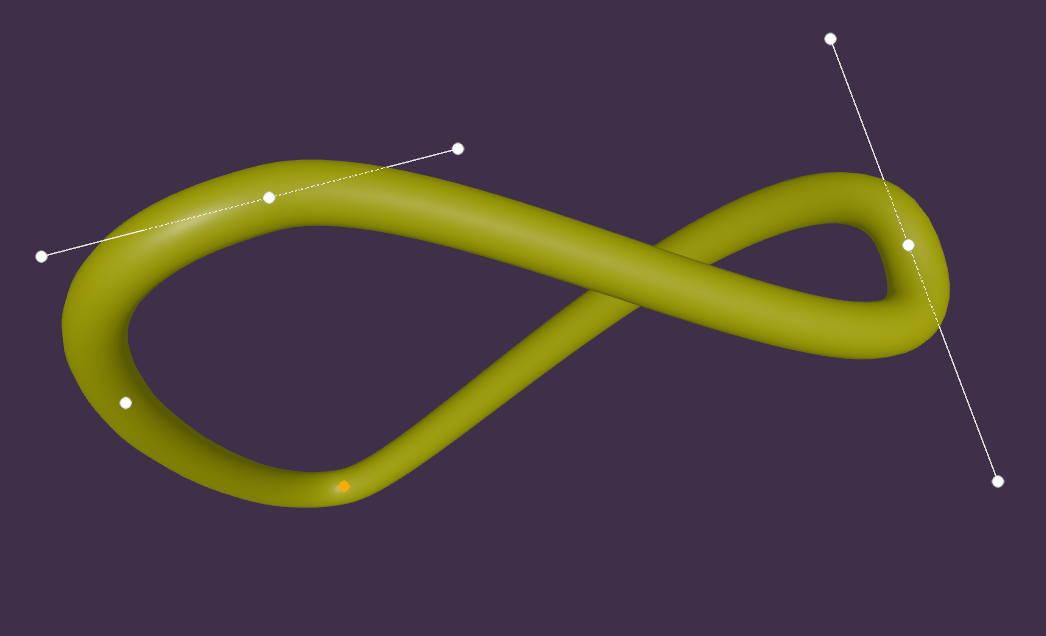
Helpers are manipulators that are rendered in the 3D scene to permit you to modify the shape of splines. They can be enabled or disabled from the helpers menu in the Toolbar (by default, they are enabled).
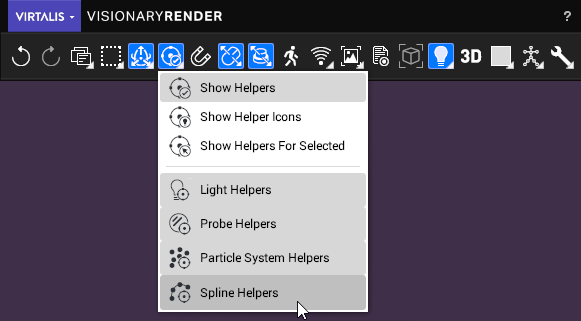
The circles - or "handles" - will be highlighted yellow when the cursor is hovered over them and orange when they are selected. Left-click + Drag a handle to change the position of a knot or Bezier handle in the spline.
Multiselect
You can select multiple handles with Ctrl + Left-click and move them with Right-click + Drag or via the PRS manipulator.
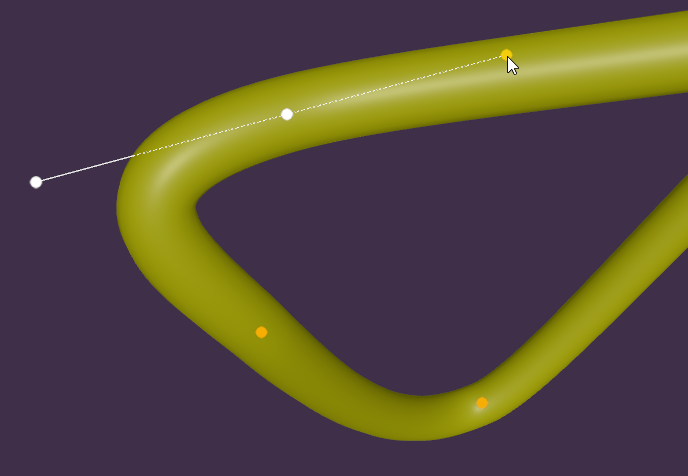
You can only select one handle of each Bezier knot at a time.
Snapping
The spline will be automatically snapped to surfaces when it is dragged whilst taking into account the thickness of the tube. To disable this, hold down the Shift key whilst dragging a handle. Alternatively, you can hold down the Alt key to enable snapping to vertices.
Properties
Spline
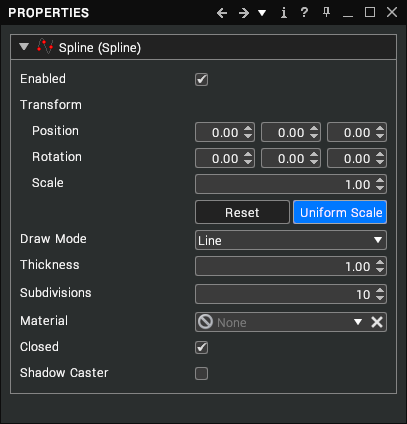
| Property | Description |
|---|---|
| Enabled | Whether or not to render the spline in the scene. [default: true] |
| Transform | The position, rotation and scale to apply to the spline. [default: identity] |
| Draw Mode | Whether to render the spline as a line or tube in the scene. [default: Line] |
| Sides | If in tube mode, the number of sides to apply to the tube geometry. Increase this value to make the tube smoother. [default: 16] |
| UV Mode | Controls how textures repeat along the length of the spline. There are 3 options: - Per segment - Textures are scaled to fit each segment. [default] - Whole spline - Textures are scaled to fit the whole spline. Length - Textures are scaled with the physical length of the spline. |
| UV Scale | Adjusts the scale of the textures applied to the spline. [default: 1.0, 1.0] |
| Thickness | The thickness of the spline path. This will be in pixels if the Draw Mode is Line or in centimetres if the Draw Mode is Tube. [default: 1.0] |
| Subdivisions | The number of interpolated points between each pair of knots. [default: 10] |
| Material | The material to apply to the spline. [default: none] |
| Closed | Whether to render a segment of the spline between the first and last knots. [default: true] |
| Shadow Caster | Whether or not the spline casts a shadow. [default: false] |
Knot
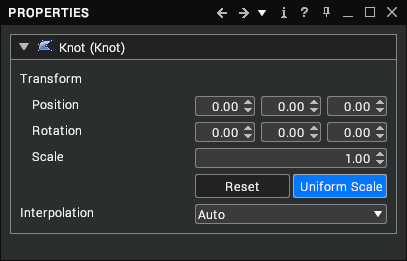
| Property | Description |
|---|---|
| Transform | The position, rotation and scale to apply to the knot. [default: identity] |
| Interpolation | The method used to generate the curve at this knot. There are five options: - Auto - Generates a smooth curve. [default] - Corner - Generates a sharp corner. - Bezier - Generates a curve using the handle positions. - Bezier Corner - Generates a curve or corner using the handle positions. - Auto (round) - Generates a more rounded curve, which is good for approximating circles or ellipses. |
| Handle 1 | Controls the direction of the curve between this knot and the previous one. [default: 0, 0, 0] |
| Handle 2 | Controls the direction of the curve between this knot and the next one. [default: 0, 0, 0] |
| Mirror Handles | Keep the Bezier handles the same distance from the knot as each other. [default: False] |
Curvature
Visionary Render permits you to assign a gradient to splines to highlight the degree of curvature at their knots.
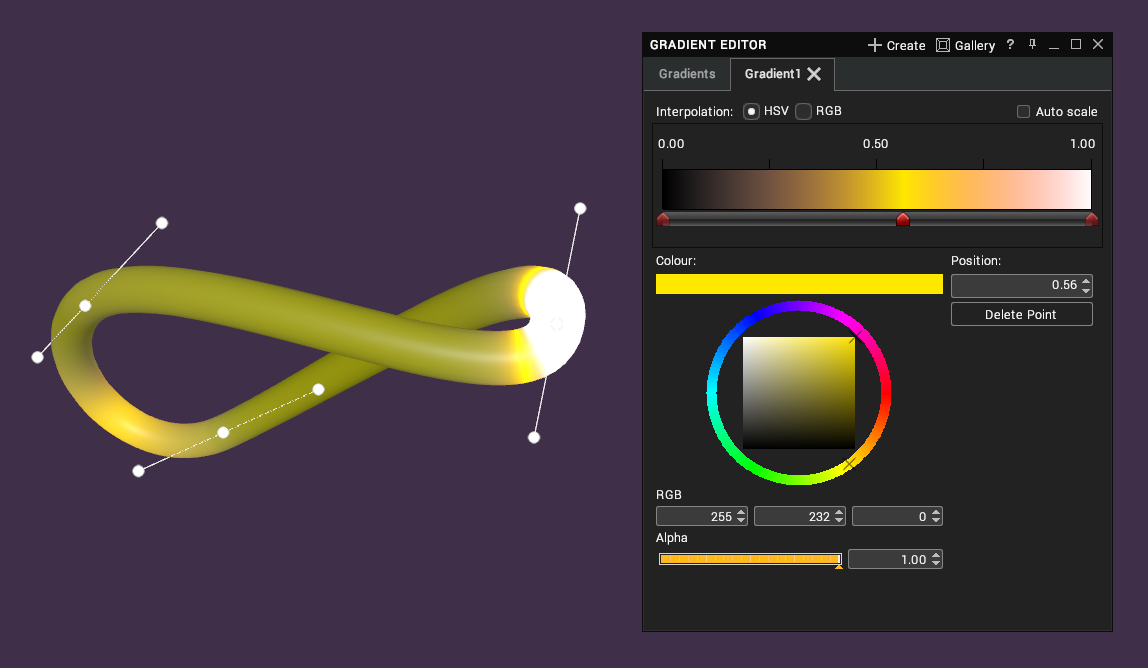
To do this, create a new Gradient and assign it to any of the map properties, for example the Emissive Map property of the spline's Material. Now set the UV Channel property of the Gradient to '2' and edit the gradient as desired to show the curvature of the spline.